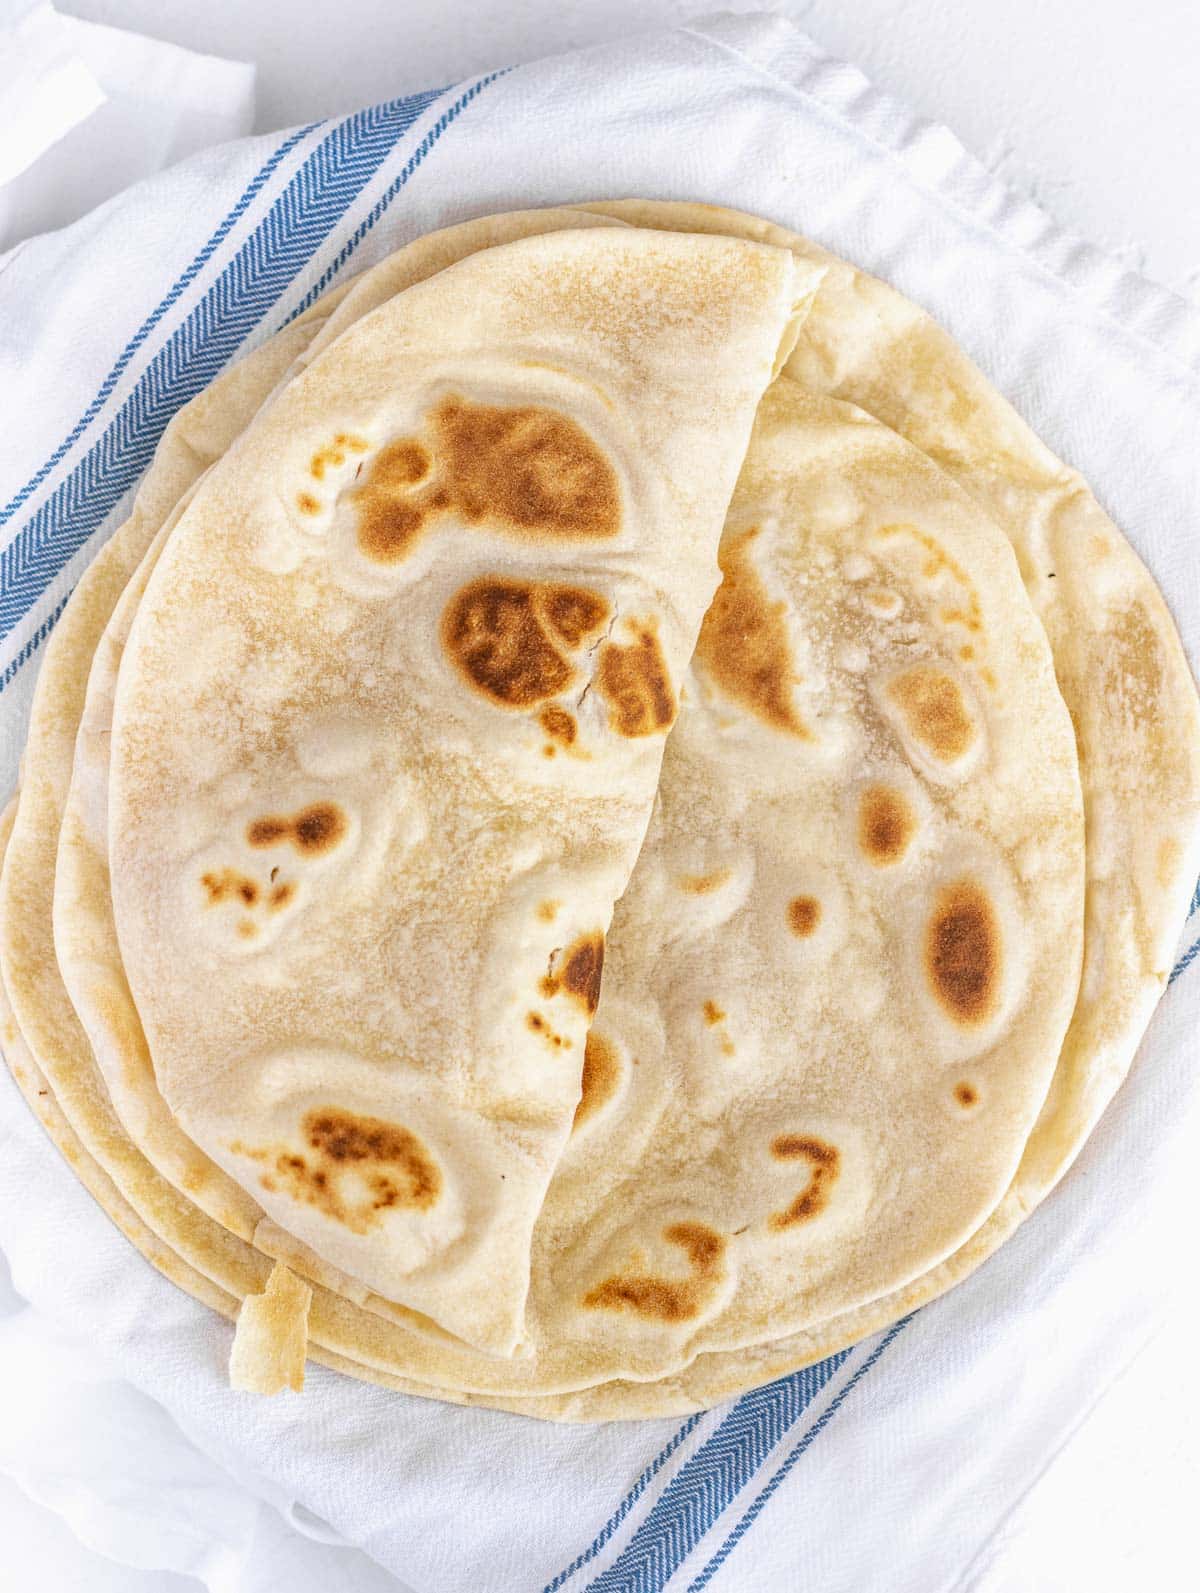
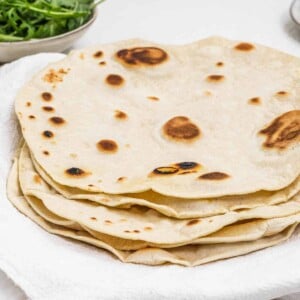
Piadina is a thin yeast-free flatbread from Italy similar to a flour tortilla wrap you can fill with anything you like and enjoy for a light lunch, snack, or dinner.
Our recipe is easy to make on a nonstick or cast iron skillet and with four simple ingredients: flour, water, olive oil, and salt.
Don’t Lose This Recipe
Table of Contents
Check out our best Italian recipe collection!

If you walked on the Italian Mediterranean Riviera in the Emilia-Romagna area, around the cities of Rimini and Riccione, you would notice that every single café and kiosk on the seaside sells Piadina Romagnola alla Riminese.
Piadina is a popular Italian flatbread that is similar to a Mexican tortilla.
It’s a thin, circular unleavened flatbread made with wheat flour and can be eaten as a snack, like a sandwich, or as a main dish for a quick lunch or dinner.
You can fill Italian flatbread with pretty much anything you like. You can fold it half, cut it into triangles, or roll it like a wrap.
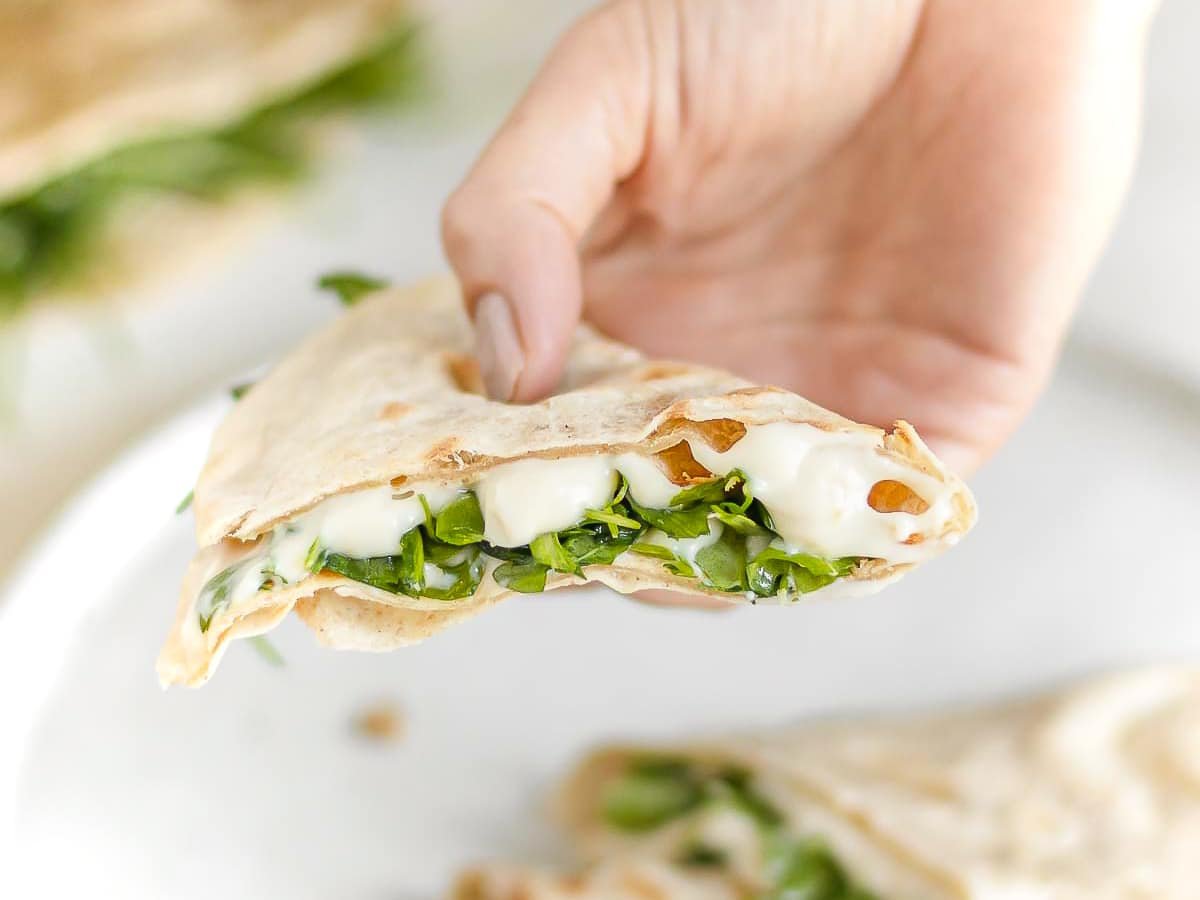
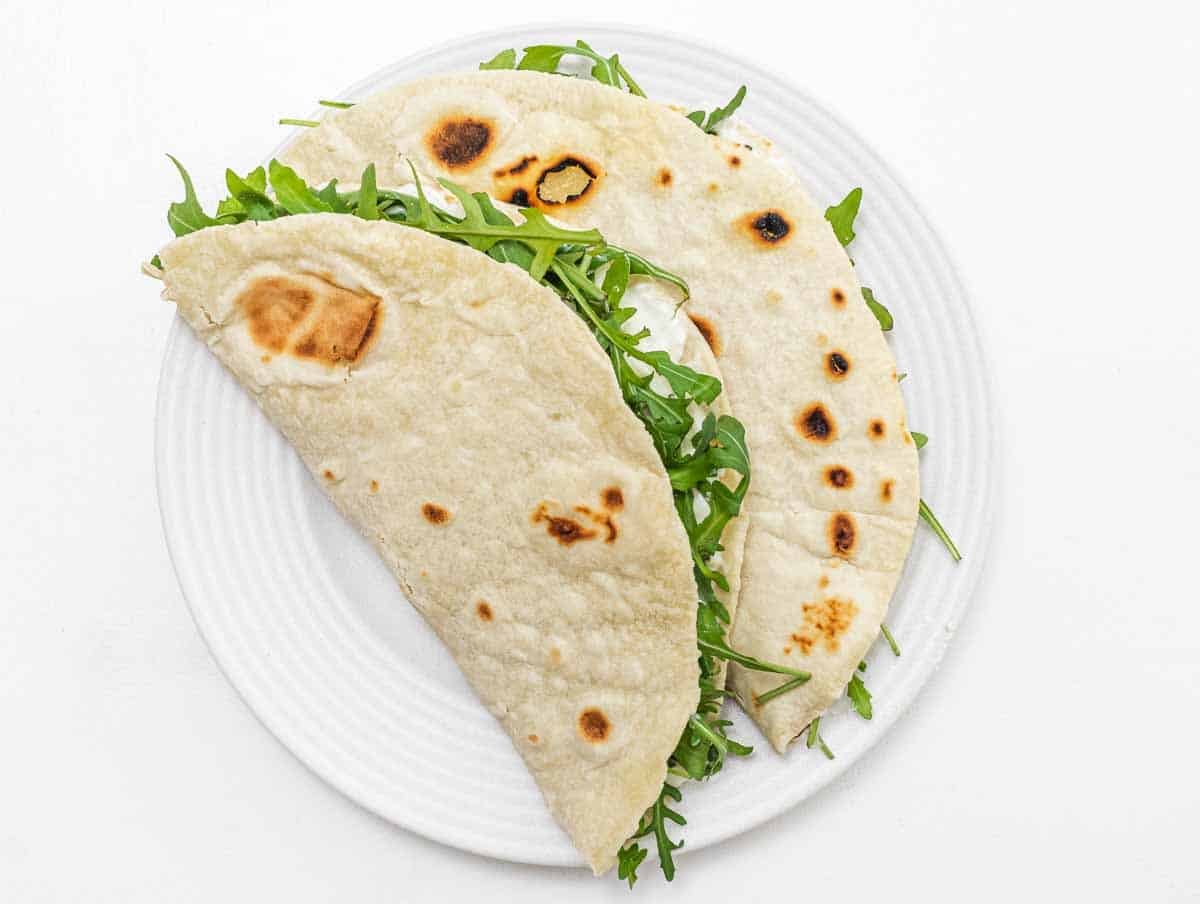
Some of the most popular fillings for piadina are prosciutto and parma ham (Italian cured ham) with mozzarella, stracchino (an Italian soft cheese) with arugula, and a sweet one with Nutella.
We make a mean dairy-free melty cheese that is extremely similar to the Italian one, and it’s perfect inside this Italian flatbread.
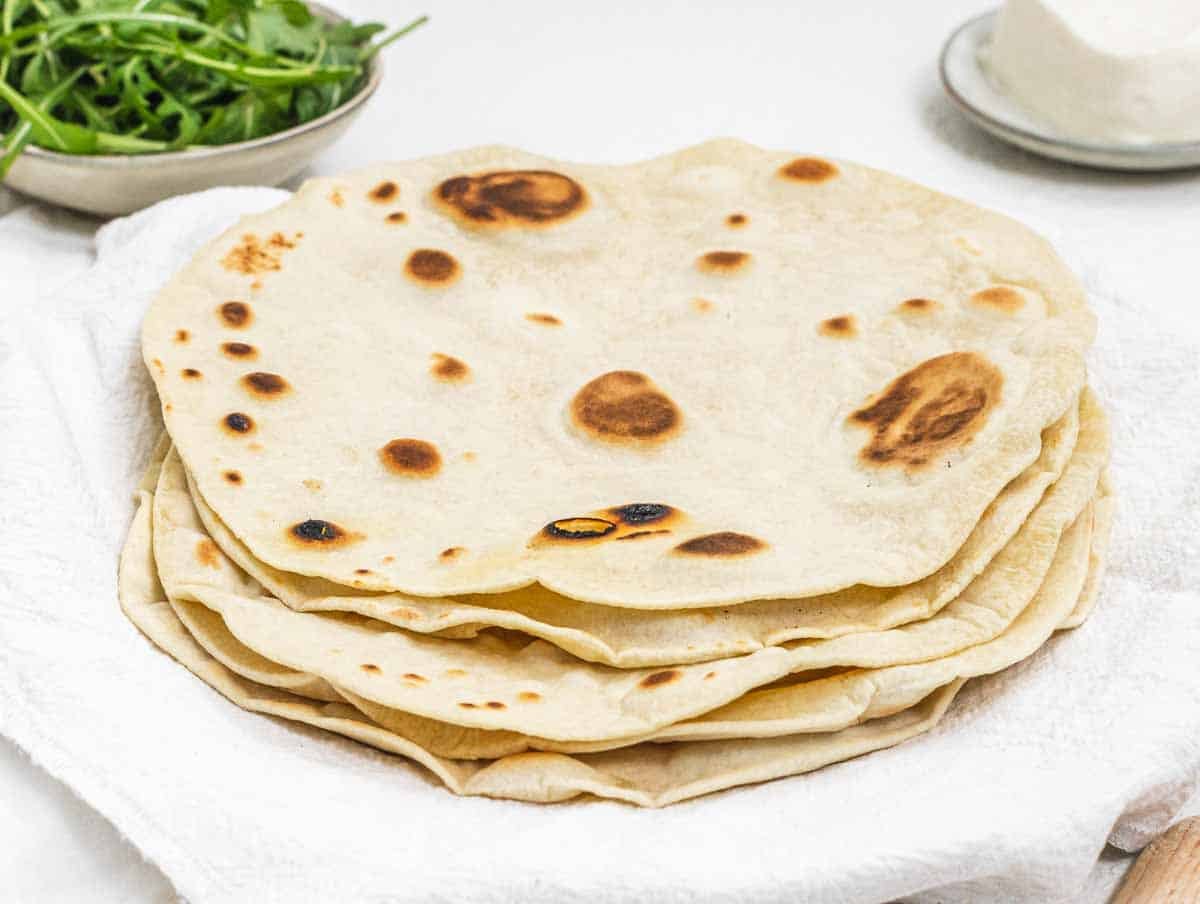
From our recipe, you can expect a soft, thin, rollable, foldable, and easy-to-make piadina.
Ingredients
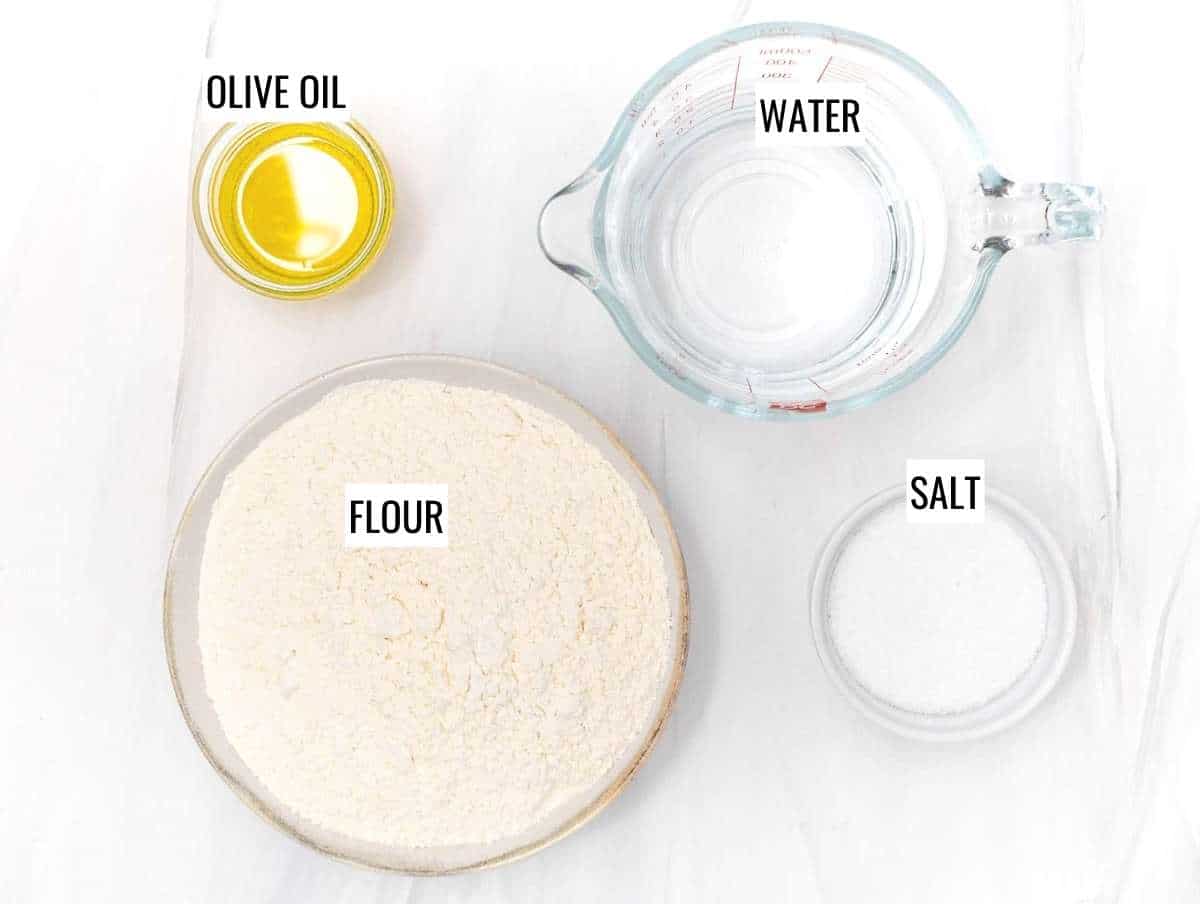
Flour
All-purpose flour or bread flour is best.
You can also do it with half all-purpose and half whole-wheat flour, but the flatbread will turn out harder to fold.
Water
Use lukewarm water; it makes it easier to hydrate the flour.
Sometimes warm milk is used, but we prefer to stick to water.
Olive oil
Piadina was traditionally made with lard, but nowadays, most people prefer to make it with extra virgin olive oil. We also do it like that.
Salt
To add taste to the flatbread.
Equipment
To make piadina, you will need a clean worktop, a bowl, and a rolling pin to shape and flatten the dough and a nonstick or cast iron skillet to cook it.
Instructions
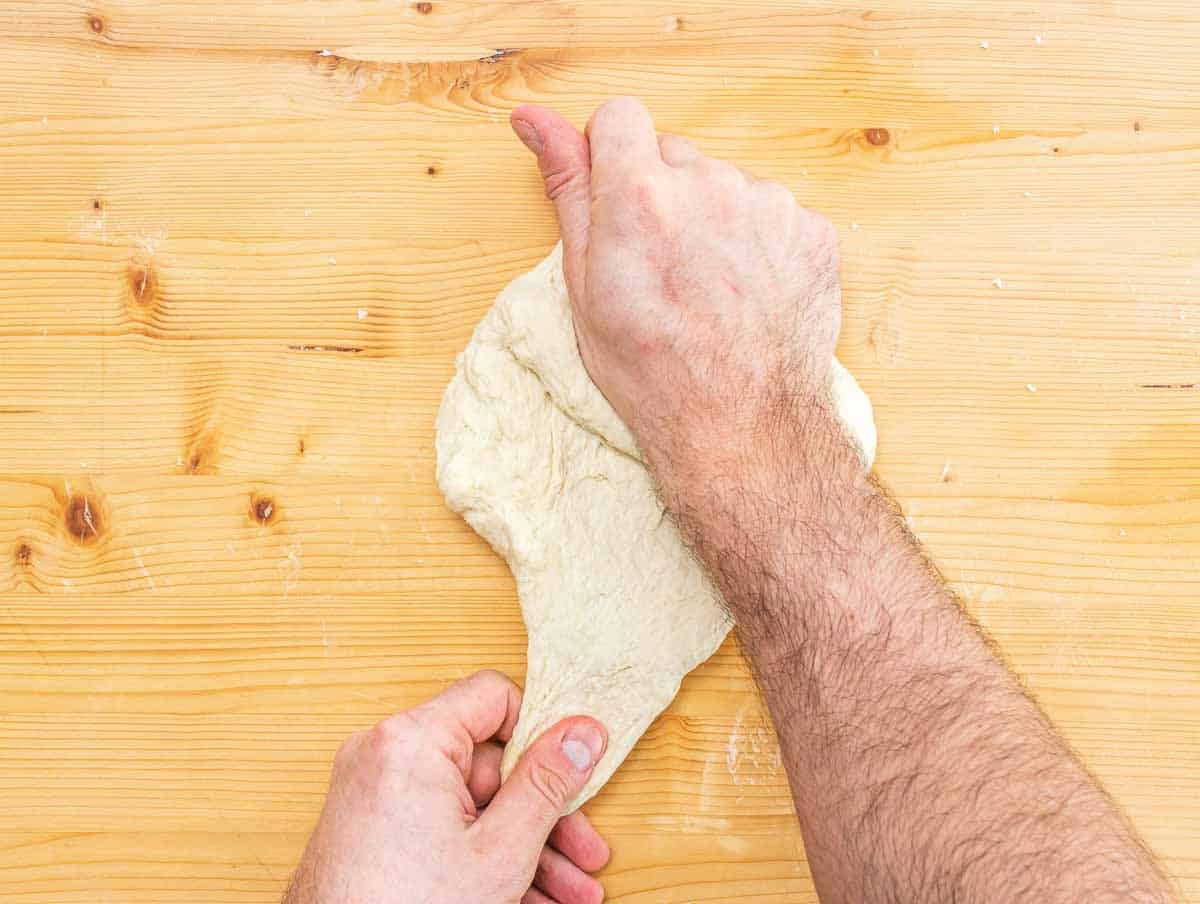
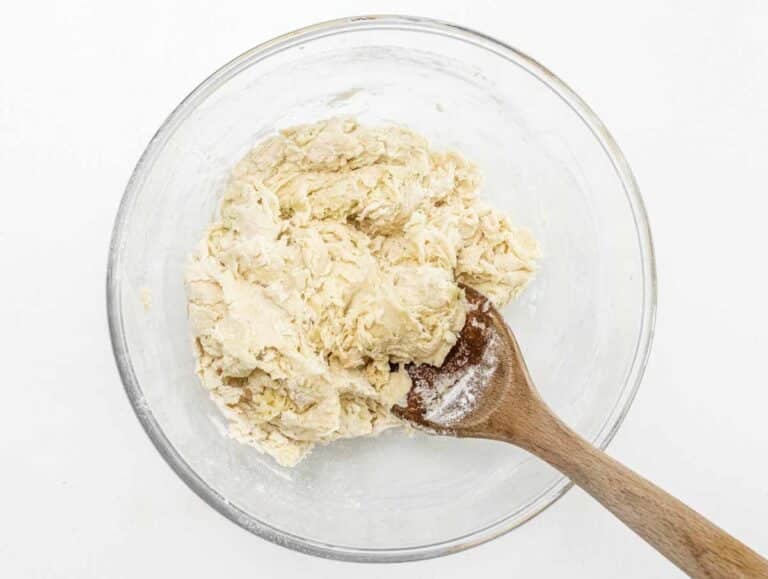
Add flour, salt, warm water, and olive oil to a large mixing bowl. Mix the ingredients with a spoon until you have a dough ball.

Transfer the dough to a worktop that you previously sprinkled with flour, and knead for 5 minutes until you have a soft, compact, and smooth ball.
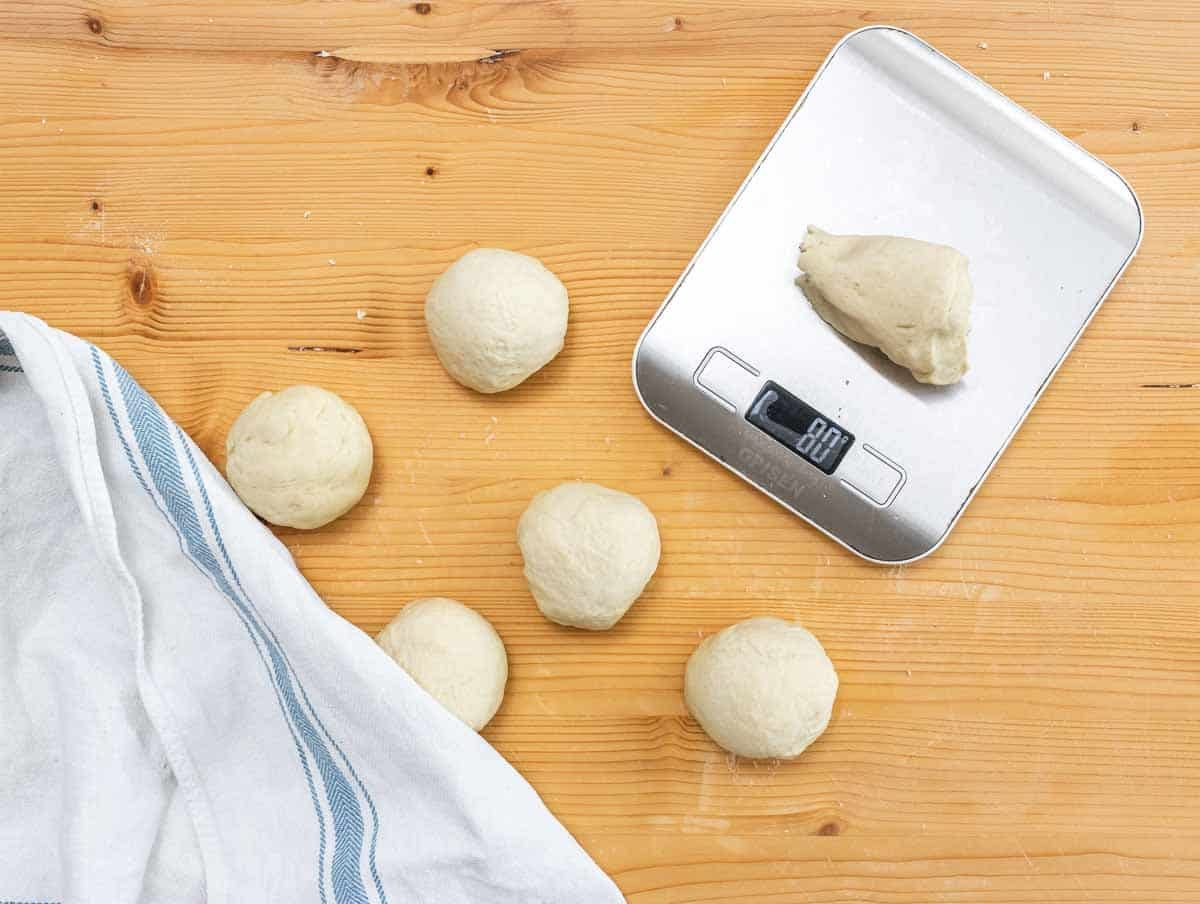
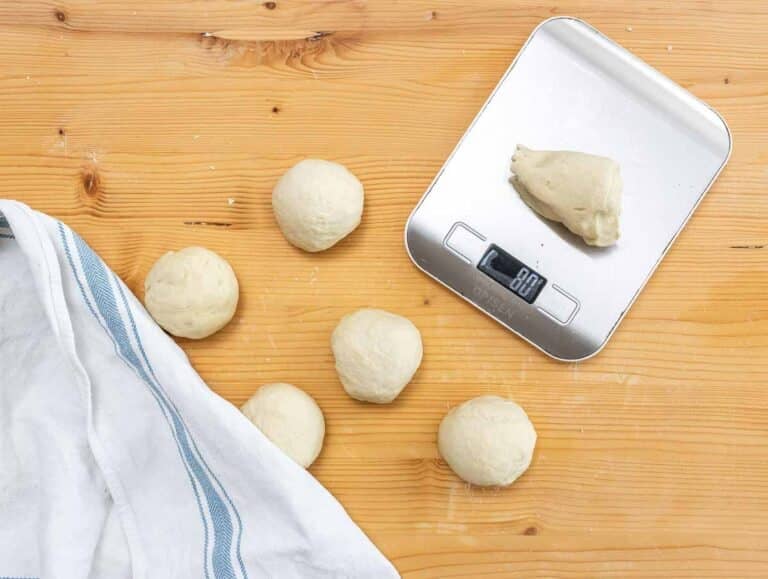
Cut the dough into 6 equal pieces of about 80 grams each (2.8 ounces), then shape each piece into a ball. Cover with a cloth or plastic wrap and rest for 15 to 30 minutes.
Resting is essential because it allows the gluten in the flour to relax, and it’ll be easier to roll out the dough.
After the dough has rested, start warming up a nonstick or cast iron skillet on medium heat.
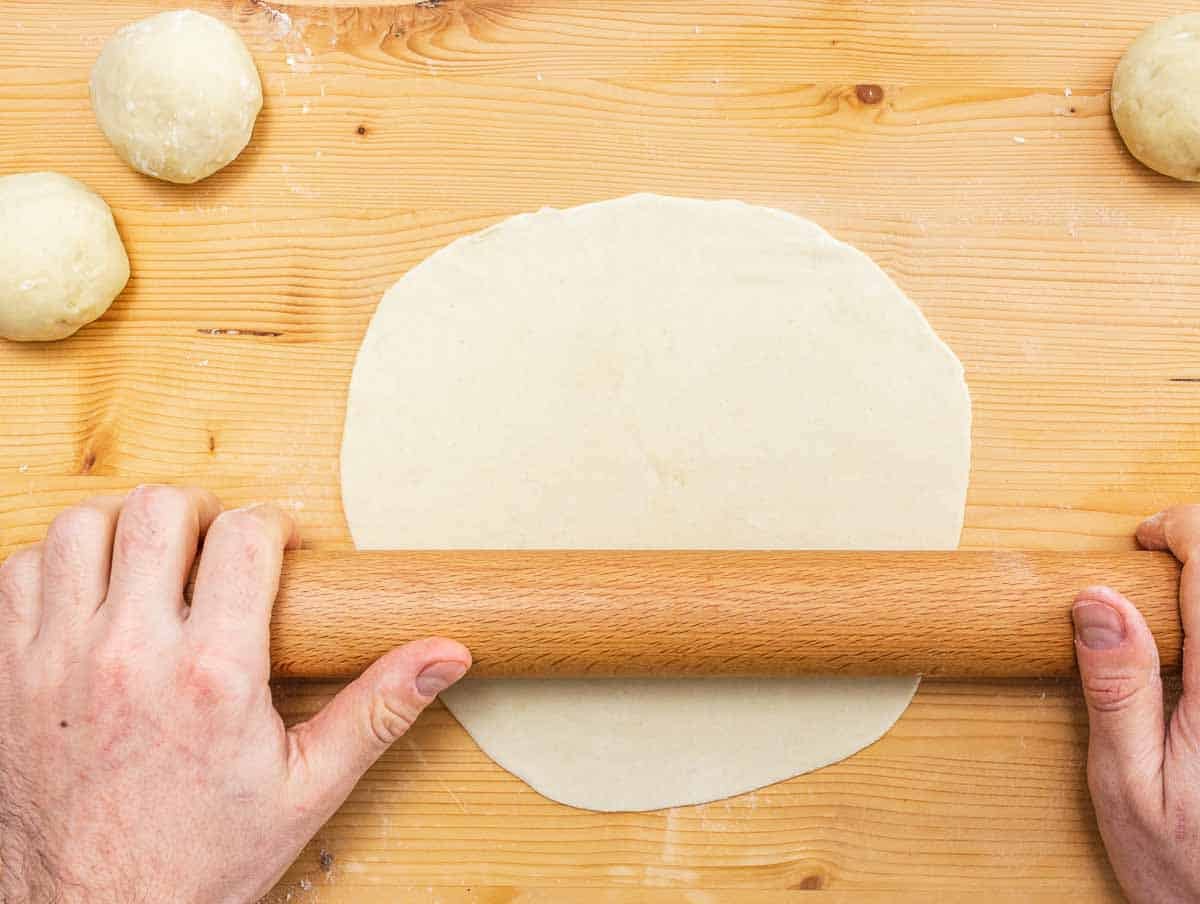
While the pan warms up, you can flatten the first ball into a thin, round flatbread (piadina).
Rotate the dough often while you roll it out to get a regular round shape. You should aim for 2-3mm thin discs.
Sprinkle your work surface and the dough with flour to prevent it from sticking.
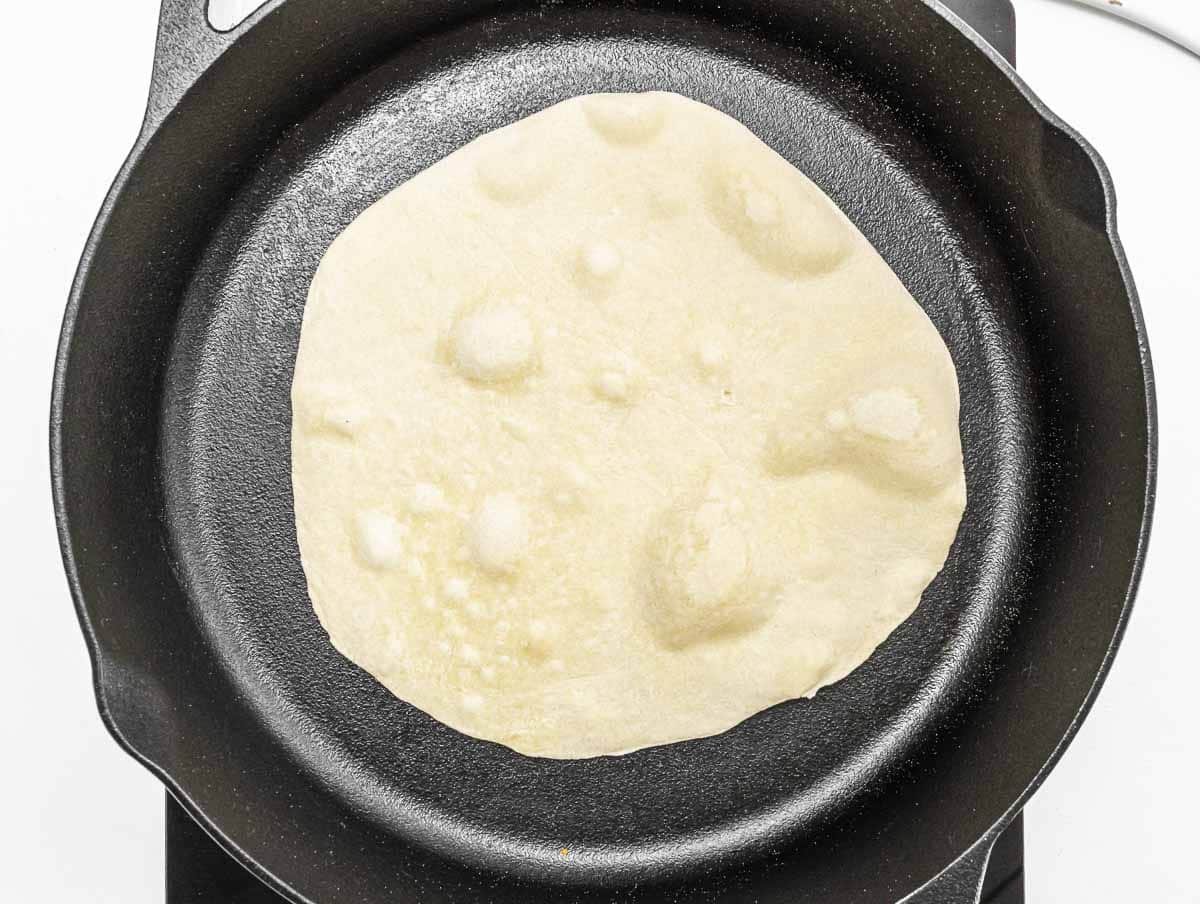
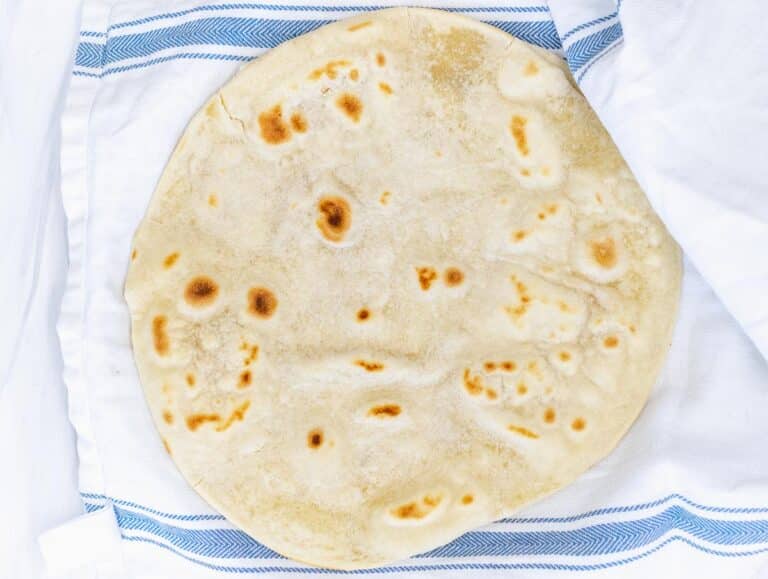
Cook the piadina on the hot skillet. The pan should be hot, but the heat/flame should be low. Let cook for about 2 minutes on one side and 1 minute on the other.
You’ll see bubbles as the piadina cooks.
Put it on a plate in between a clean kitchen cloth when it’s cooked. This will help preserve moisture. Repeat with the other flatbreads till you are done.

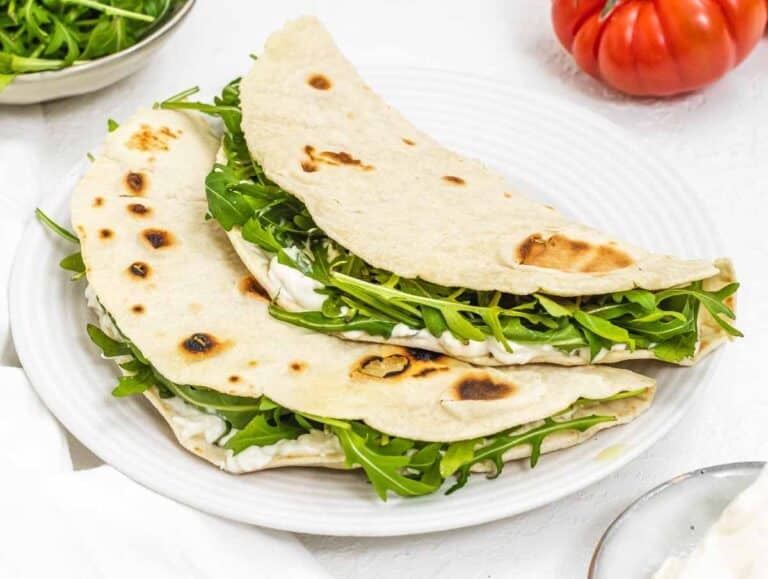
Fill up with your favorite filling, and enjoy!
We recommend Italian fresh cheese like stracchino, robiola, and squacquerone cheese. If you are vegan, you can try our melty vegan cheese, then add plenty of arugula as a filling.
Serving Suggestions
Serve as a vegetable-packed lunch:
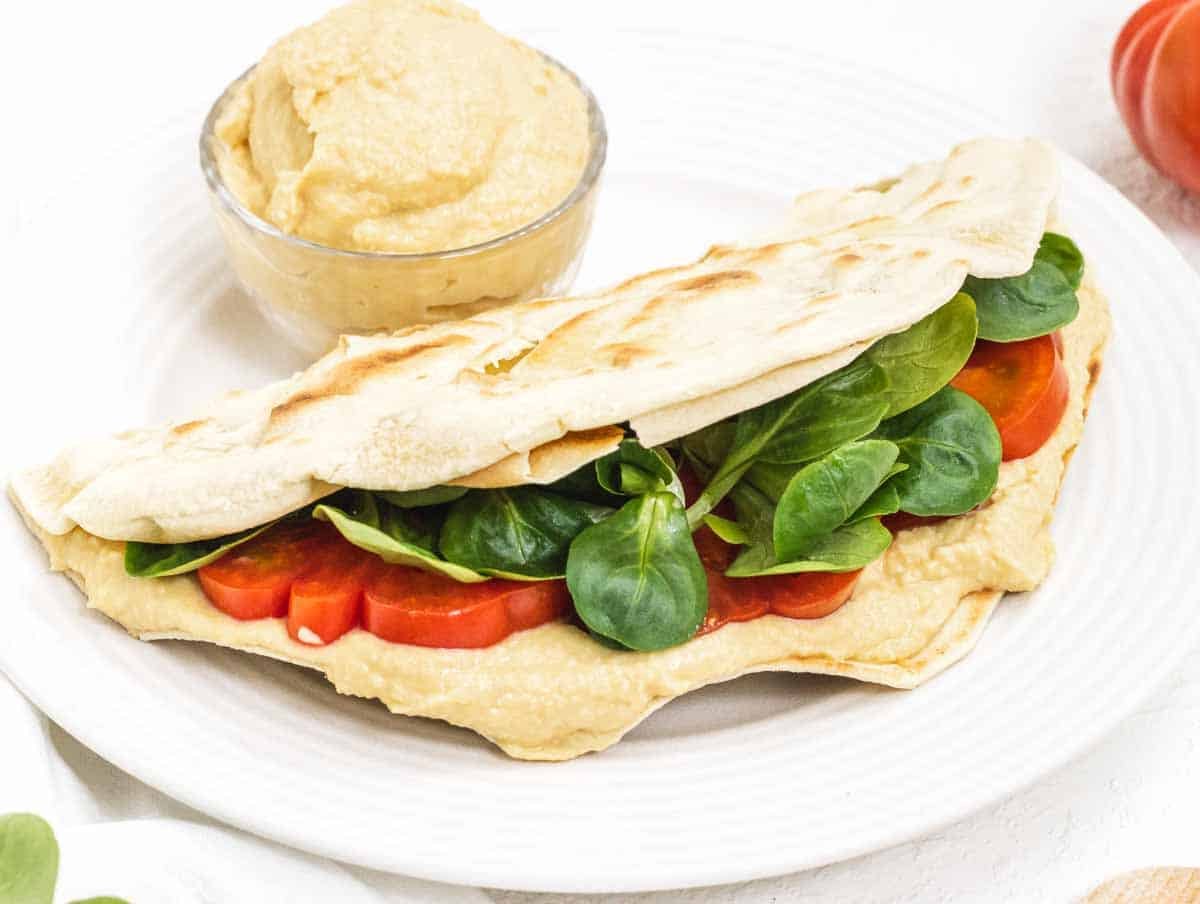
This piadina is perfect for a quick and wholesome lunch with mashed chickpea “tuna” or creamy-dreamy hummus and lettuce leaves.
They are wonderful for meal prep and as a healthy lunch.
You can pair it with a variety of spreads and leafy greens:
- Chickpea salad, and this vegan mayo together, it is an easy but tasty lunch,
- Hummus, sliced tomatoes, and green leaves,
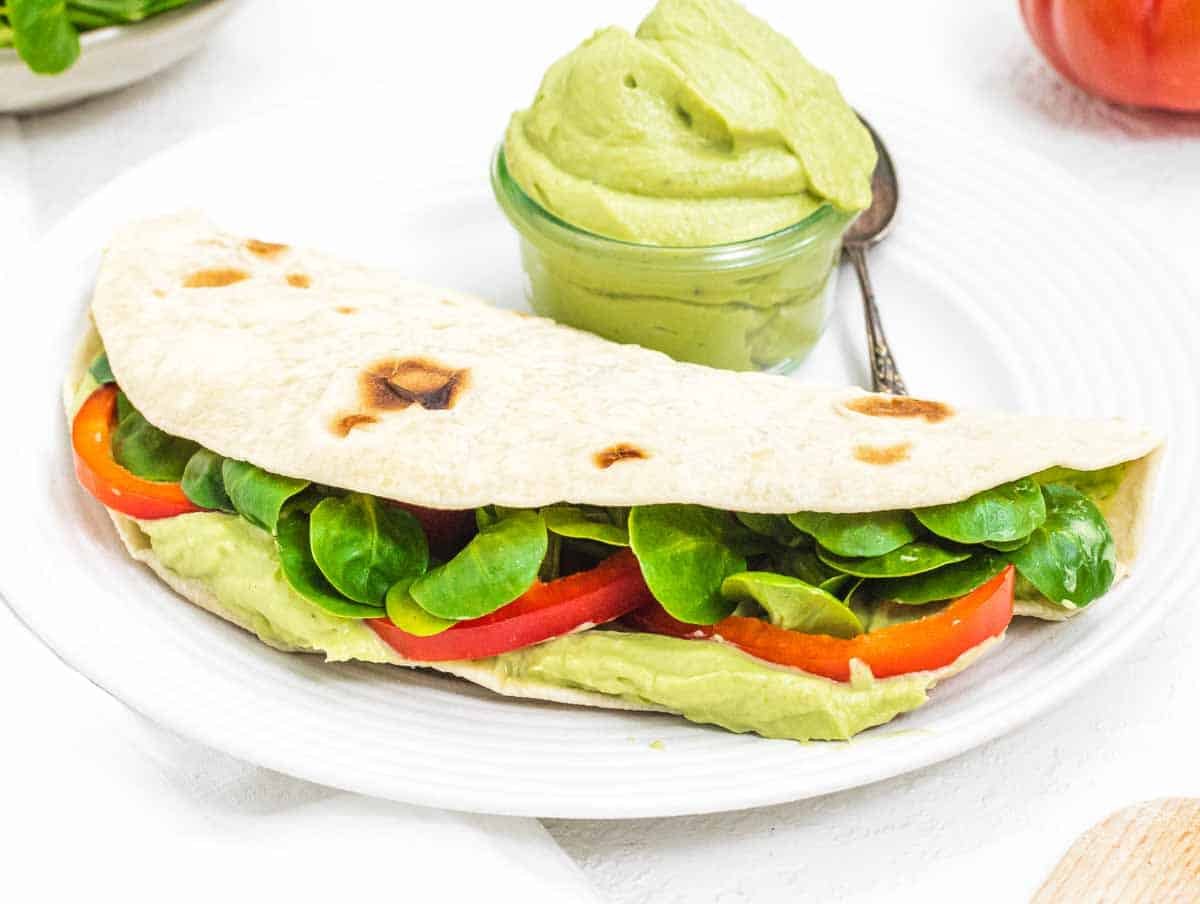
- Avocado spread and tomatoes and greens.
- Lentil hummus and veggies.
As an easy dinner with:
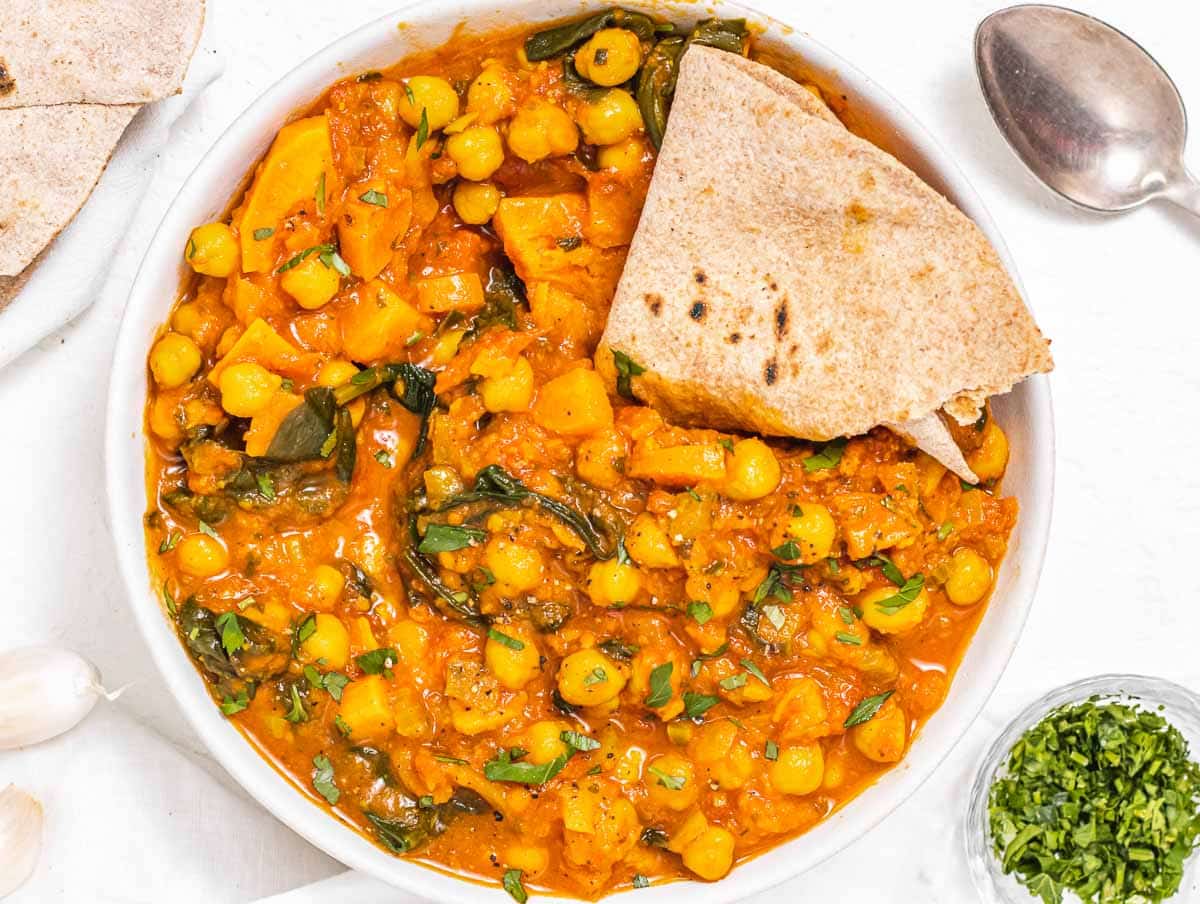
- Chickpea stew and a side of cauliflower rice.
- Vegan butter chicken (tofu, vegan cream or cashew nuts, tomato paste, coriander, etc.)
- Chana masala (canned tomatoes, chickpeas, turmeric, cumin, coriander, etc.).
- Any curry or soup of your choice.
Variations
What you are about to see is not related to the Italian tradition; however, we love mixing traditional and modern dishes and trying something new. If you are the same, then try piadina with:
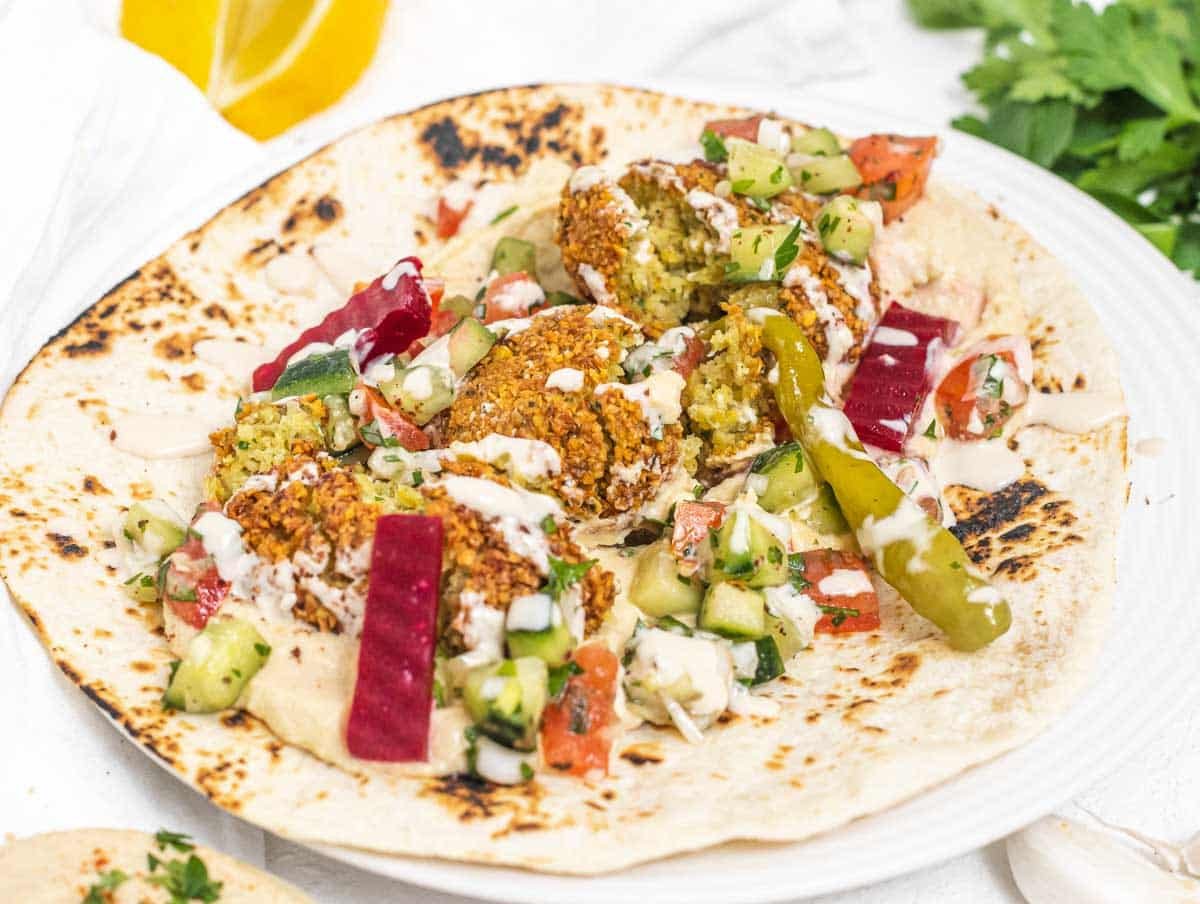
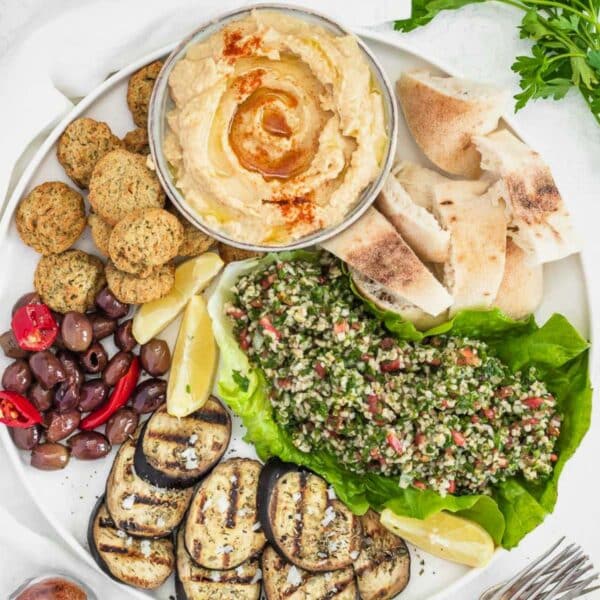
Hummus and falafel
This one’s our favorite filling variation. Spread a generous layer of homemade hummus in the center of the piadina. Add falafel, smash them with the tines of a fork, then top with shirazi salad, jalapeños, pickled veggies, and a drizzle of tahini sauce.
Let us know what you think!
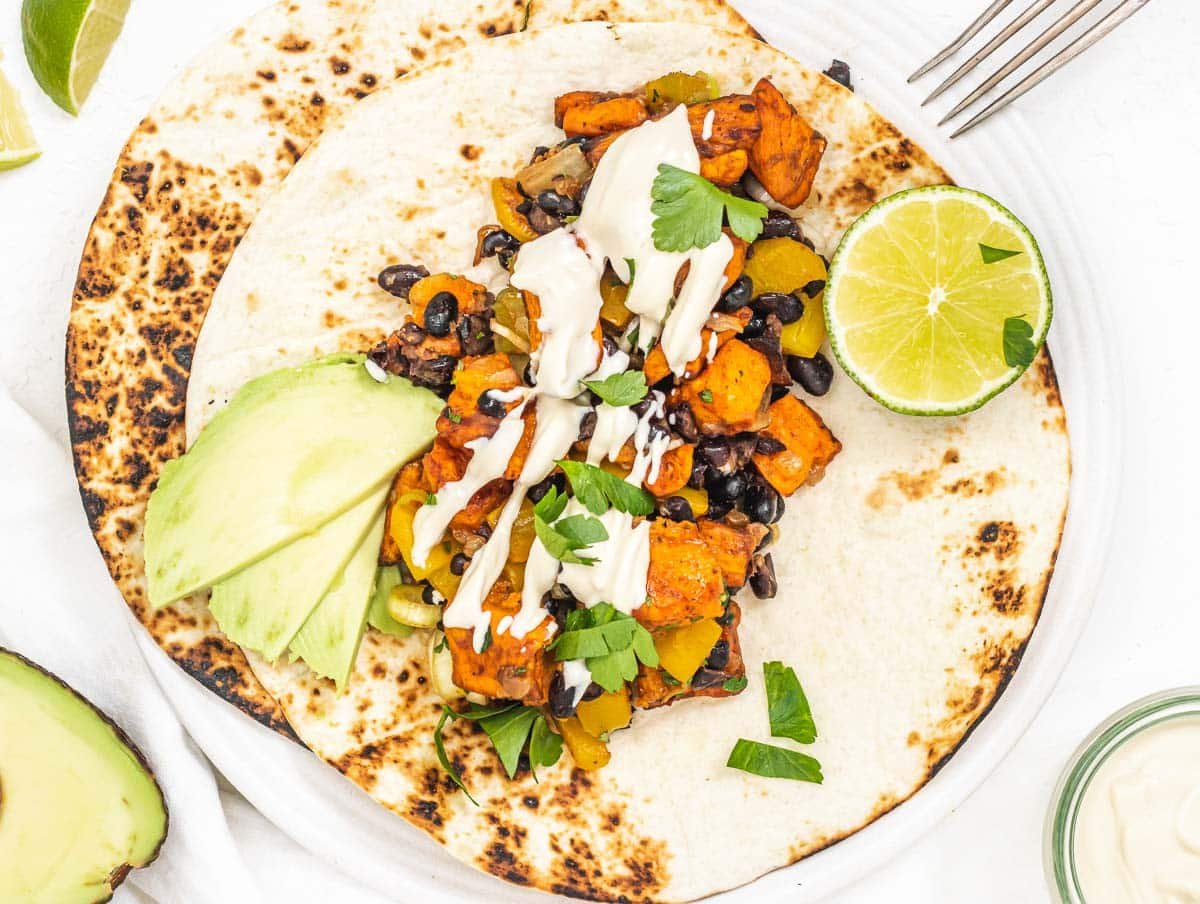
Sweet potato hash
Another delightful filling for this piadina is sweet potato hash, a delicious and nutritious breakfast, lunch, or dinner meal.
We like to top this with sliced avocado, cashew sour cream, lime, and cilantro.
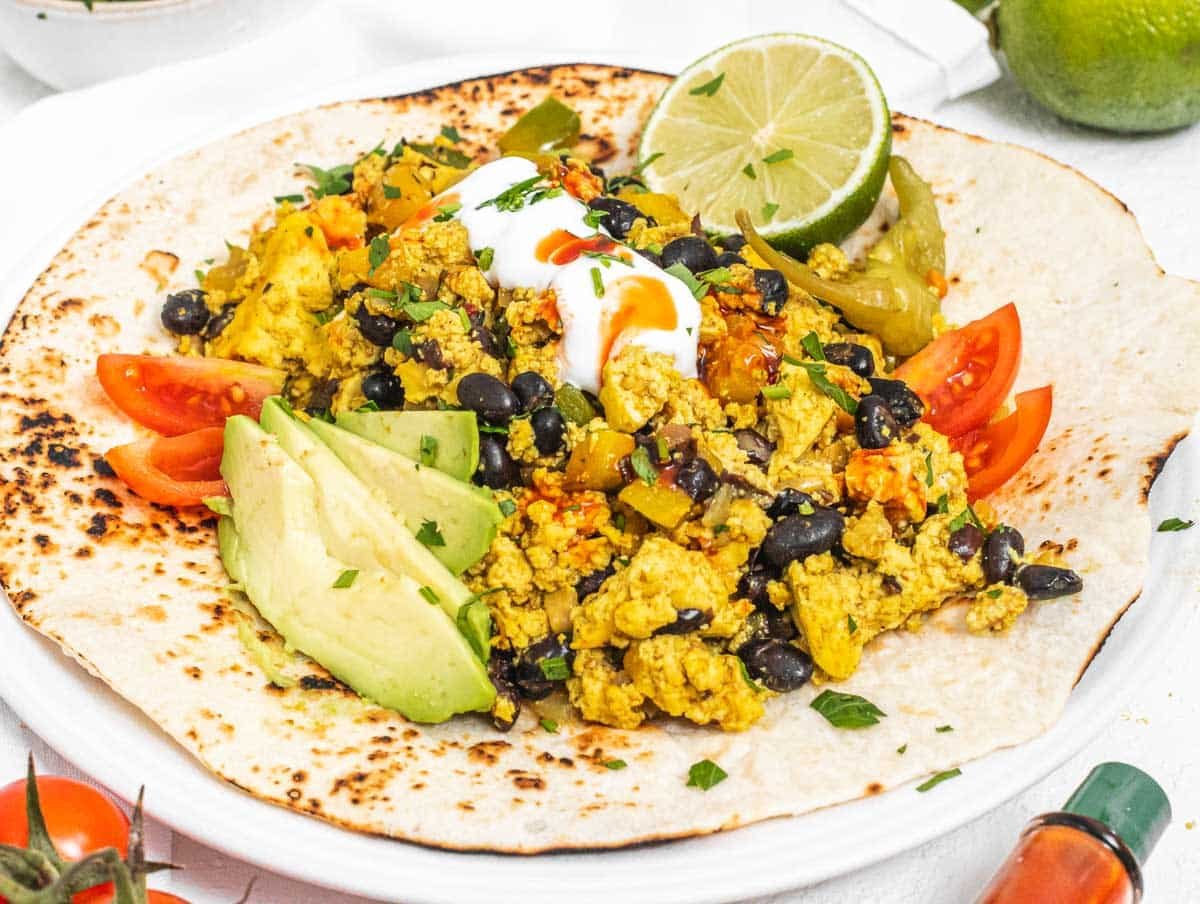
Breakfast wrap filling
Made with our tofu scramble, black beans, bell peppers, and spices, this Mexican-inspired meal is excellent as a filling for piadina (and tortilla).
It’s surprisingly easy to make and delicious and fulfilling.
Tips
- Let the dough rest: it’s essential for the gluten network to relax, and it will be easier for you to roll out the dough. A 15 to 30-minute rest should be enough. Cover the dough with a cloth during this time.
- Don’t let it dry: don’t let the dough dry out in the air. Instead, keep it covered under a kitchen cloth. The dry dough is hard to flatten, and it will result in a harder, drier Italian flatbread.
- Roll out one at a time: it’s best to roll out the dough one piadina at a time, just before cooking it. This will prevent the Italian flatbread from drying.
- Preserve moisture: while cooking the flatbreads one after the other, you can put the cooked ones on top of each other, covered/wrapped by a clean kitchen cloth to preserve moisture.
Make Ahead & Storage
Make ahead: you can make the dough ahead of time and let it rest in the fridge for up to 8 hours, wrapped in foil. You can also cook the piadina and keep it for two days before it gets stale.
Plastic bag: store it in a plastic bag for up to 2 days. It can be reheated in a microwave or skillet for a few minutes.
Freezer: let them cool down completely, transfer them into a freezer-friendly plastic bag, and freeze them for up to 3 months.
More bread recipes
If you liked this Italian flatbread, you might also like our other bread recipes:
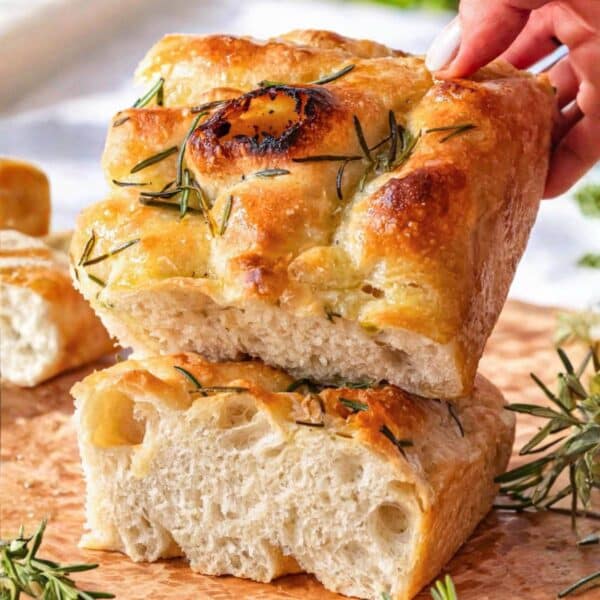
- Focaccia bread (flour, rosemary, sugar, instant dry yeast, coarse sea salt, etc.)
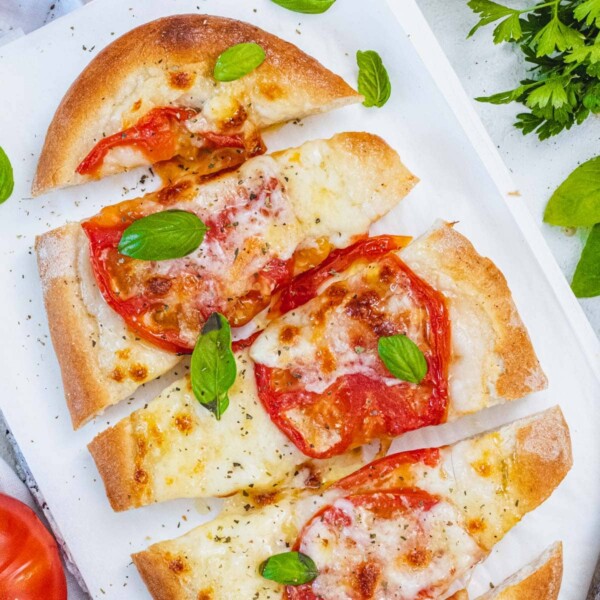
- Flatbread pizza (all-purpose flour, instant dry yeast, sugar, garlic, parsley, etc.)
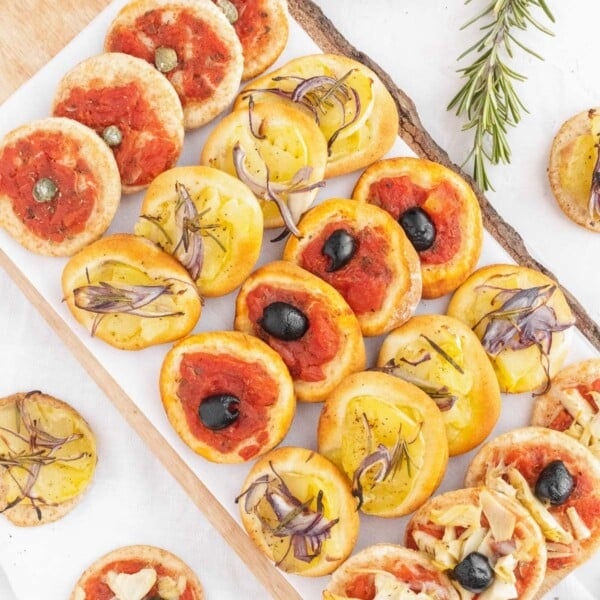
- Mini pizzas (canned tomatoes, oregano, black olives, store-bought pizza dough, etc.)
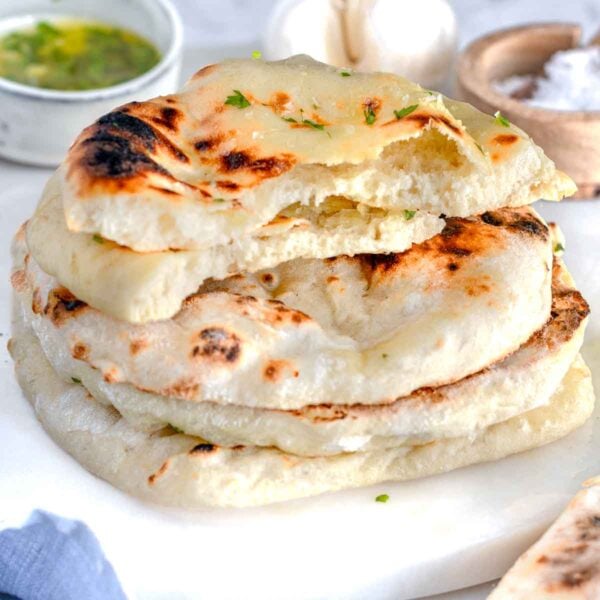
- Naan bread (all-purpose flour, instant dry yeast, sugar, olive oil, garlic, parsley, etc.)
Bread Recipes
Naan Bread
Recipes
Flatbread Pizza
Bread Recipes
Easy Focaccia Bread (No Knead, One Bowl)
Starters
Mini pizzas
For many more bread ideas, check out our bread category page.
Italian Flatbread (Piadina)
Video

Equipment
- Rolling pin
- Nonstick or cast iron skillet
Ingredients
- 2 cups all-purpose flour
- ½ cup + 2 tablespoons water warm
- 2 tablespoons extra virgin olive oil
- 1 teaspoon salt
Instructions
- Add flour, salt, warm water, and olive oil to a large mixing bowl.Mix the ingredients with a spoon until you have a dough ball.

- Transfer it to a worktop sprinkled with flour, and knead for 5 minutes until you have a soft, compact, and smooth ball.
- Cut the dough into 6 equal pieces of about 80 grams each (2.8 ounces).Shape each piece into a ball. Cover with a cloth and rest for 15 to 30 minutes.
- Flatten the first ball into a thin, round flatbread.Rotate the dough often while you roll it out to get a regular round shape. You should aim for 2-3mm thin discs. Sprinkle your work surface and the dough with flour to prevent it from sticking.
- Cook the piadina on a hot skillet on medium-low heat. Let cook for about 2 minutes on one side and 1 minute on the other.
- When cooked, put it on a plate in between a clean kitchen cloth when to preserve moisture. Repeat with the other flatbreads till you are done.
- Fill up with your favorite filling, and enjoy!We recommend Italian fresh cheese like stracchino, robiola, and squacquerone cheese with plenty of arugula.


Notes
Nutrition
Don’t Lose This Recipe
If you liked this recipe, you might also like:
Collections
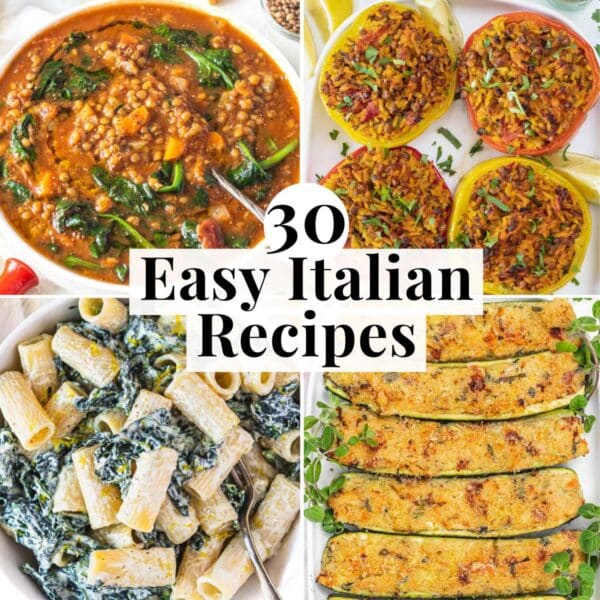
30 Easy Italian Recipes
Collections
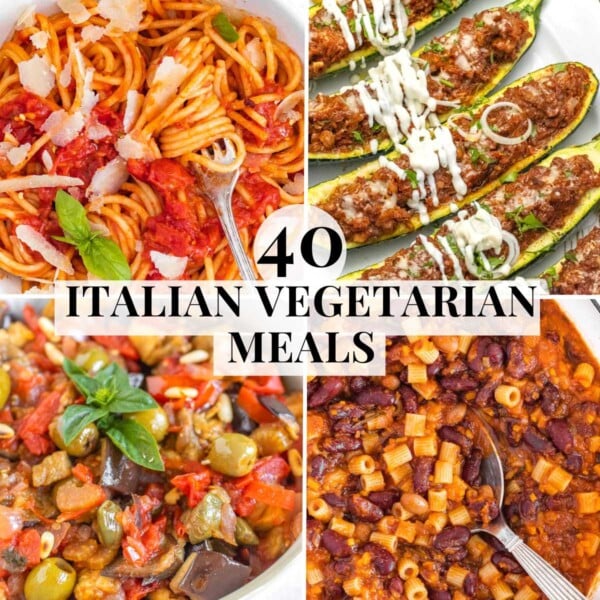
40 Italian Vegetarian Dishes
Collections
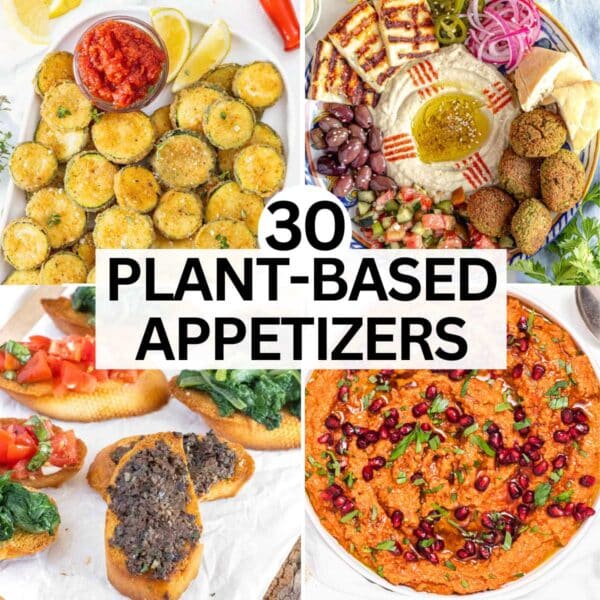
30 Vegan Appetizers
Collections


Saw this on Pinterest and gave it a try. As a college student, it is quick and easy, and I save money. It is also delicious.
I’m so happy that you enjoyed it, Kadijah 🎉
Thanks so much for leaving your feedback here ☀️