This pita bread recipe is very easy to make: it takes less than 2 hours and consists of wheat flour, water, salt, yeast, and olive oil.
You can bake it in a regular oven, on a pizza stone, in a pizza oven like Ooni, or on the stovetop in a skillet.
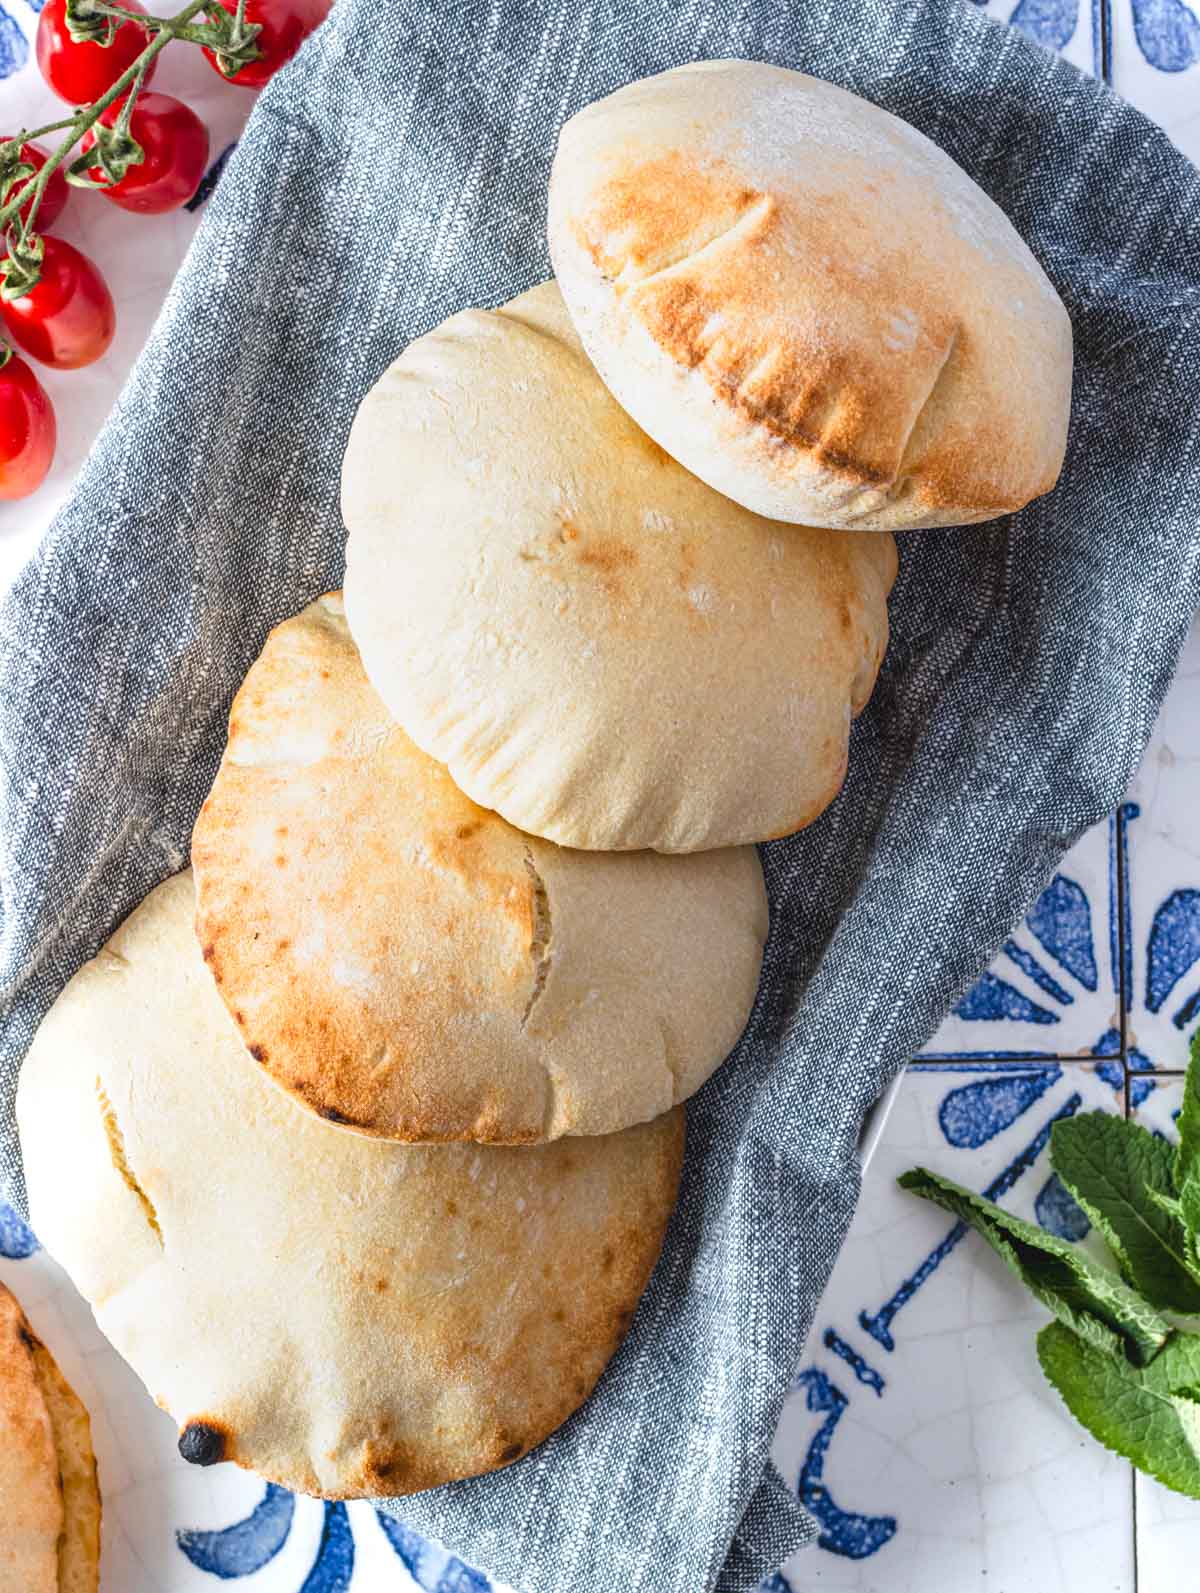
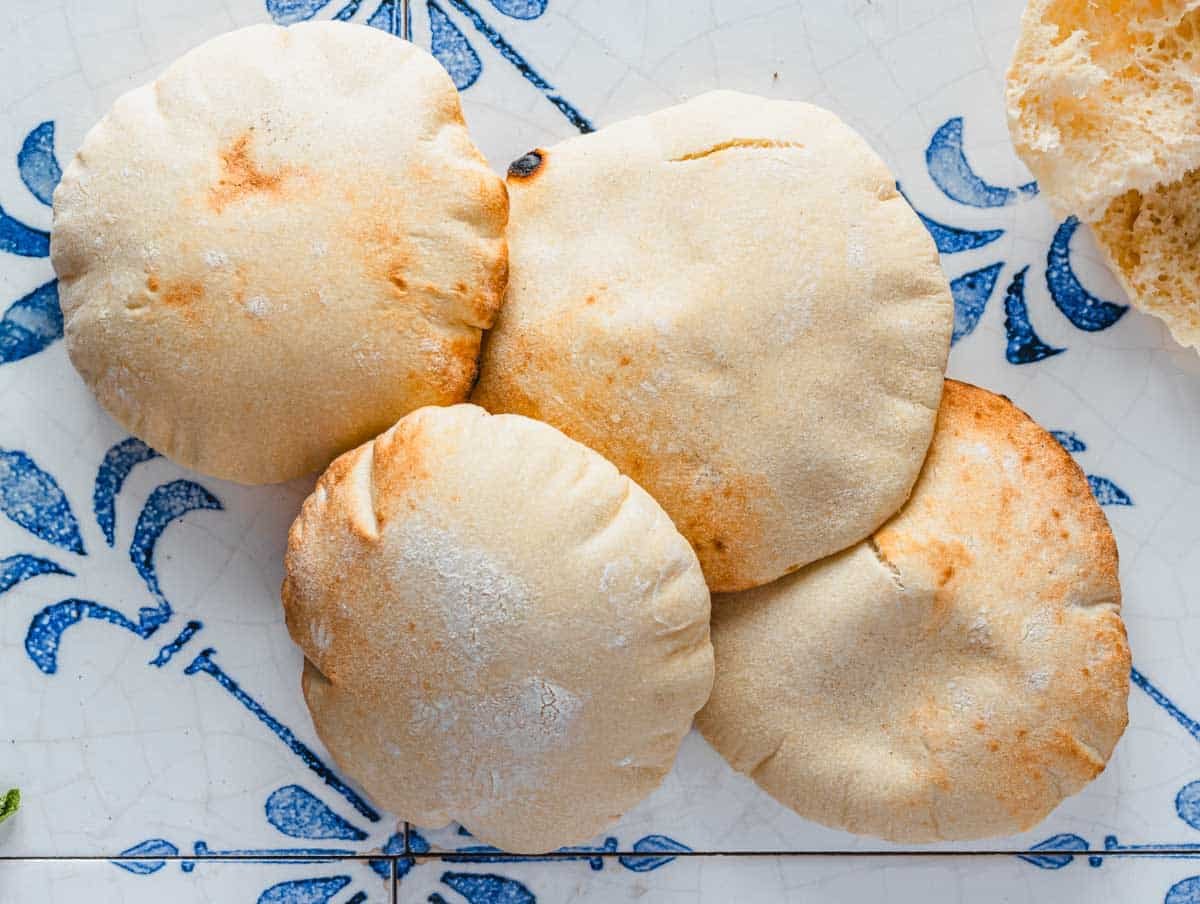
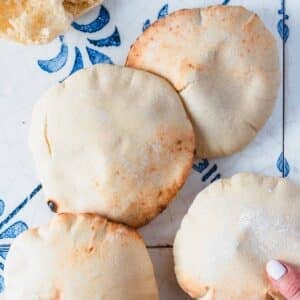
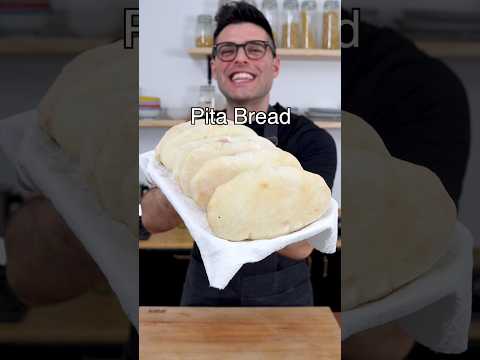
Expect pita bread that is soft, fragrant, pillowy, and with pockets of air in the center that are excellent for filling or dipping in your favorite sauce.
Don’t Lose This Recipe
Table of Contents
Dietary Note: this recipe is suitable for a vegetarian and vegan diet.
Don’t have time to read the full blog post? JUMP TO RECIPE HERE!
What is pita bread?
Pita is a family of flatbreads from the Eastern Mediterranean, North African, Levantine, and Arabic regions.
It’s sometimes called Arabic Bread or khubz and has a history that goes back thousands of years.
It is one of the simplest and most basic forms of bread, and it’s the perfect recipe to try at home as it is straightforward and can be made with short proofing and simple pantry staples.
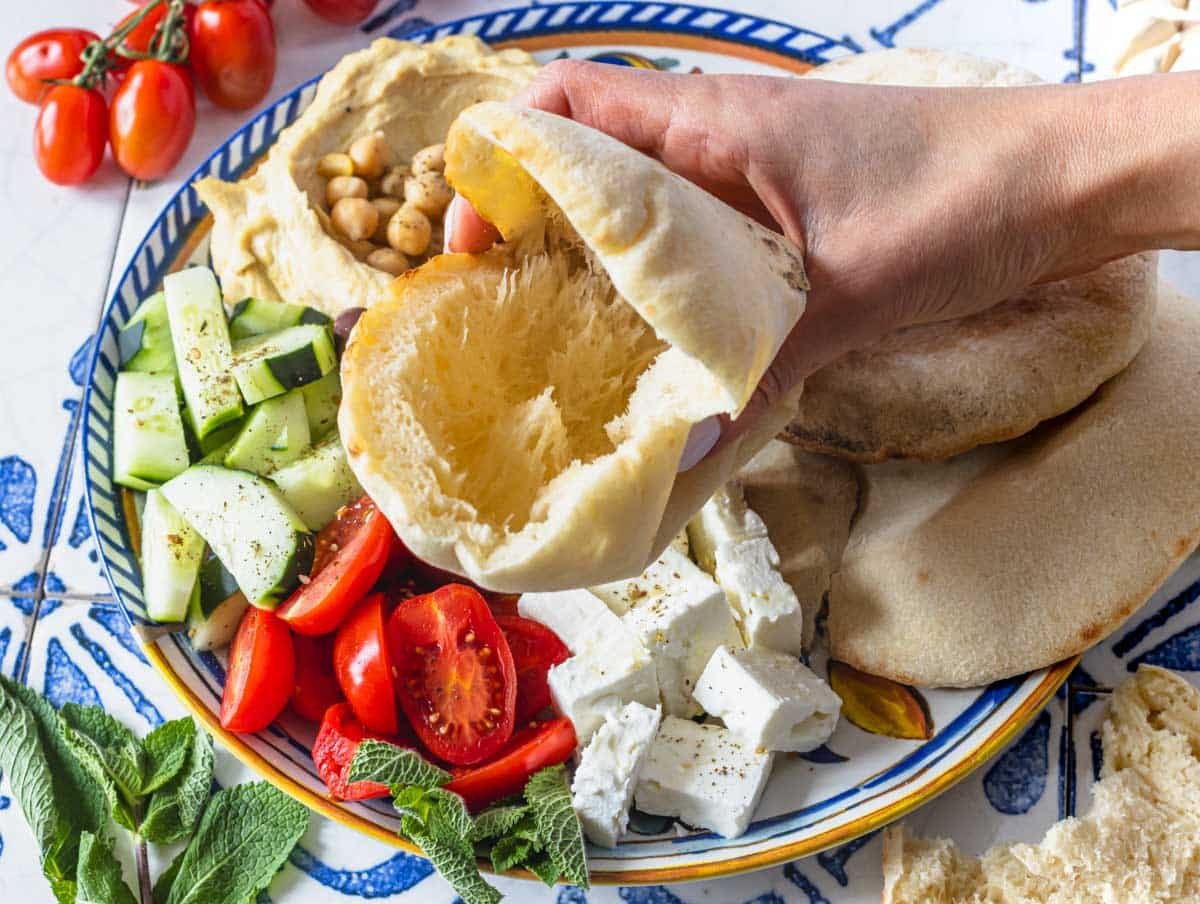
What makes fresh homemade pita bread special is its fragrant aroma of freshly baked bread, its pillowy and slightly chewy texture, and its hollow pocket-like interior.
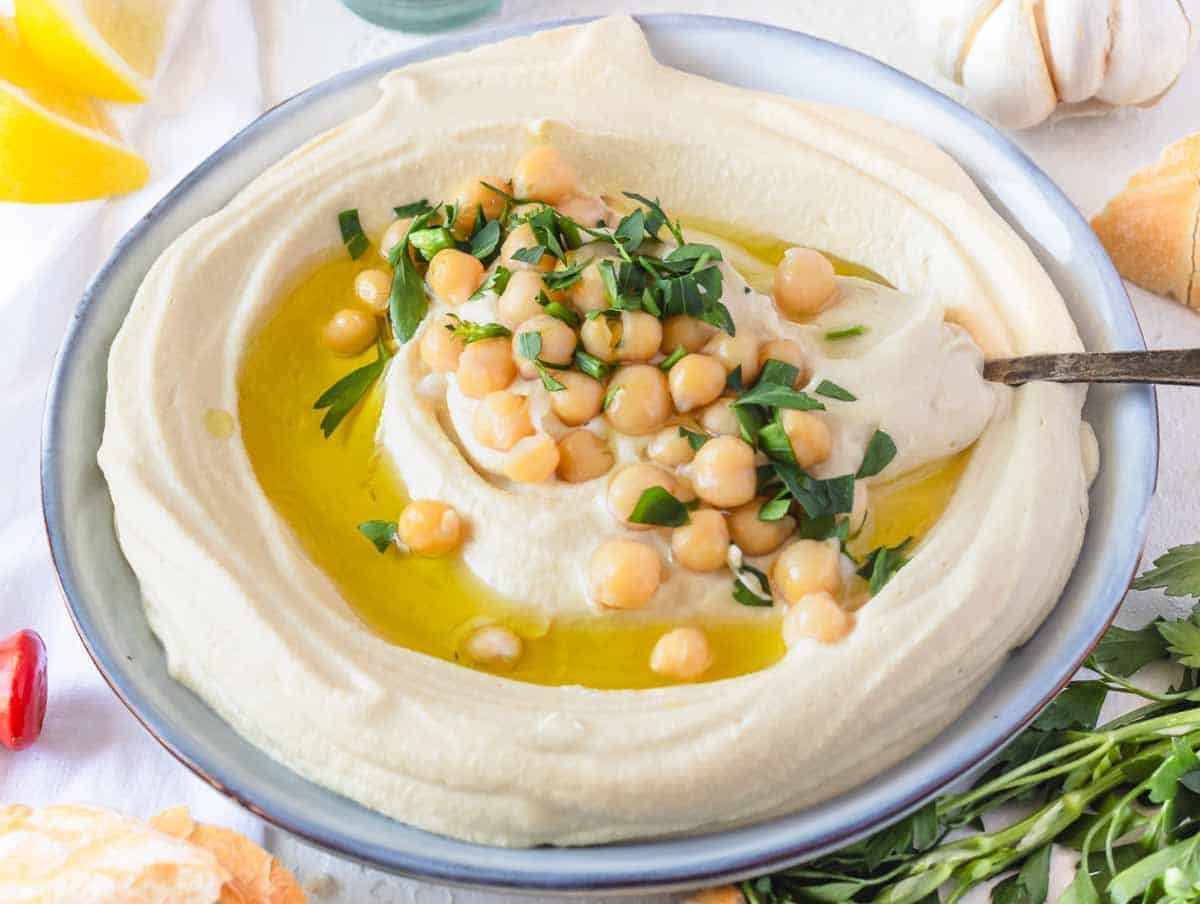
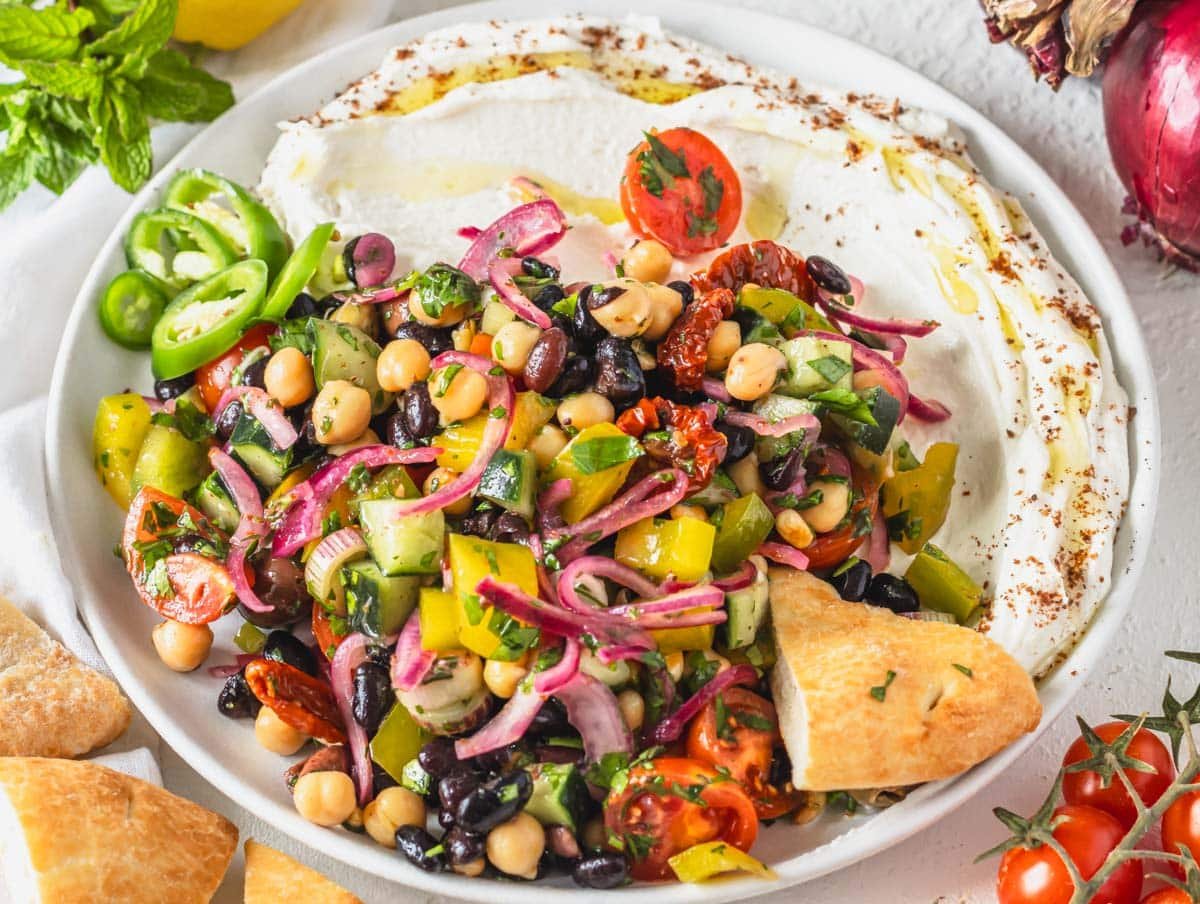
Homemade pita is perfect for stuffing with roasted or fresh veggies, hummus, masabacha, and falafel or to dip in your favorite spread.
Warm pita is also delicious dipped in extra virgin olive oil and za’atar or simply as a replacement for store-bought bread.
IT GOES WELL WITH: baba ganoush, muhammara, Shirazi salad, and red pepper hummus.
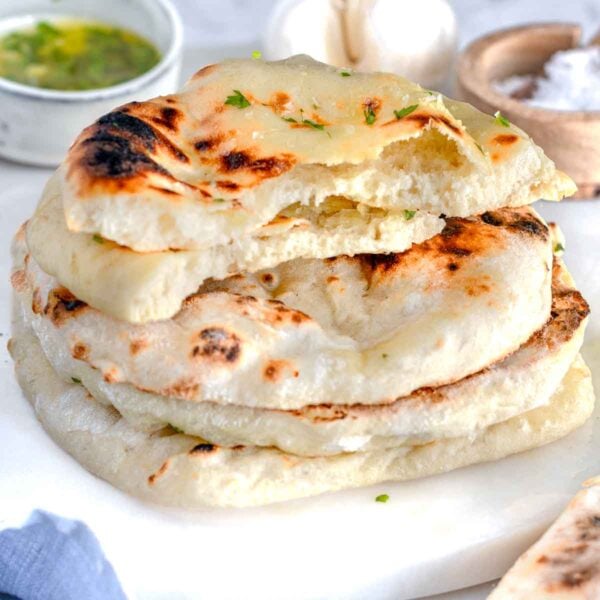
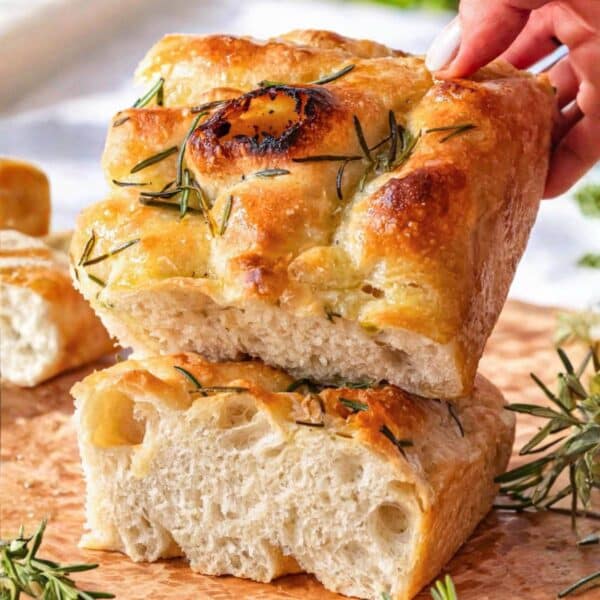
SIMILAR RECIPES: Ooni pizza dough, focaccia, naan, roti.
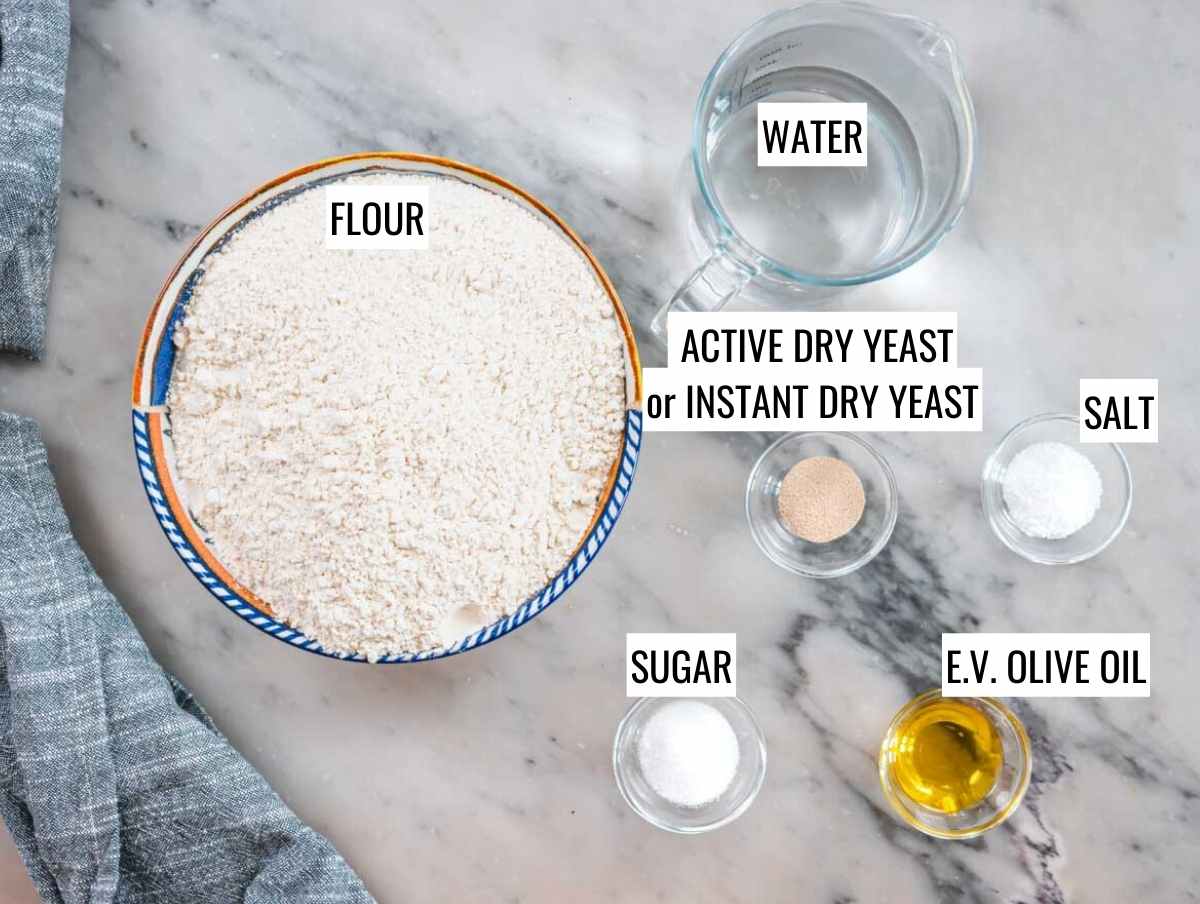
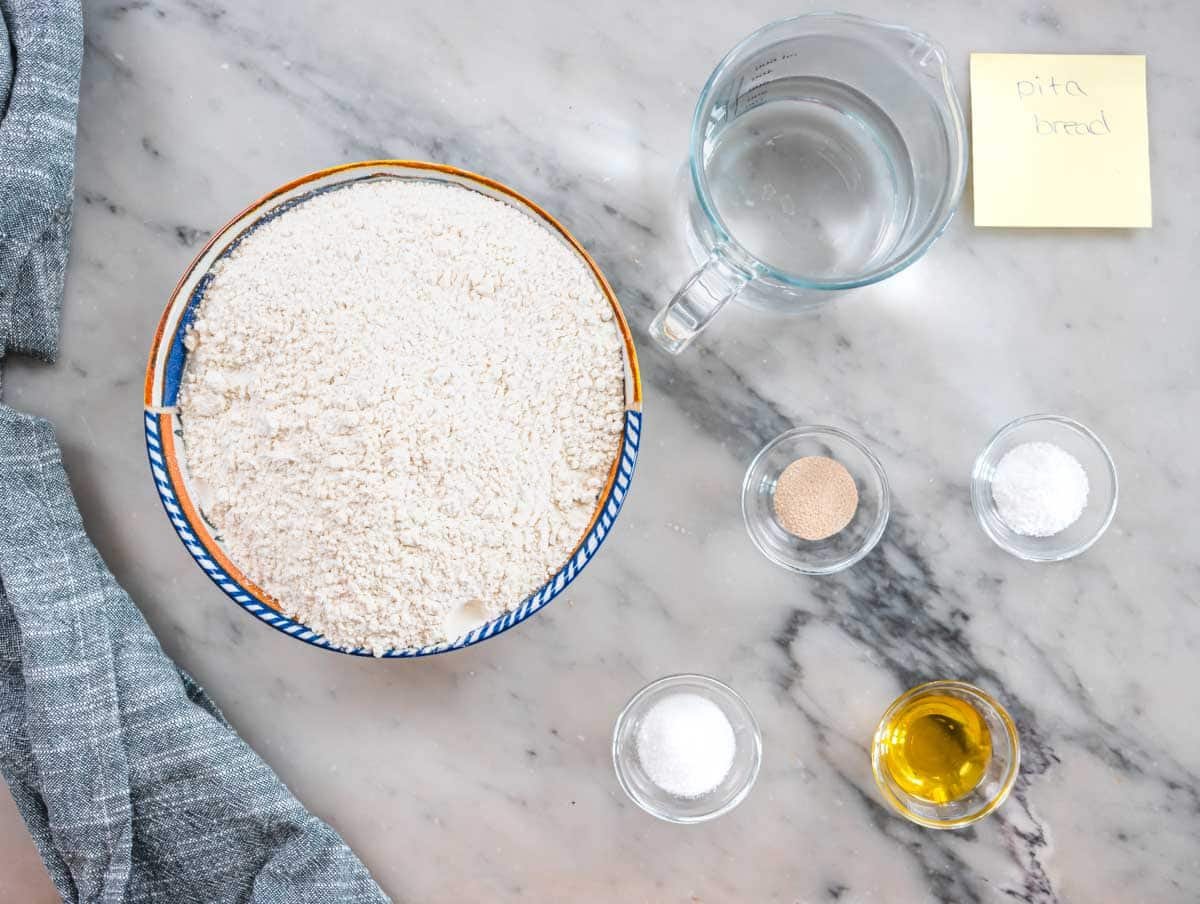
Ingredients & substitutions for pita bread
Quantities are in the recipe box at the bottom of the page.
Flour
You can make pita bread with all-purpose flour or bread flour.
Or use Italian pizza flour or 00 flour to make the lightest, fluffiest, and most pillowy pita bread.
For a more wholesome (but less pillowy) pita recipe, substitute half whole wheat flour for half all-purpose flour and add a little more water as whole wheat flour will absorb more.
If you are curious and want to experiment with new flour combinations, try cutting all-purpose flour with spelt, rye, and semola flour.
If you’re gluten-free, you can make this recipe with 1-to-1 gluten-free flour but don’t expect the same softness and puffiness from the pita.
Yeast
We recommend active dry yeast or instant yeast.
We tested and liked the brands Caputo dry yeast, Red Start active dry yeast, Red Star saf instant, and Dr. Oetker instant yeast.
Substitute fresh yeast for dry yeast. You’ll need three times more fresh yeast compared to dry yeast.
Water
Lukewarm water jump starts the proofing.
Ensure the water is not hot (it will kill the yeast) or cold (it will take longer for the yeast to start).
Olive oil
We add extra virgin olive oil to make the pita bread soft like a cloud.
Omit the oil if you prefer a crunchier pita.
Sugar
Sugar helps activate the yeast and speed up proofing.
If you have time for a longer proofing, you can omit the sugar.
Salt
We recommend sea salt or kosher salt. Omit the salt if you are on a low-sodium diet.
How to make pita bread?
US cups + grams measurements in the recipe box at the bottom of the page.
We make our dough by hand, but you can follow the same steps and use a stand mixer like a kitchen aid with a dough hook attachment.
1. Measure the ingredients.
Measure the ingredients in separate containers.
You can use measuring cups or a digital scale.
Tip: We recommend using a digital scale, as it’s much easier, requires less cleanup, and is more precise than measuring cups.
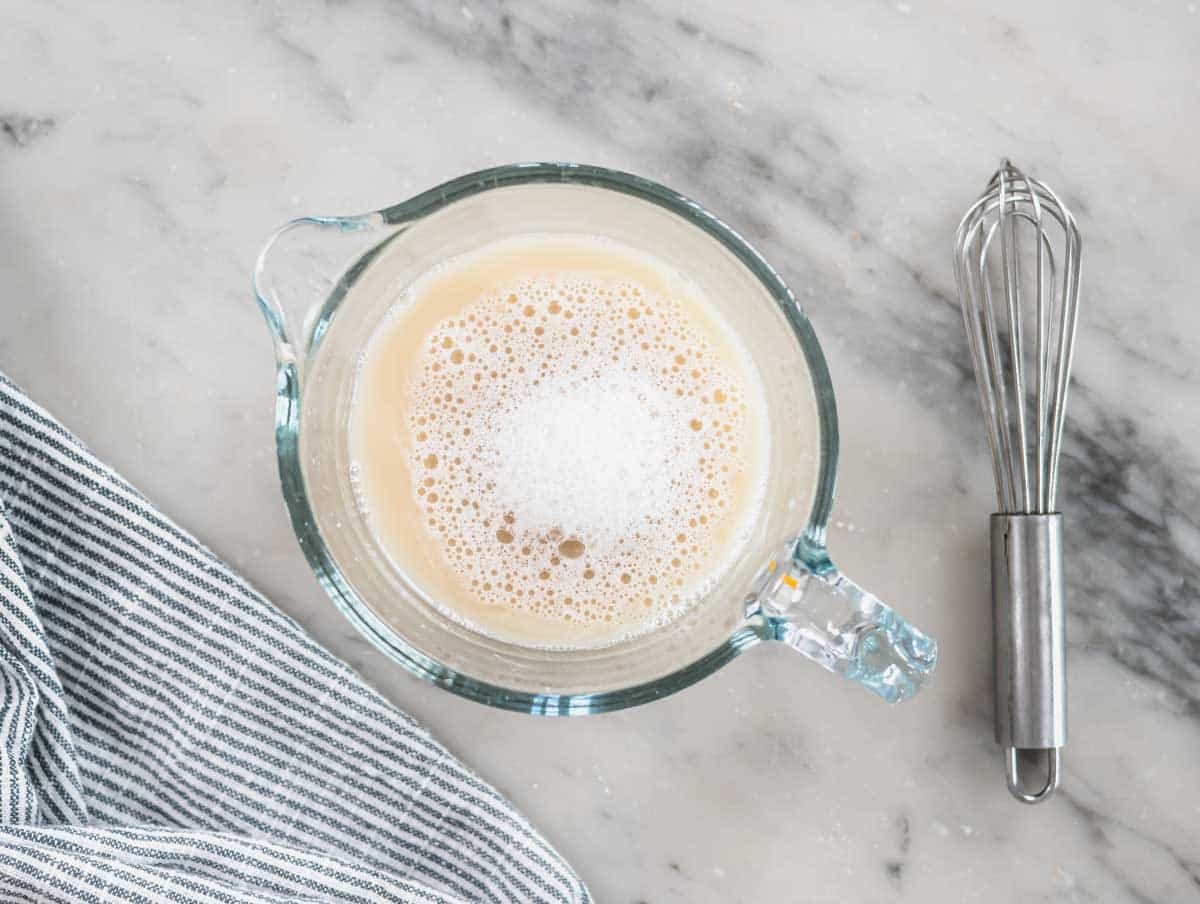
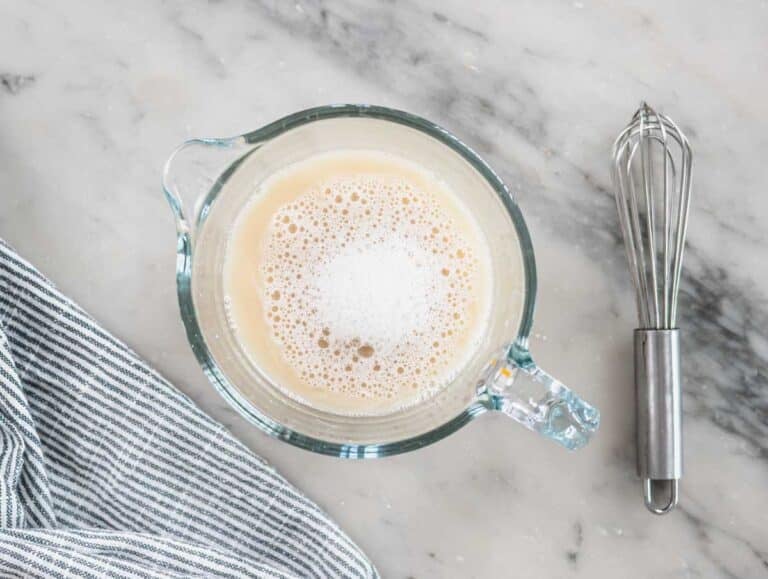
2. Activate the yeast.
Add lukewarm water, sugar, and dry yeast to a small container.
Whisk fast for 30 seconds until the dry yeast is dissolved and the water looks foamy.
Tip: If the yeast does not dissolve after whisking it, it’s not working. Start again with new yeast.
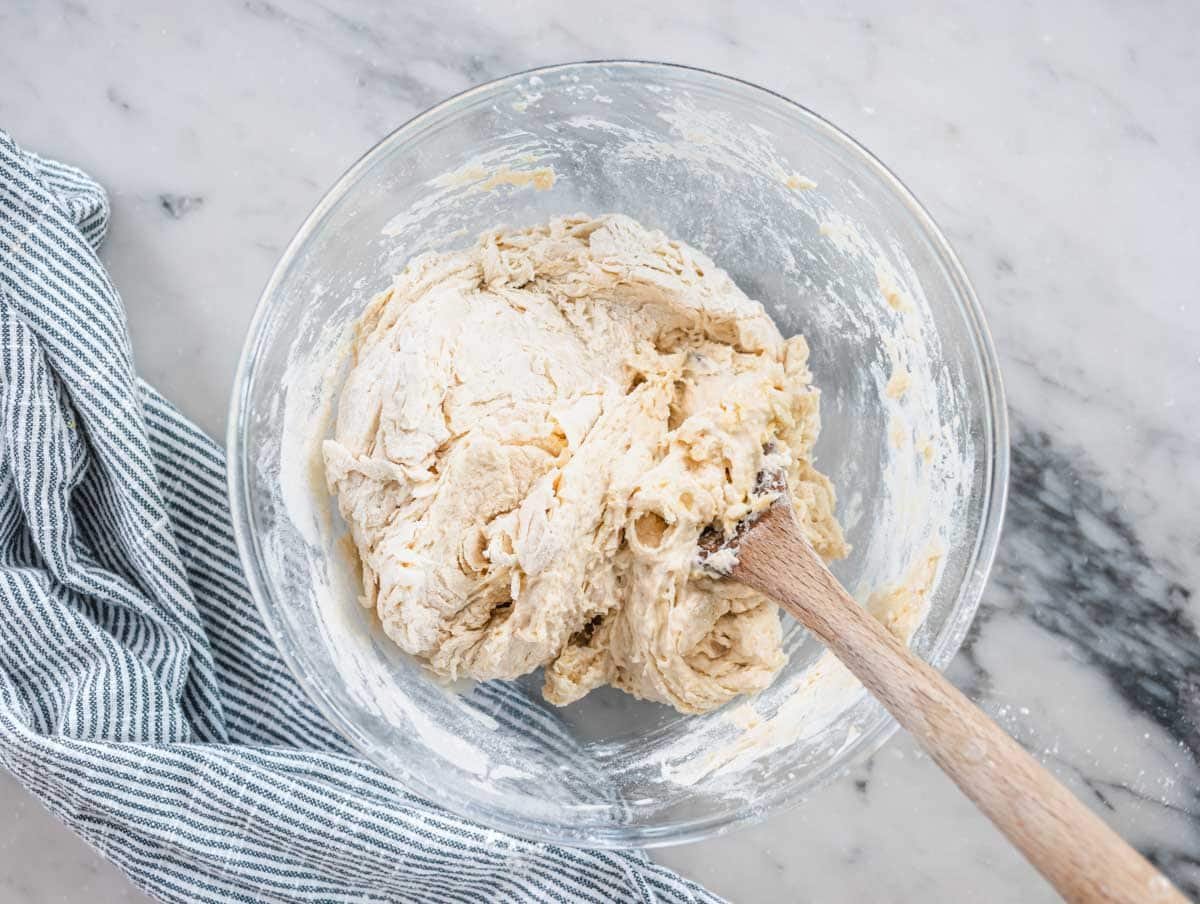
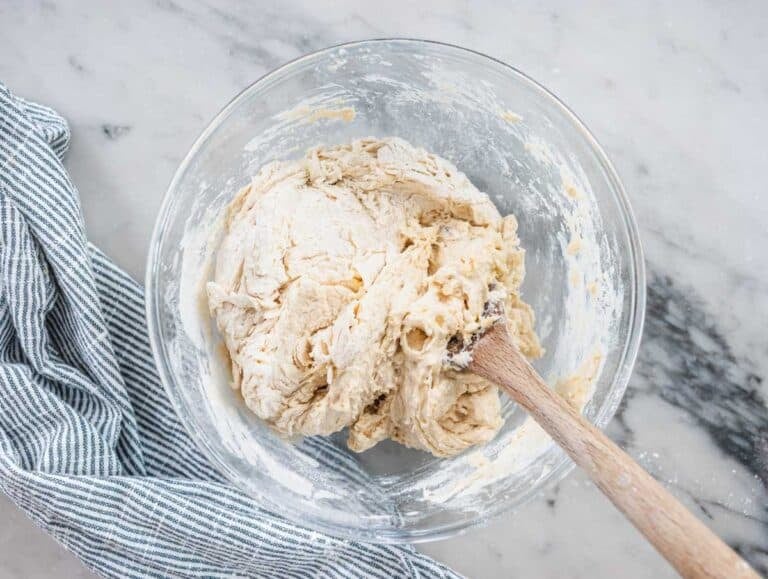
2. Knead the dough.
Add flour and salt to a large mixing bowl and stir to combine.
Pour in the yeast mixture and mix with a wooden spoon until roughly combined.
Add the olive oil and mix for a few more seconds until the oil is absorbed.
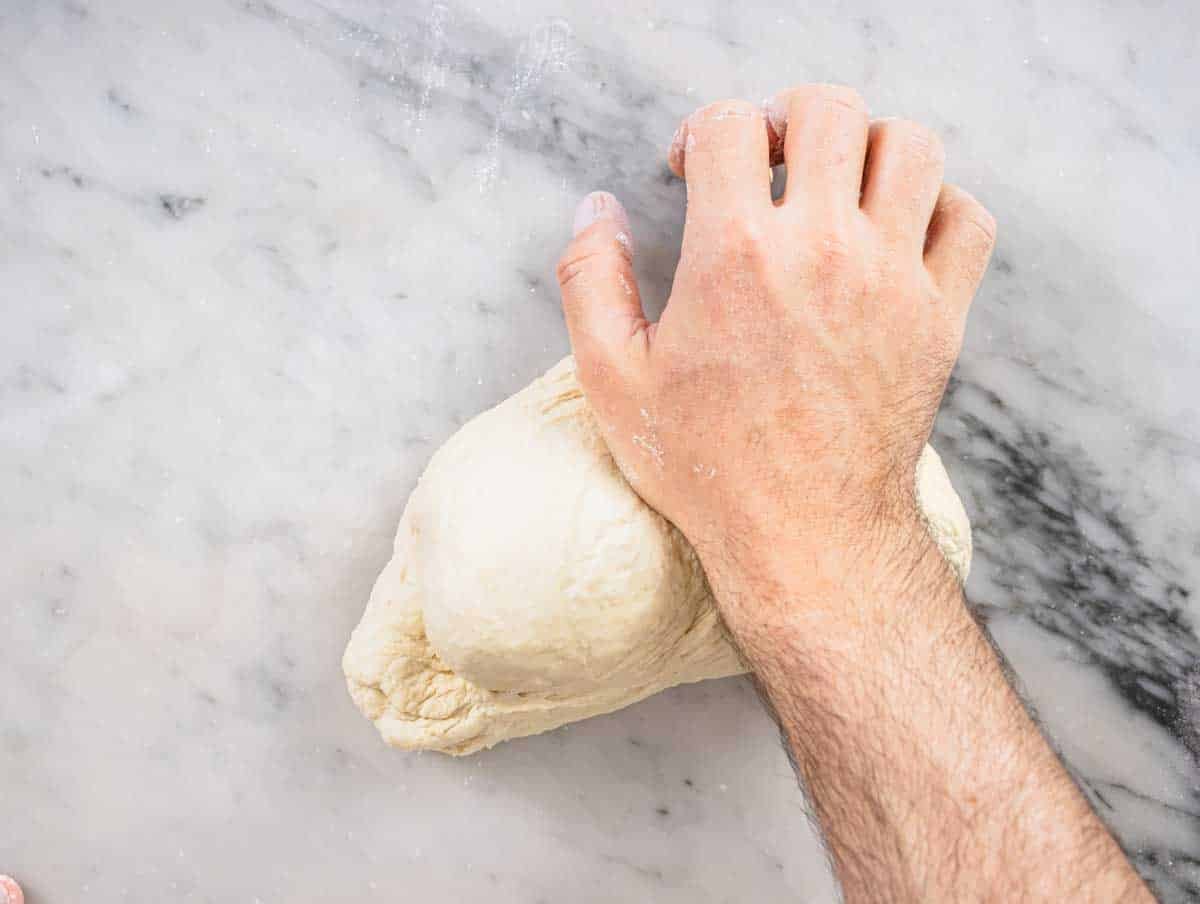
Transfer the mixture onto a clean worktop.
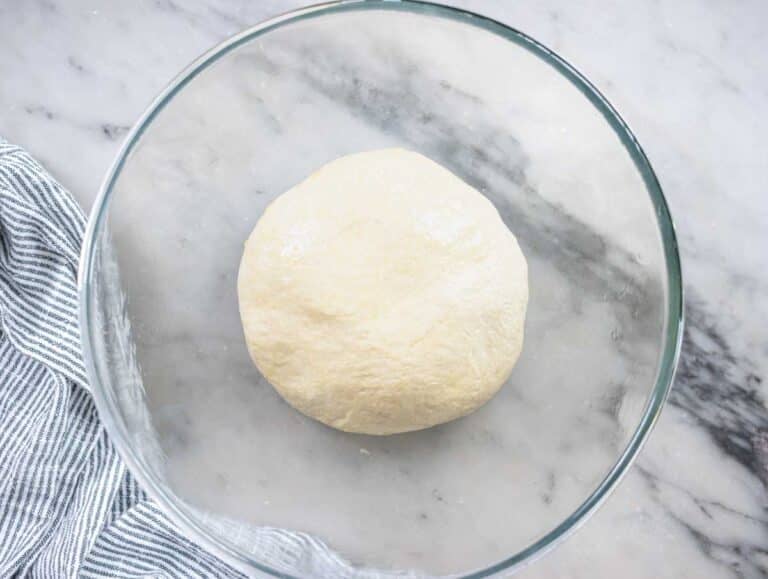
Knead by hand for 5 minutes or until you get a smooth and soft dough ball.
If the pita bread dough is sticky, add a dusting of flour at a time.
Tip: If using a stand mixer, like a Kitchen Aid, mix the ingredients with a dough hook attachment on the second lowest speed for 6 minutes.
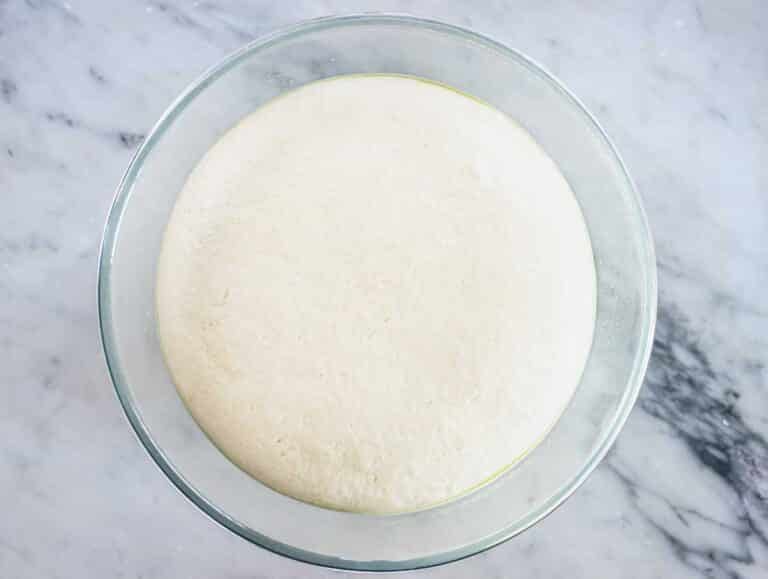
3. Bulk proofing.
Put the dough ball in a large bowl brushed with oil.
Brush the dough with oil and cover it with a plate, kitchen towel, or plastic wrap.
Tip: A plate or kitchen towel is more environmentally friendly than plastic wrap.

Set aside in a warm place for 1 to 1.5 hours or until doubled in volume.
Tip: We recommend proofing in a turned-off oven with the light on for ideal proofing conditions.

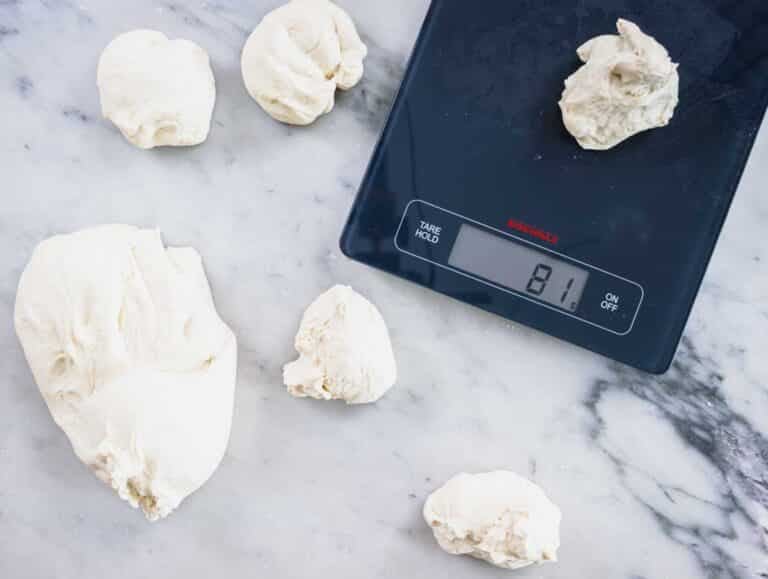
4. Cut the dough into balls.
Preheat the oven to 250°C or 480°F.
If you use a pizza stone, put it in the center rack of your oven and let it preheat for at least 30 minutes. If you don’t have a pizza stone, you can use an upside-down baking sheet.
When using a pizza oven like Ooni, you can preheat it to 400°C or 750 °F.
After proofing, transfer the dough onto a clean worktop and cut it into 10 equal pieces, each 80 grams or 2.8 ounces.
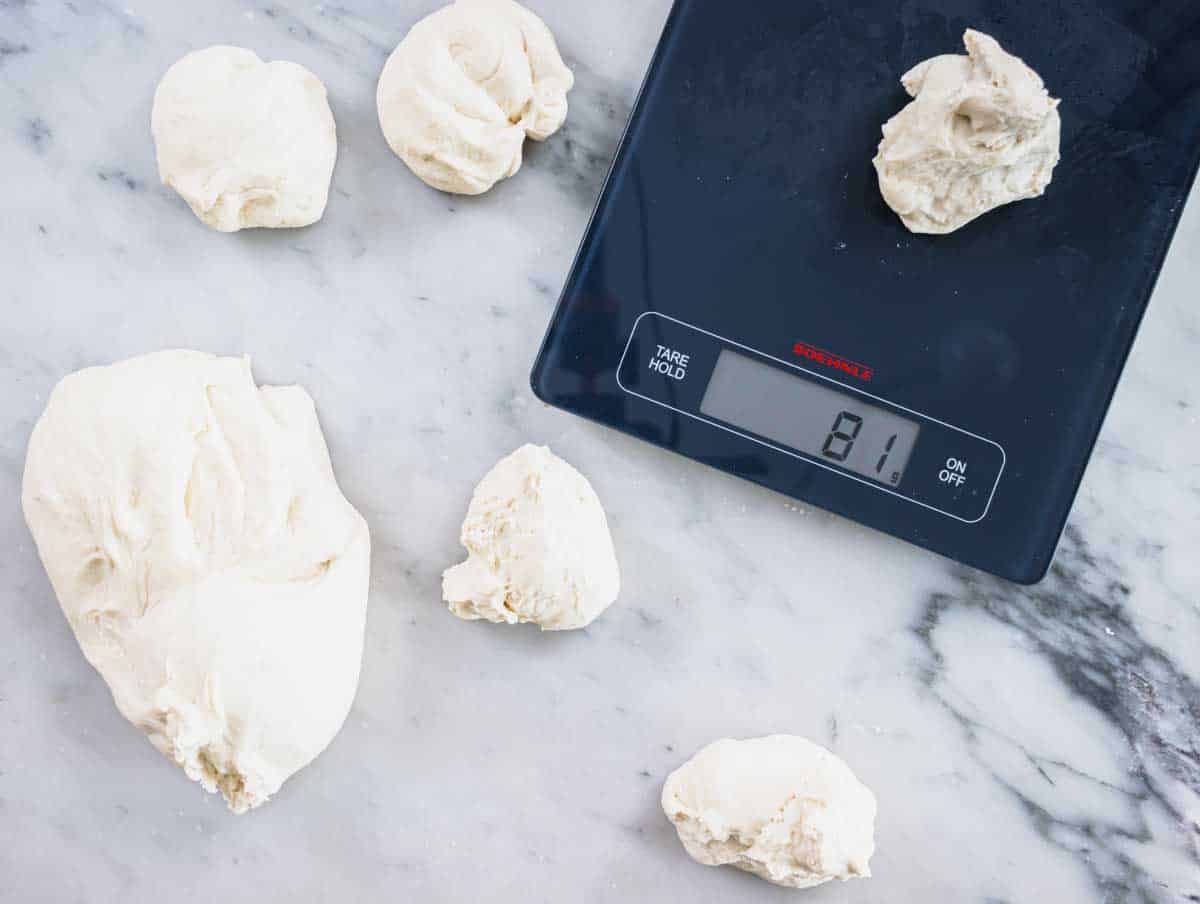
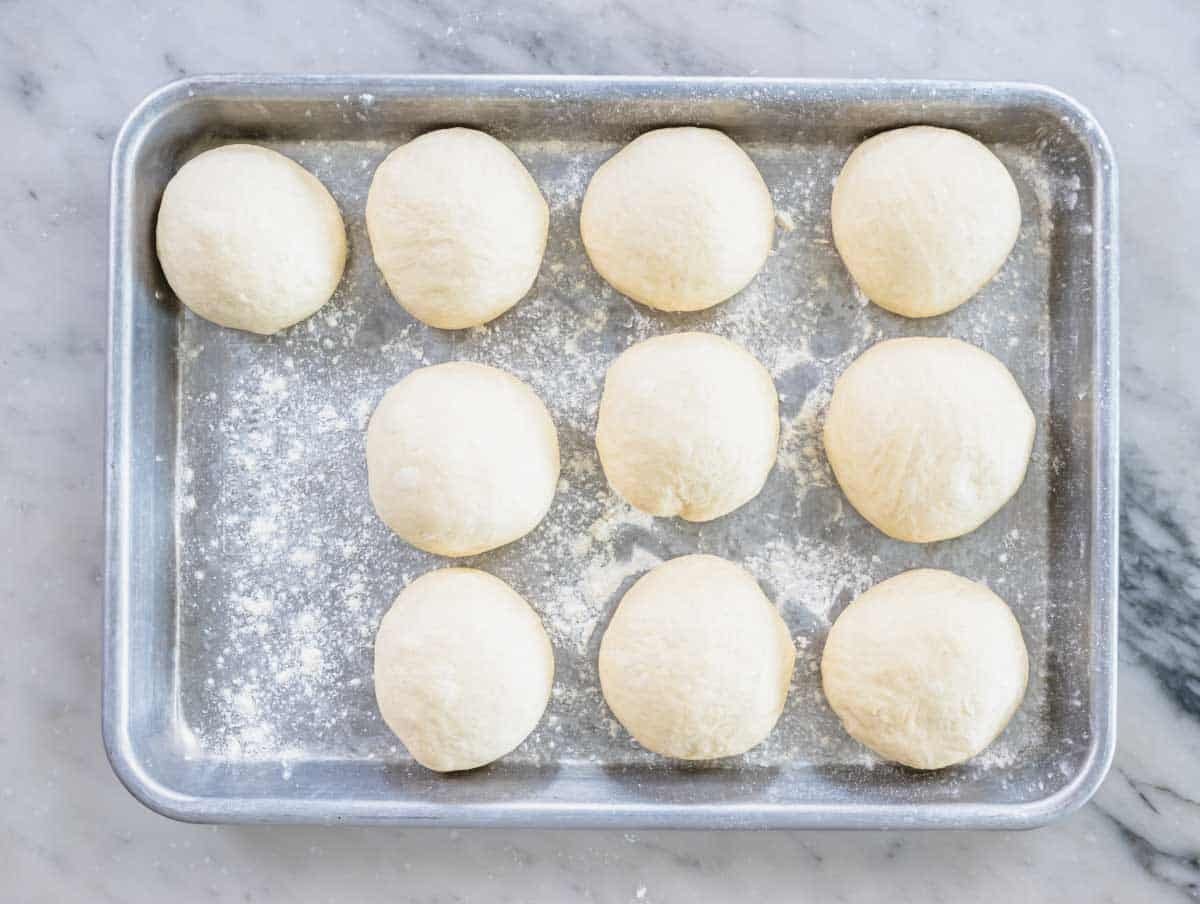
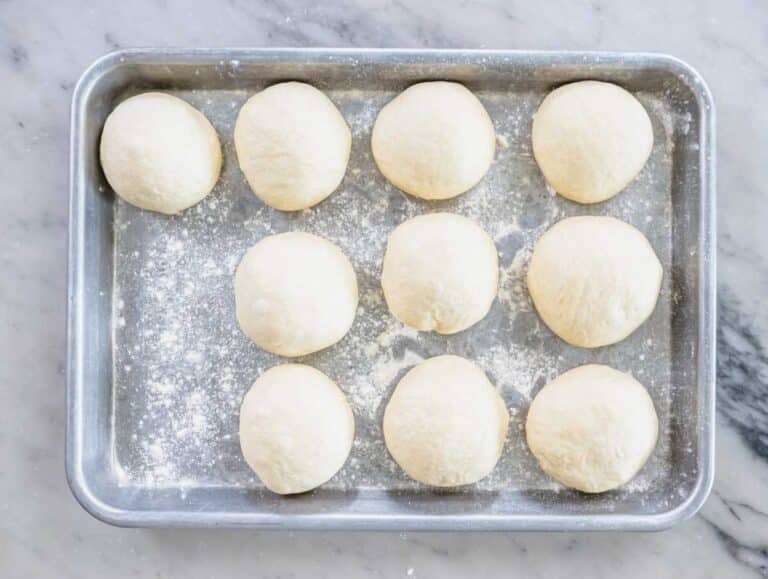
Shape the pieces into smooth balls and arrange them on a baking sheet dusted with flour.
Cover with a damp kitchen towel and let rest for 10 minutes.
5. Roll out the dough.
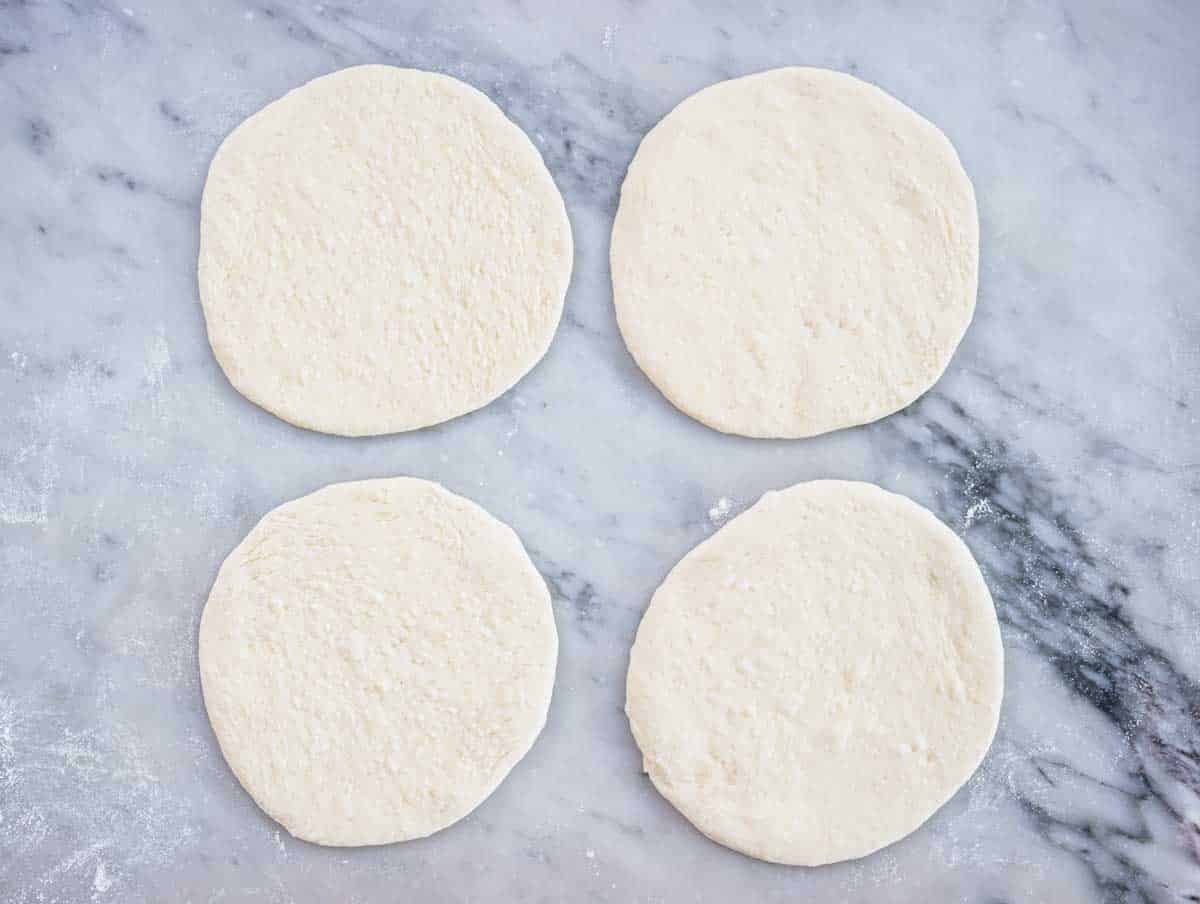
Lightly dust your worktop with flour, then with the help of a rolling pin, roll out the balls into 6 inches / 15 cm diameter circles ¼ inch / 5 mm thick.
Cover with a damp towel and let the discs rest for 20 minutes.
6. Bake the pitas.
How to bake pita bread in a home oven?
Preheat the oven to 250°C or 480°F or max temperature.
If you use a pizza stone, put it in the center rack of your oven and let it preheat for at least 30 minutes. If you don’t have a pizza stone, use an upside-down baking sheet.
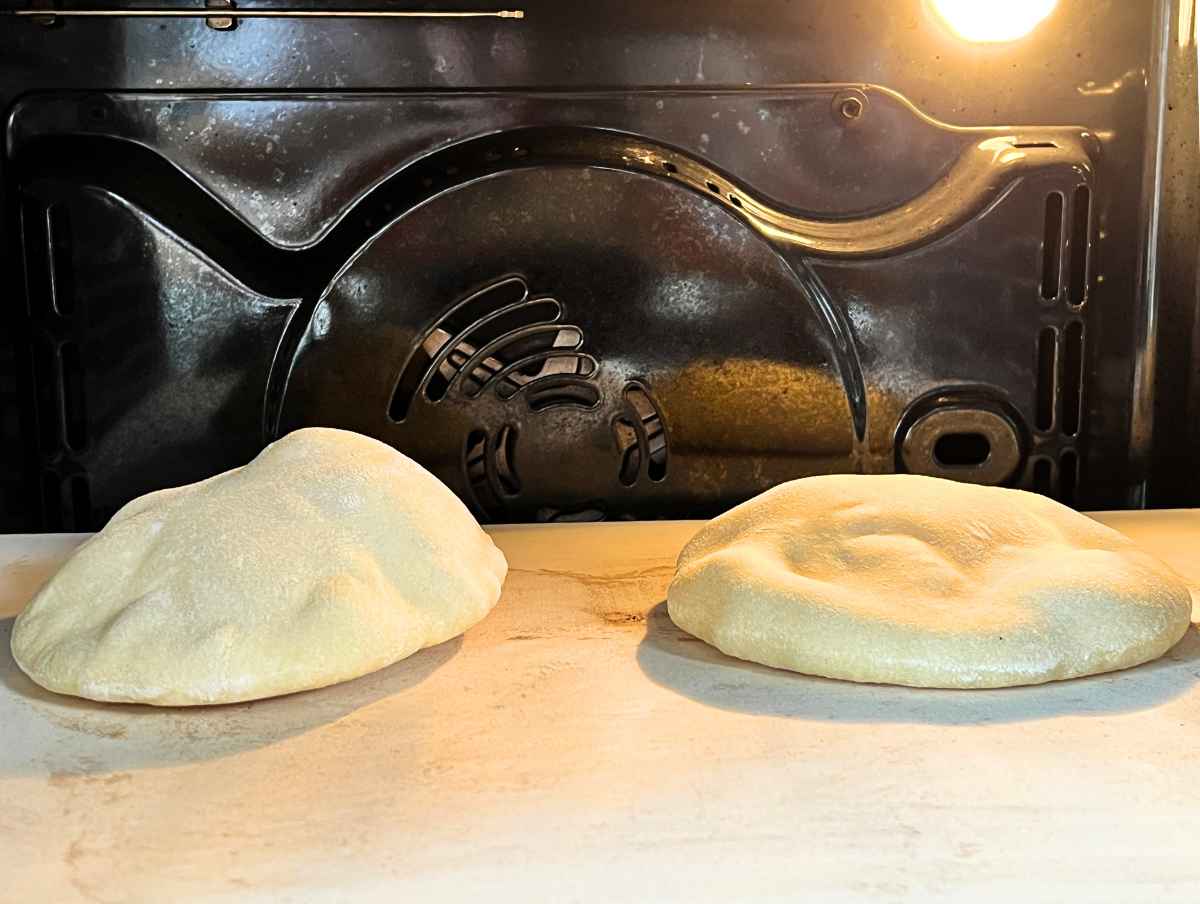
Arrange 1 or 2 pitas, flipped upside down, on the pizza stone/baking sheet.
Bake for about 3 minutes or until puffed and lightly golden.
Tip: Avoid overcooking pita bread; it will lose its pillowy texture.
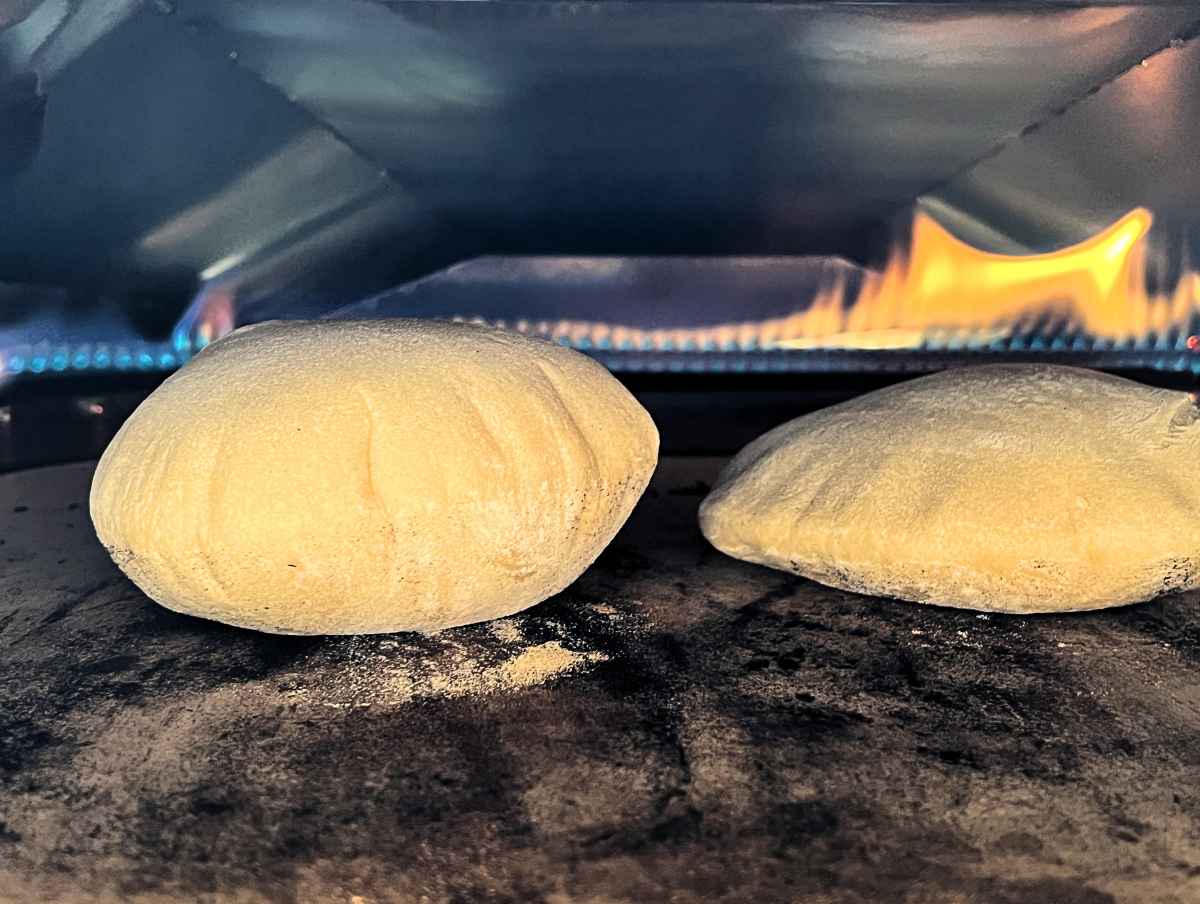
How to bake pita bread in a pizza oven (Ooni or other)?
If you use a pizza oven like Ooni, you can preheat it to 400°C or 750°F.
With the help of a pizza peel, arrange two pitas in the oven.
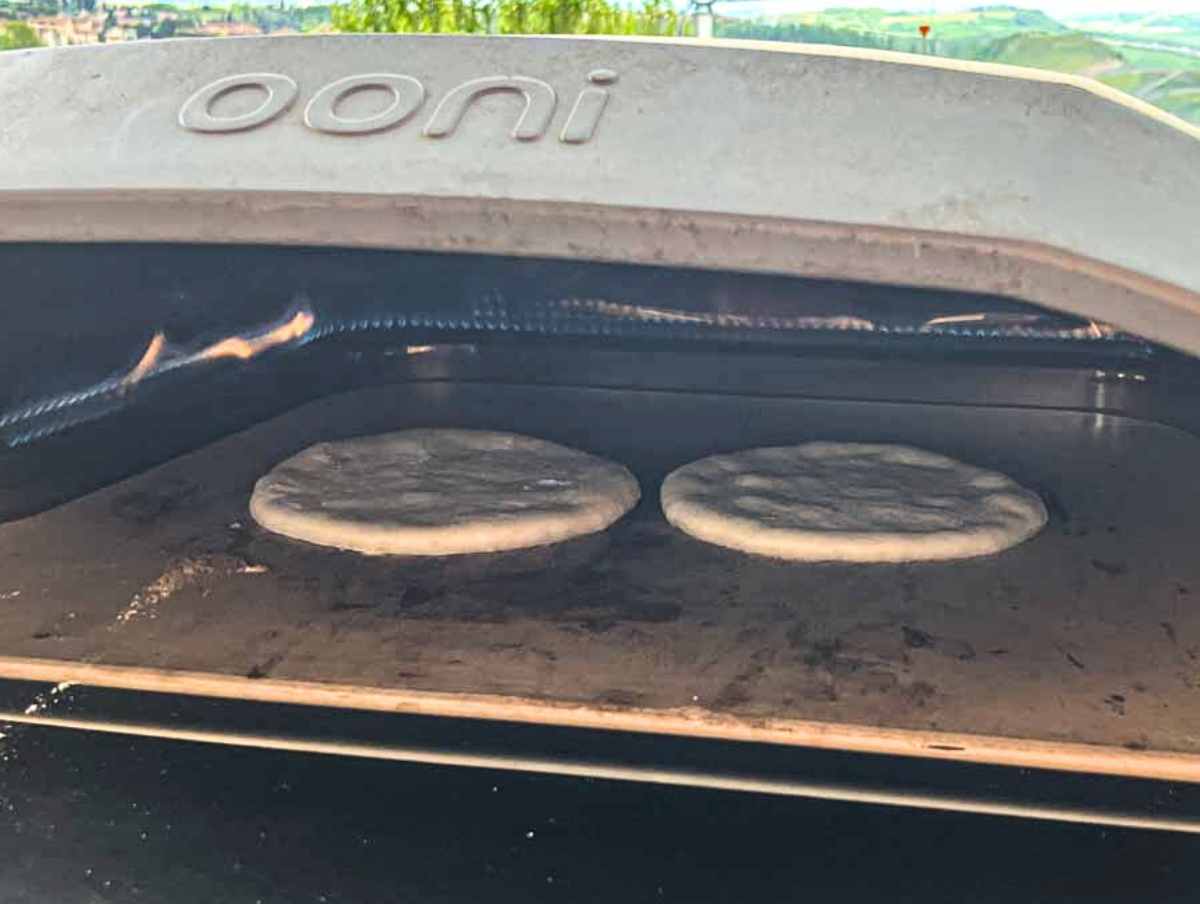
Bake for about 1.5 to 2 minutes or until puffed and lightly golden.
If your oven has an open flame (like Ooni ovens), rotate the pitas 180 degrees halfway through cooking to allow even browning and charring.
Wrap the cooked pitas in a clean kitchen towel while you finish cooking the whole batch.

How do you cook pita bread in a skillet?
Warm a well-seasoned cast iron skillet (a non-stick pan works too, although not ideal).
When hot, flip a pita or two over onto the skillet and cook for 2 minutes. Turn it around and cook for two more minutes or until slightly golden.
Since the temperature is not as hot as in an oven, it’s unlikely that the pita will puff up when cooked on a skillet.

Serving suggestions
Homemade pita bread is versatile; you can serve it with anything. Here are some of our favorite suggestions:
With spreads and dips
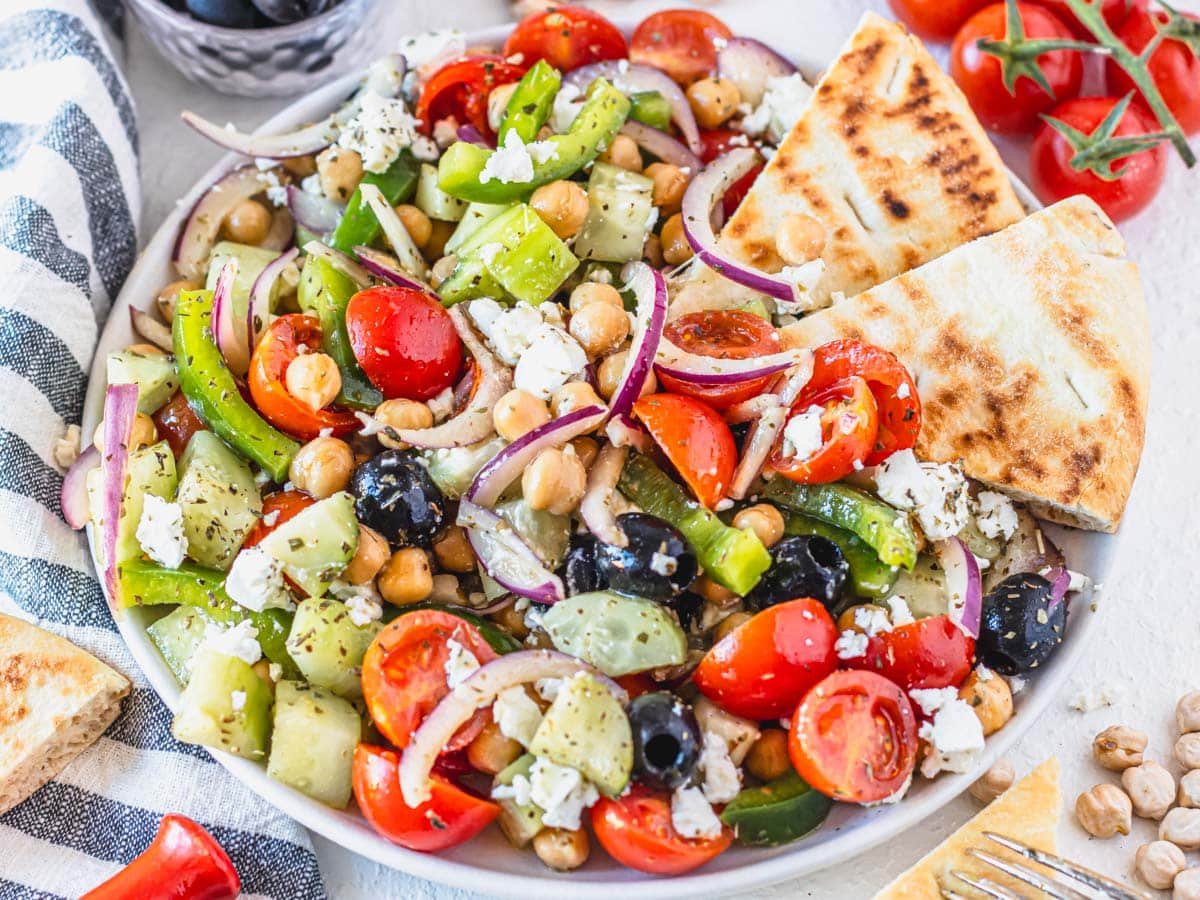
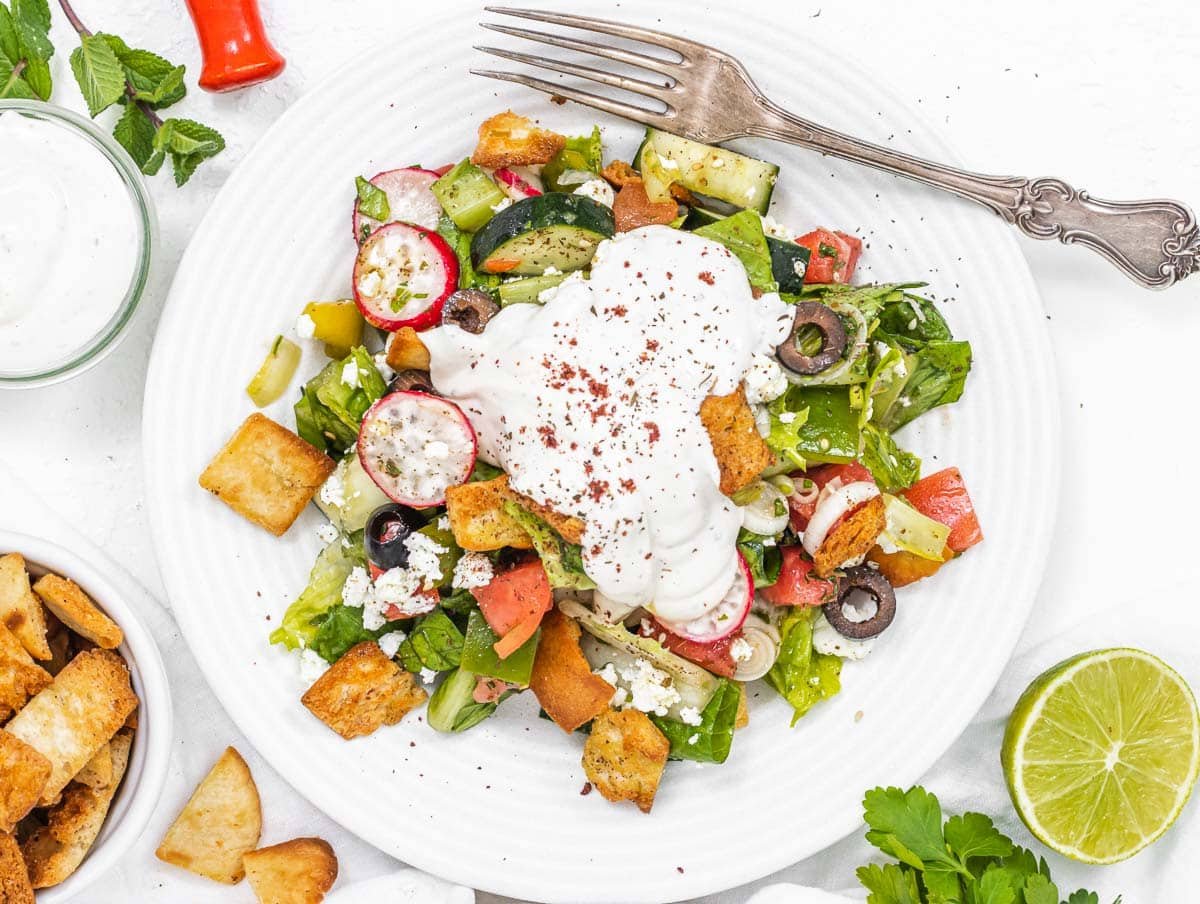
With a salad
- Piyaz (Tuskish white bean salad)
- White bean salad
- Mediterranean salad
- Greek chickpea salad
- Lentil salad
- Whole roasted cauliflower
- Mediterranean bowl
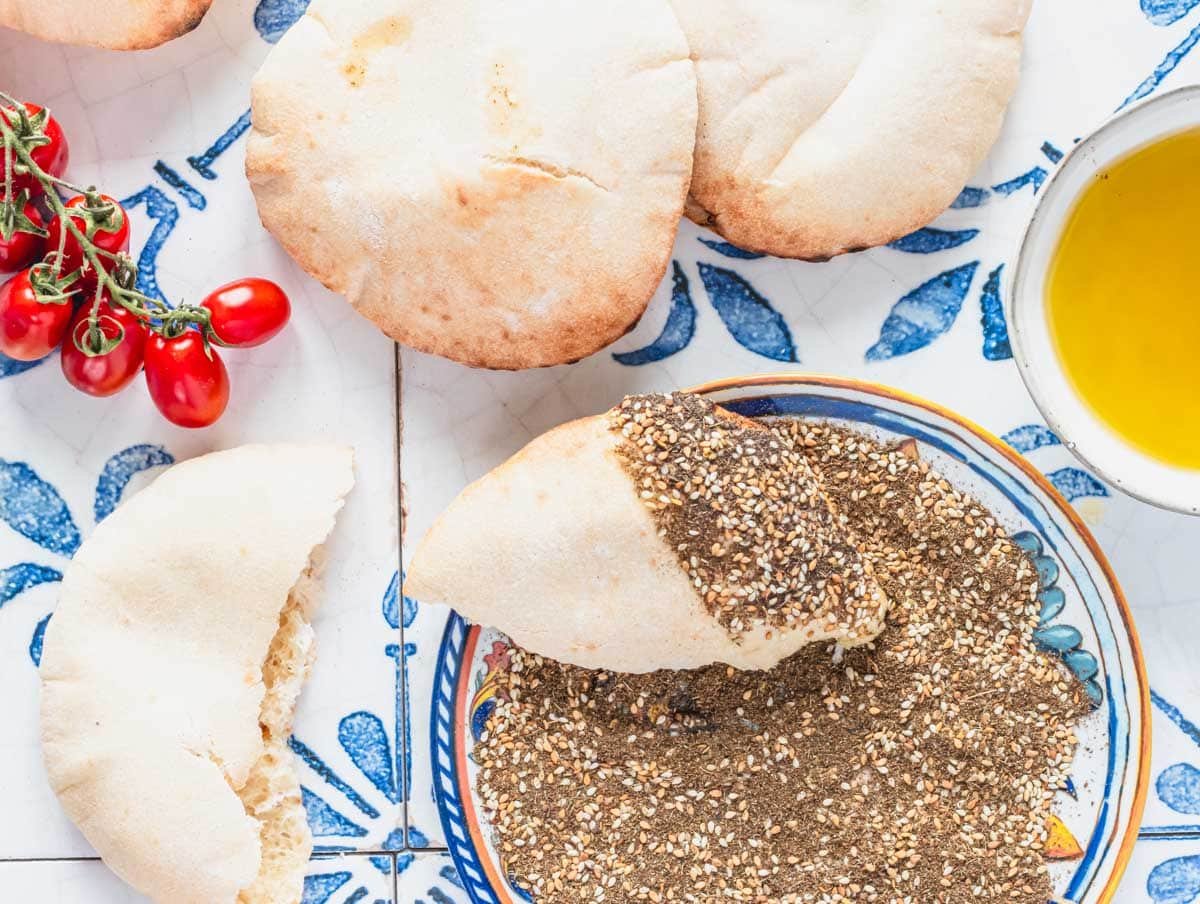
Pita with dukkah and za’atar
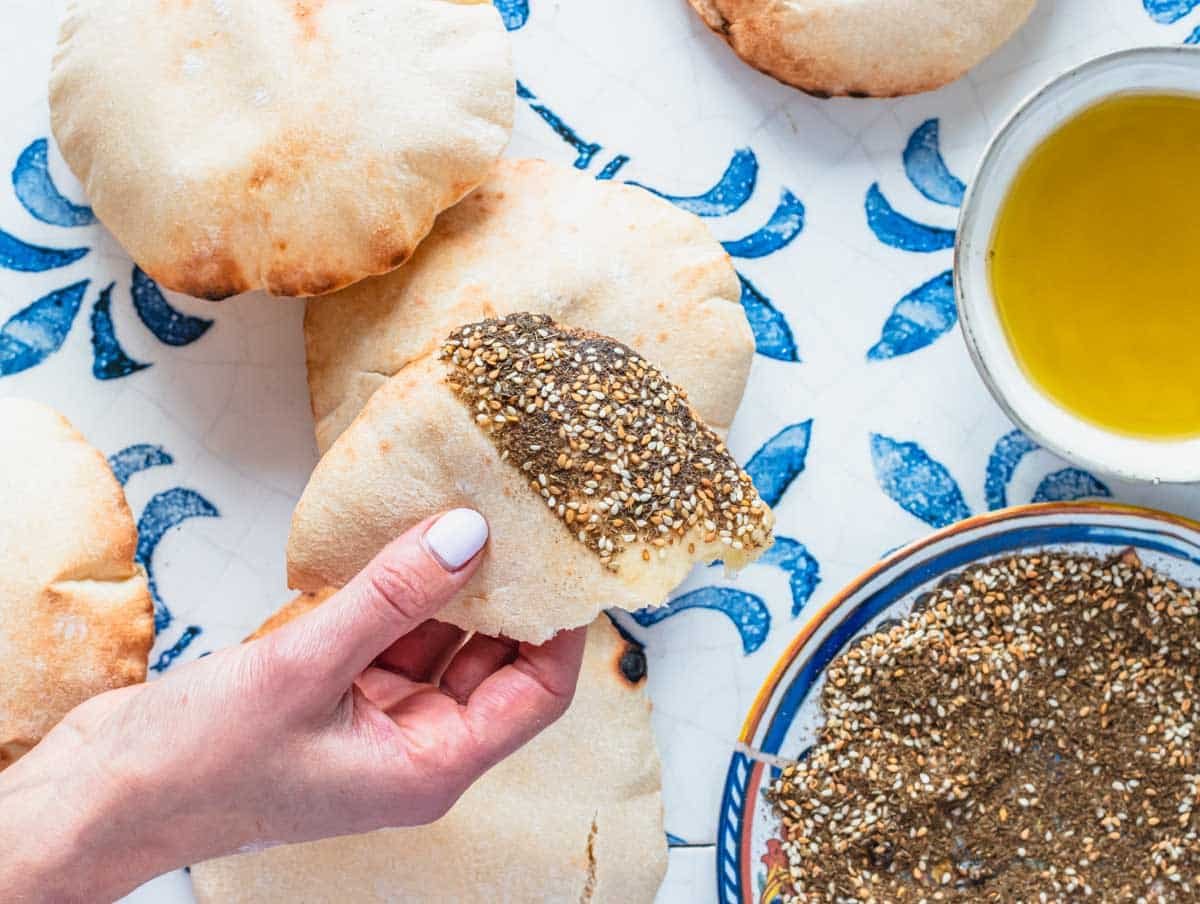
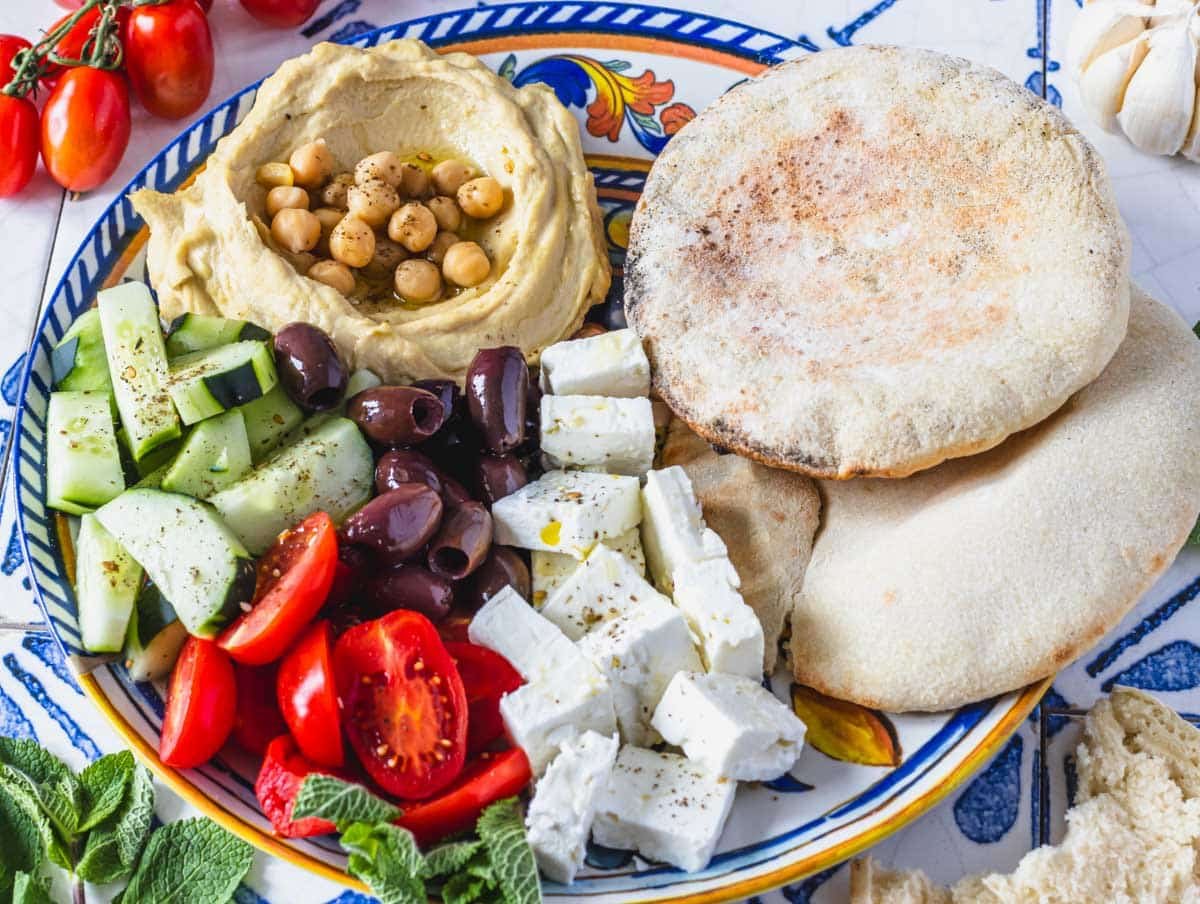
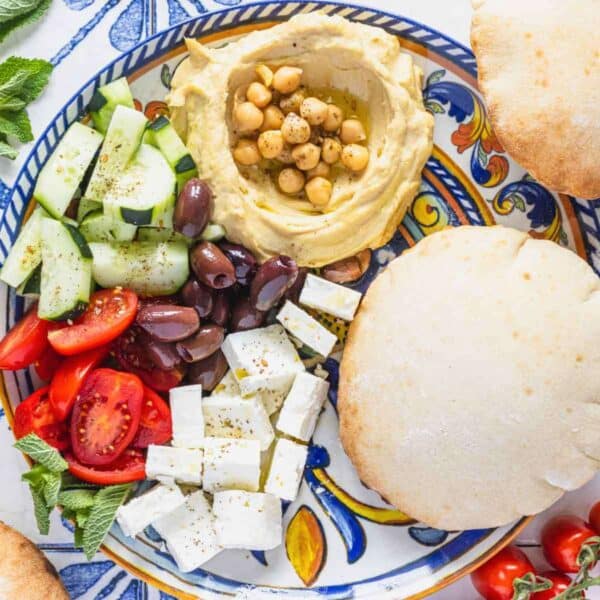
Break some freshly baked pita with your hands, dip it in extra virgin olive oil first, then in Za’atar or Dukkah, two Eastern-Mediterranean spice mixes packed with flavor and aromas.
Enjoy it with olives, feta cheese, crunchy cucumbers, and juicy tomatoes.
This is probably the simplest and most traditional way of eating homemade pita and one of the most delicious and sensorial.
With a mezze platter
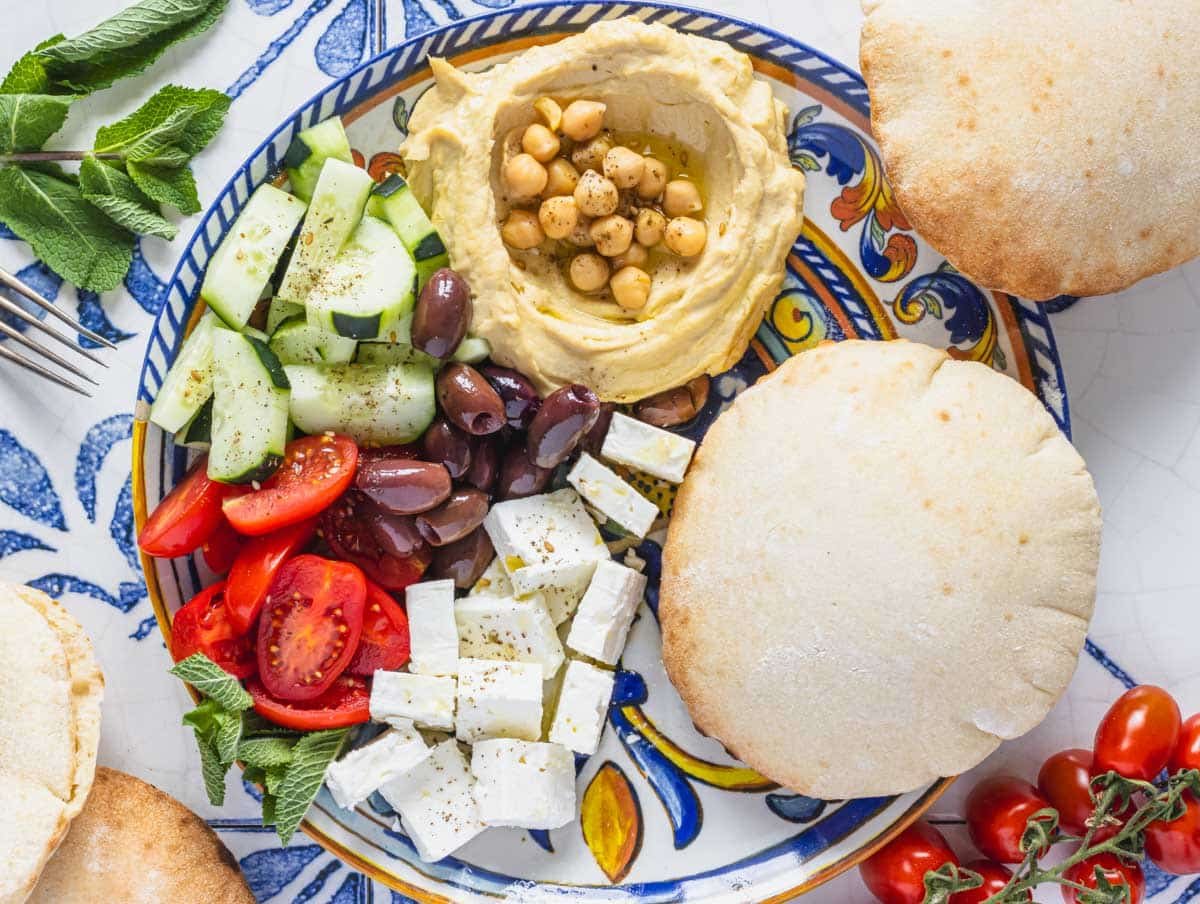
A mezze platter is an appetizer platter you can also have for a delicious dinner. It’s made with different Mediterranean and Middle Eastern small dishes such as:
- Falafel
- Yogurt Tahini Sauce
- Tabbouleh
- Muhammara
- Mutabal
- Grilled eggplant
- Grilled eggplants or roasted eggplants
- Feta, olives, labneh, tomatoes, cucumbers, and fresh herbs.
Make a pita sandwich.
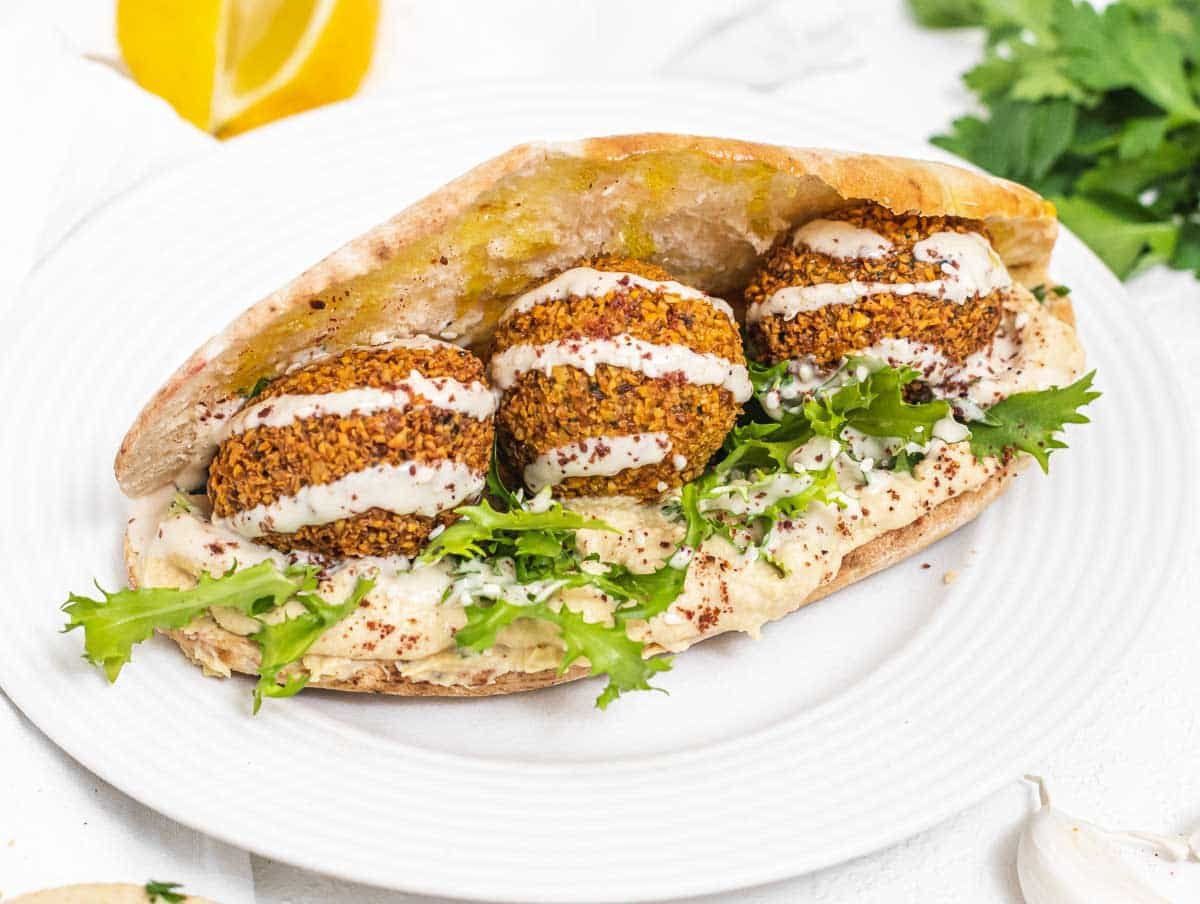
Thanks to their hollow puffed-up center, pitas are excellent for cutting open and stuffing with your favorite fillings.
Try one with a generous amount of homemade hummus on the bottom, some tabbouleh, homemade falafel, sumac onions, and a generous drizzle of tahini sauce.
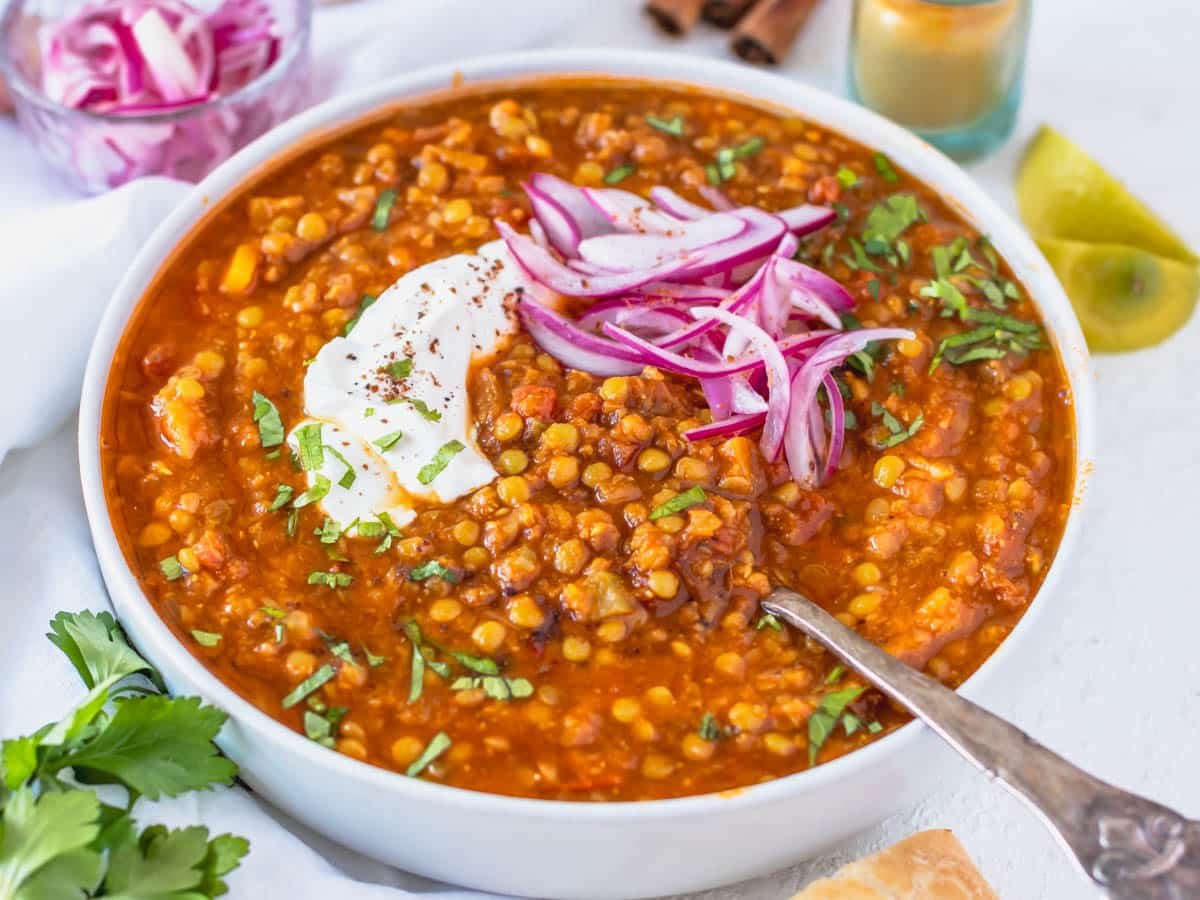
With Mediterranean soups
- Cauliflower soup
- Turkish lentil soup
- Chickpea stew
- Lentil vegetable soup
- Moroccan lentil soup
- Moroccan chickpea stew
Use leftovers to make pita chips
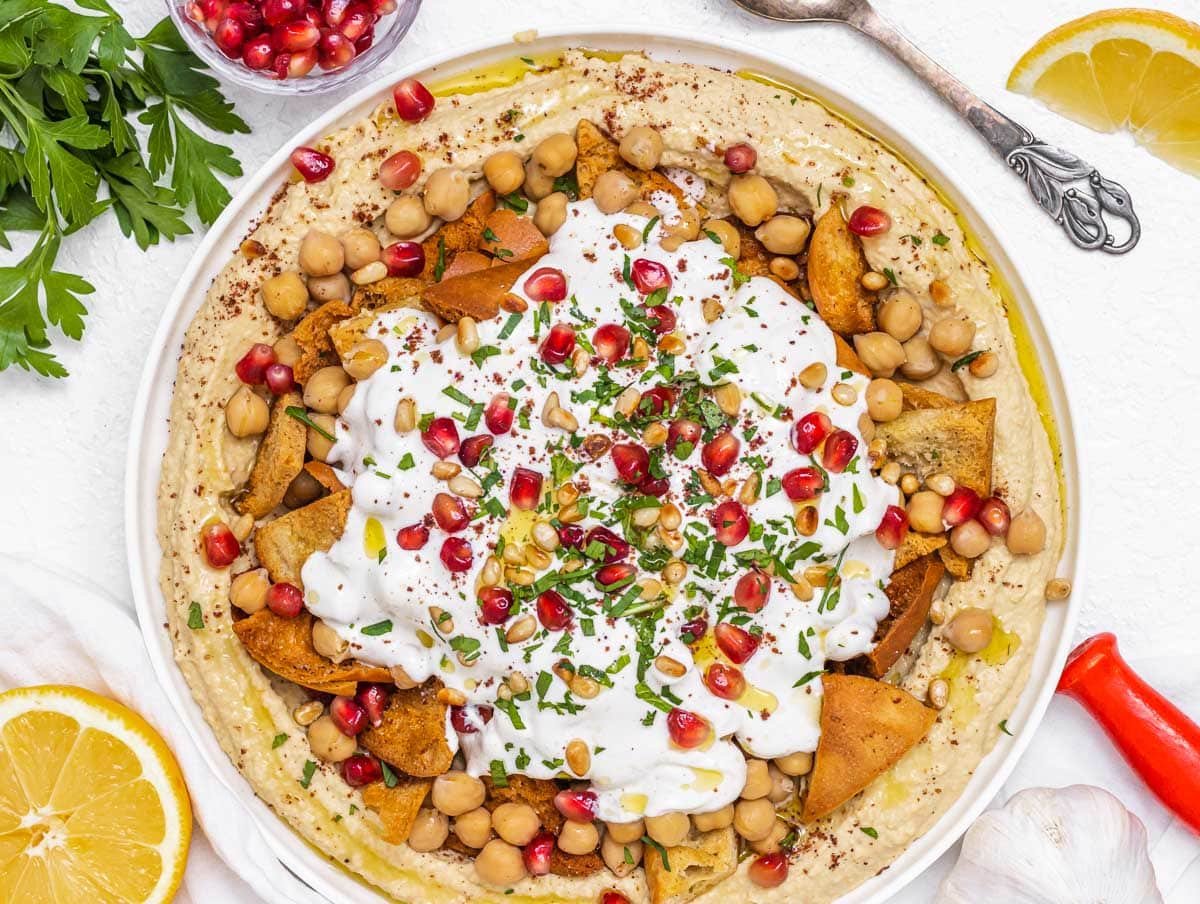
One—or two-day-old pita is excellent for making crunchy pita chips that you can use in salads and other dishes. This is called “Fatteh.”
This is a traditional way of using stale pita bread in eastern Mediterranean and southern Levantine countries, and the resulting dishes are crunchy and delicious.
Cut the pita into small bite-size pieces, toss it in olive oil, salt, pepper, and spices, then toast it in the oven or air fryer for a few minutes or until crunchy.
Some of our favorite dishes with crunchy pita chips are:
Storage & Make Ahead
Make ahead: Pita is an excellent recipe for meal prep as it stores and freezes well.
Room temperature: Wrap the pita in a kitchen cloth for up to 24 hours or store it in a plastic bag for up to 3 days.
Freezer: Transfer the cooled pita into a freezer-friendly bag and freeze for six months.
Thaw & Reheat: Defrost it at room temperature for a couple of hours, then warm it in the oven or air fryer. You can also defrost and warm in a microwave wrapped in a kitchen cloth for a minute or two.
More homemade bread recipes

Bread Recipes
Focaccia Pizza
Bread Recipes
Naan Bread

Recipes
Flatbread Pizza
Bread Recipes
Easy Focaccia Bread (No Knead, One Bowl)
Pita Bread
Video
Equipment
- Oven or pizza oven (like Ooni).
- Pizza stone or baking sheet.
Ingredients
- 3⅓ cups all-purpose flour
- 1¼ cups lukewarm water
- 2 teaspoons active dry yeast or instant dry yeast
- 2 teaspoons sugar
- 2 teaspoons salt
- 2 tablespoons olive oil
Instructions
MAKING THE DOUGH
- To a small container, add 1¼ cups lukewarm water, 2 teaspoons sugar, and 2 teaspoons active dry yeast.Whisk well until the dry yeast is dissolved. Set aside.

- In a large mixing bowl combine 3⅓ cups all-purpose flour and 2 teaspoons saltAdd the yeast mixture and mix with a wooden spoon until roughly combined.Add 2 tablespoons olive oil and mix for a few more seconds until the oil is absorbed.
- Transfer the dough onto a clean worktop and knead for 5 minutes.If sticky, add a dusting of flour.If using kitchen aid, mix with dough hook attachment on second lowest speed for 6 minutes.

PROOFING THE DOUGH
- You should get a smooth and soft dough.Shape into a ball and put in a large bowl brushed with oil.Brush the dough with oil and cover with a plate.
- Let proof in a warm place for 1 to 1.5 hours or until doubled in volume.Tip: We recommend putting the dough in a turned-off oven with the light on for ideal proofing conditions.
SHAPING THE DOUGH
- Put a pizza stone or baking tray turned upside down in the center rack of your oven and preheat it to 480°F or 250°C for at least 30 minutes.If you use a pizza oven like Ooni, you can preheat it up to 750°F or 400°C.Transfer the dough onto a clean worktop and cut it into 10 equal pieces, each 80 grams or 2.8 ounces.
- Shape the pieces into smooth balls and arrange them on a baking sheet dusted with flour.Cover with a damp kitchen towel and let rest for 10 minutes.
- Lightly dust your worktop with flour, then with the help of a rolling pin, roll out the balls into 6 inches / 15 cm diameter circles ¼ inch / 5 mm thick.Cover with a damp towel and let the discs rest for 20 minutes.

BAKING THE PITA
- Arrange 1 or 2 pitas, flipped upside down, on the pizza stone/baking sheet/pizza oven. You can use a pizza peel to do that.Bake until puffed and lightly golden – about 2 to 3 minutes.Rotate pitas 180 degrees halfway through cooking.Wrap the cooked pitas in a clean kitchen towel while you finish cooking the whole batch.

Notes
Nutrition
Don’t Lose This Recipe
If you liked this pita bread recipe, you might also enjoy:


Hey!!!
Great content!!! Haven’t tried the recipe but very soonnnn.,
Quick Q,
About storage, should I cook it before freezing?
After thawing, will it be fluffy and has the pocket still???
I want to make a ton of them 😊
Hey Rhia!! 😊
Thanks so much — glad you’re enjoying the content!
About freezing pita bread:
Yes, cook it before freezing. Pita bread freezes much better after it’s been fully baked. If you freeze the raw dough, you’ll need to thaw, roll, and cook it later — which is less convenient and can sometimes mess with the puff.
How to freeze cooked pita:
– Let the pitas cool completely.
– Stack them with a piece of parchment paper in between (so they don’t stick).
– Store them in a ziplock or airtight container.
– Freeze for up to 2–3 months.
Reheating after thawing:
When you reheat (preferably in a hot oven or on a skillet), the pita should become fluffy again — and yes, it will still have the pocket. You might not see the pocket puff during reheating, but it’ll still be there inside for stuffing.
If you want to make a big batch, this is a great method — just reheat straight from frozen for a few seconds per side on a hot pan or 5–7 minutes in a 180°C/350°F oven, wrapped in foil.
Let me know how it goes when you try them!
Nico
Thank youuu For the reply Nico!!
Will update youuu sooonnn..
❤️
Franchement c’est une réussite, trés léger, facile a faire. Merci
Amazing! I’ve tried this recipe a couple of times, and the pita breads turned out excellent every time! Thank you!
Awesome, Iva. That’s such great news.
Thank you for these kind words, we appreciate you taking the time to write them ❤️ Best,
Louise