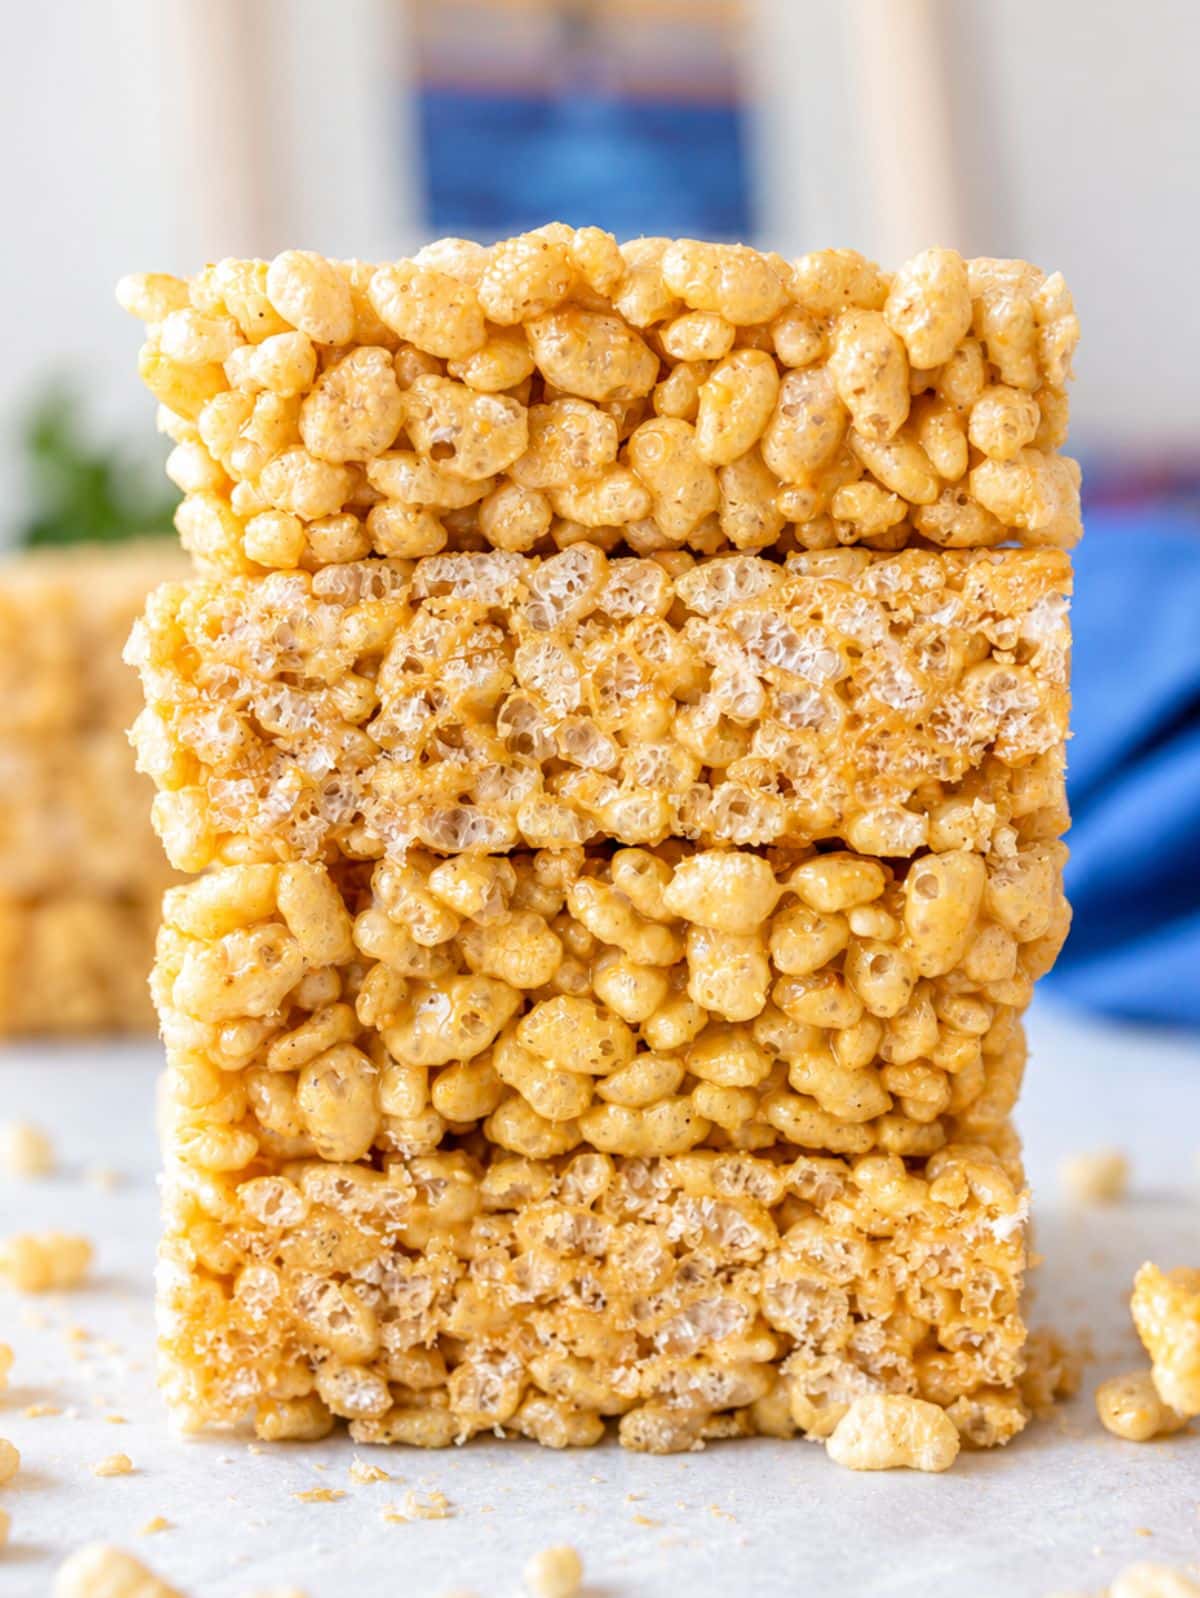
These Rice Krispie Treats deliver everything you want from the classic with a healthier ingredient list: light, crispy, and chewy, with just 4 simple ingredients and no marshmallows.
For more no-bake peanut butter treats, try our peanut butter no-bake cookies, peanut butter bars, and peanut butter energy balls.
Don’t Lose This Recipe
Why you’ll love our Rice Krispie Treats!
Four ingredients. No marshmallows. No butter. Just crispy rice cereal, natural peanut butter, honey, and vanilla. It sounds almost too simple, but that’s exactly why these Rice Krispie Treats work so well. 🌾✨
Louise and I tested several versions, and one thing became clear: most recipes use far more peanut butter than necessary. The bars hold together, but they also become dense, chewy, and more like peanut butter snack bars than Rice Krispie treats. We kept reducing the binder until we found the minimum amount needed to hold everything together.
The result is a treat that’s surprisingly light, crispy, and airy, with the cereal still front and center. Warming the peanut butter and honey until smooth coats every piece evenly, while pressing the mixture firmly into the pan creates bars that slice cleanly after chilling. You get all the fun of a classic no-bake treat with just four everyday ingredients and a lighter texture. 🙂
P.S. Love easy peanut butter recipes? Try our oil-free peanut butter banana muffins, creamy peanut butter banana smoothie, or peanut butter banana baked oatmeal.
Ingredients
Full ingredients and substitutions are in the recipe box below.
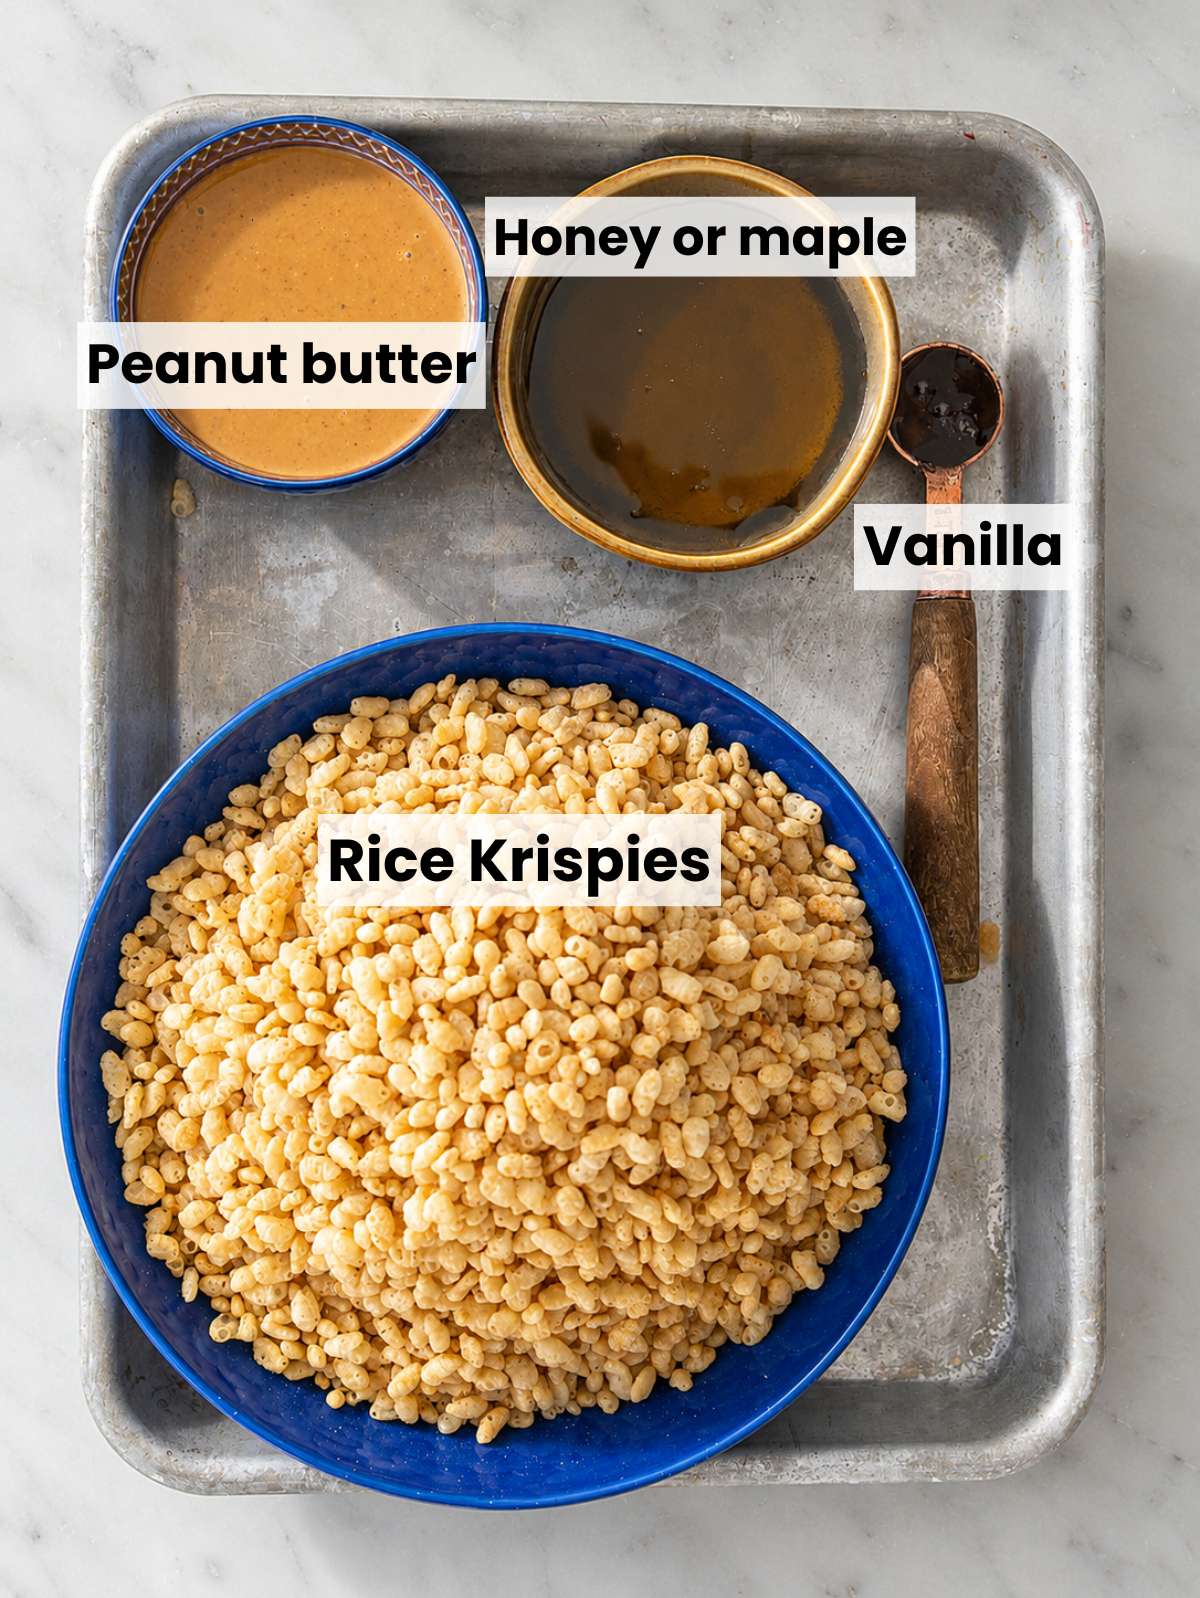
- Crispy rice cereal: Regular Rice Krispies give the lightest, crispiest texture, but any crispy rice cereal will work. Brown rice cereal is a great alternative. Just make sure the cereal is crunchy straight from the box—avoid soft puffed rice cereals. If the cereal isn’t crisp when you taste it from the box, it won’t make crispy treats.
- Natural peanut butter: Peanut butter made with just peanuts and salt is our go-to. It melts beautifully, gives these treats a clean peanut flavor, and is a less processed option than many conventional peanut butters. Almond butter, cashew butter, and sunflower seed butter all work well too.
- Honey: Honey creates the best chewy-crisp texture and helps the bars hold together. Pure maple syrup is an excellent vegan substitute, though the treats will be a little softer.
- Vanilla extract: Adds warmth and rounds out the peanut butter flavor. You can leave it out if needed, but it gives these 4 ingredient Rice Krispie treats a more classic dessert taste.
How to Make Healthy Rice Krispie Treats
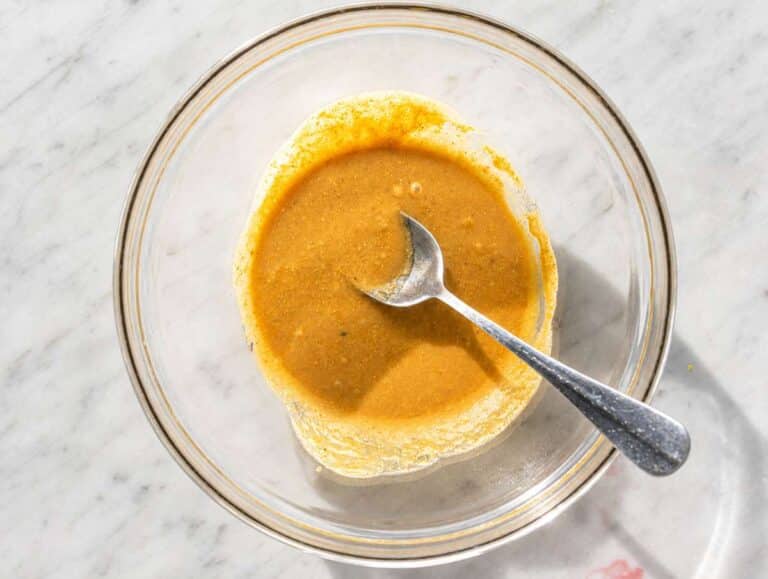
Step 1: Make the binder
Line an 8-inch square baking pan with parchment paper, leaving a little overhang on the sides so you can lift the treats out easily later.
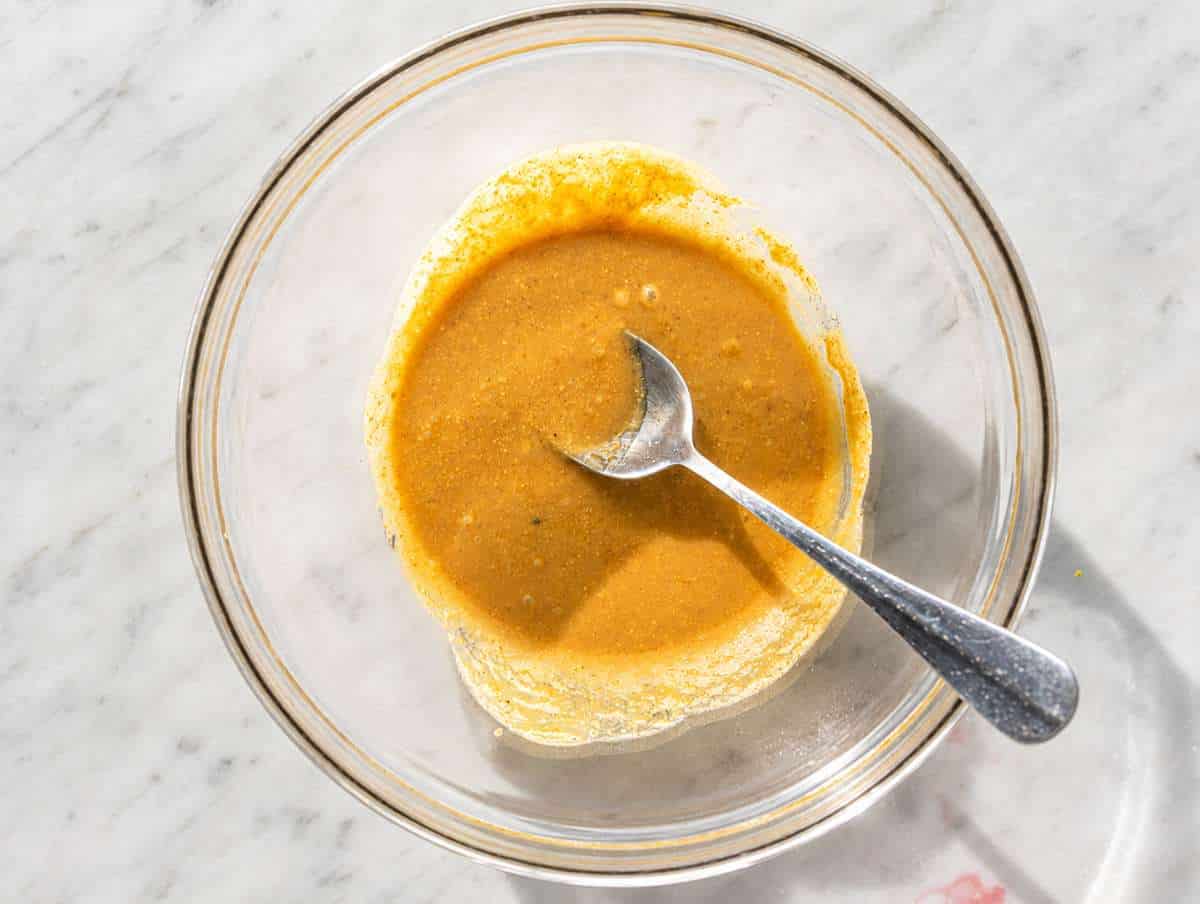
Add the natural peanut butter, honey, and vanilla extract to a medium microwave-safe bowl.
Microwave for 30 to 45 seconds, then stir until the mixture is smooth and fully combined. It should be warm and pourable, not scorching hot.
You can also warm everything in a small saucepan over low heat for 1 to 2 minutes, stirring constantly. Do not let the mixture boil.
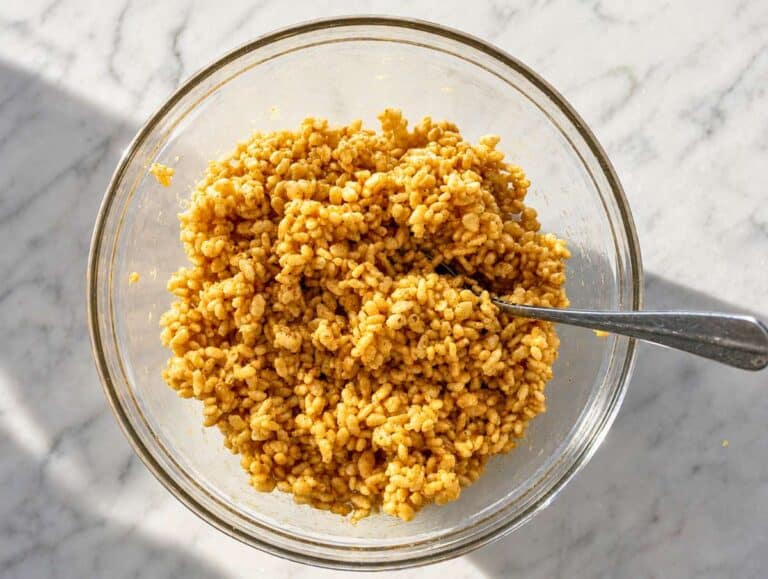
Step 2: Coat the cereal
Immediately add the Rice Krispies cereal to the warm peanut butter mixture.
At first, it may look like there isn’t enough binder. Keep stirring gently, scraping the bottom and sides of the bowl where the peanut butter mixture collects. After a minute or so, you’ll find there’s just enough to lightly and evenly coat every piece of cereal.
Resist the urge to add more. This thin coating is what keeps the treats light and crispy while still allowing them to stick together once they’re firmly pressed into the pan.

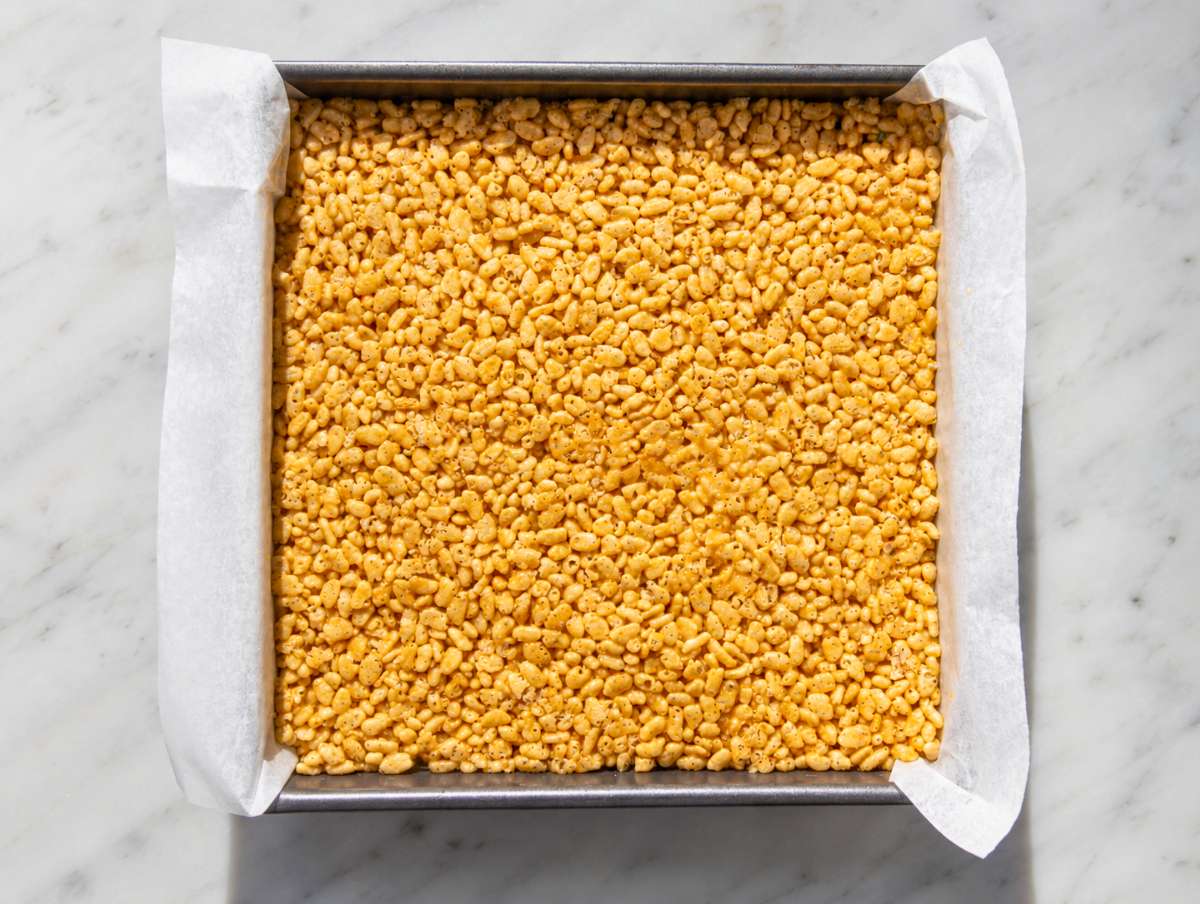
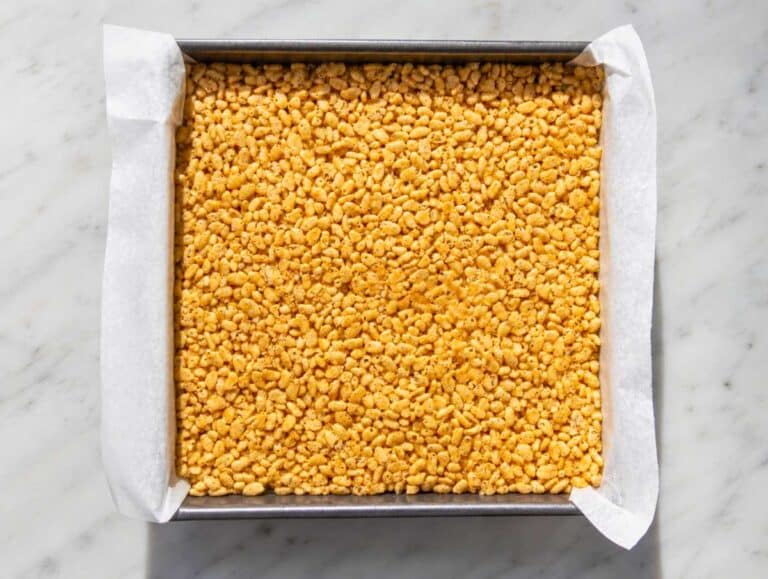
Step 3: Press into the pan
Transfer the mixture to the prepared pan.
Using the back of a sturdy spoon or measuring cup, press the mixture firmly into an even layer, compacting it without crushing the cereal.
Compacting the mixture is what helps the bars hold together while staying light and crispy.
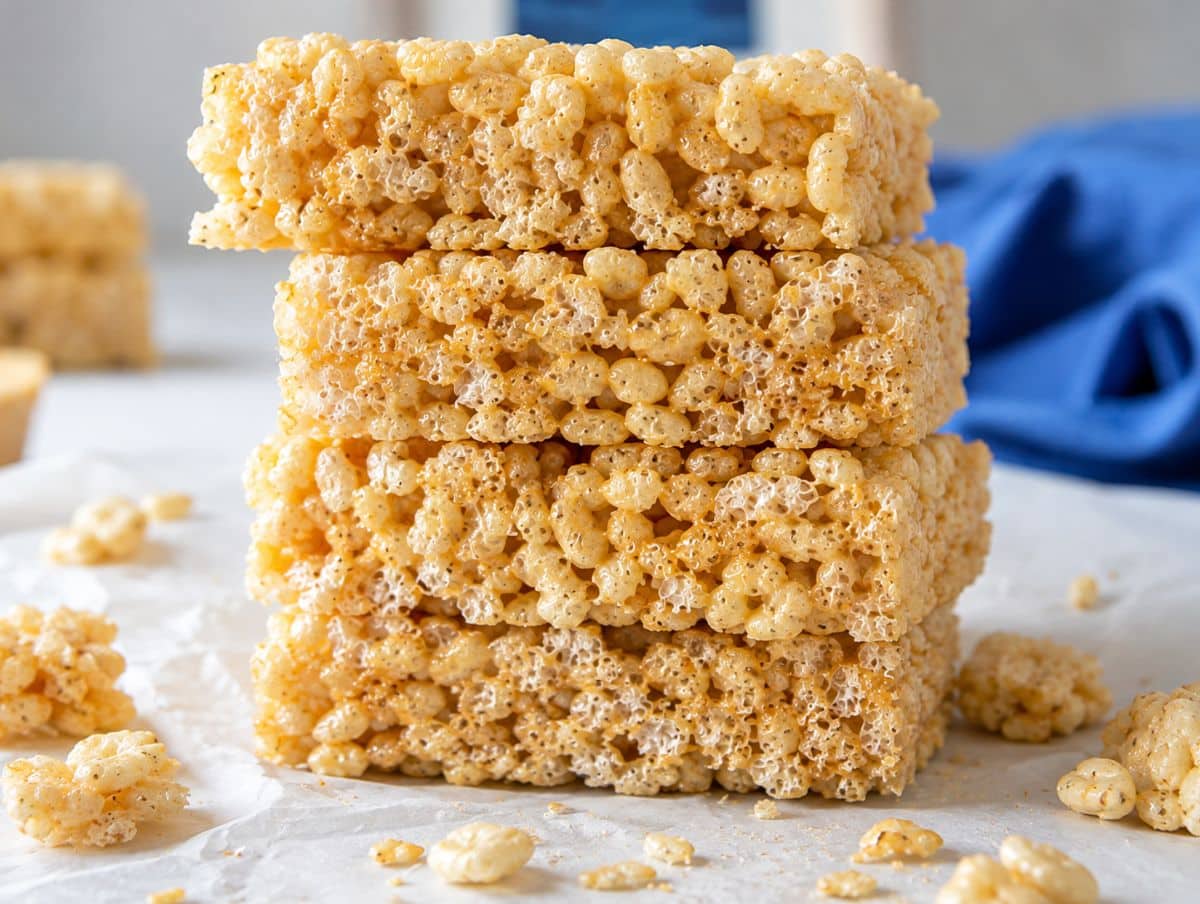
Step 4: Chill, slice, and serve
Refrigerate for at least 30 minutes, or freeze for 15 minutes, until completely firm.
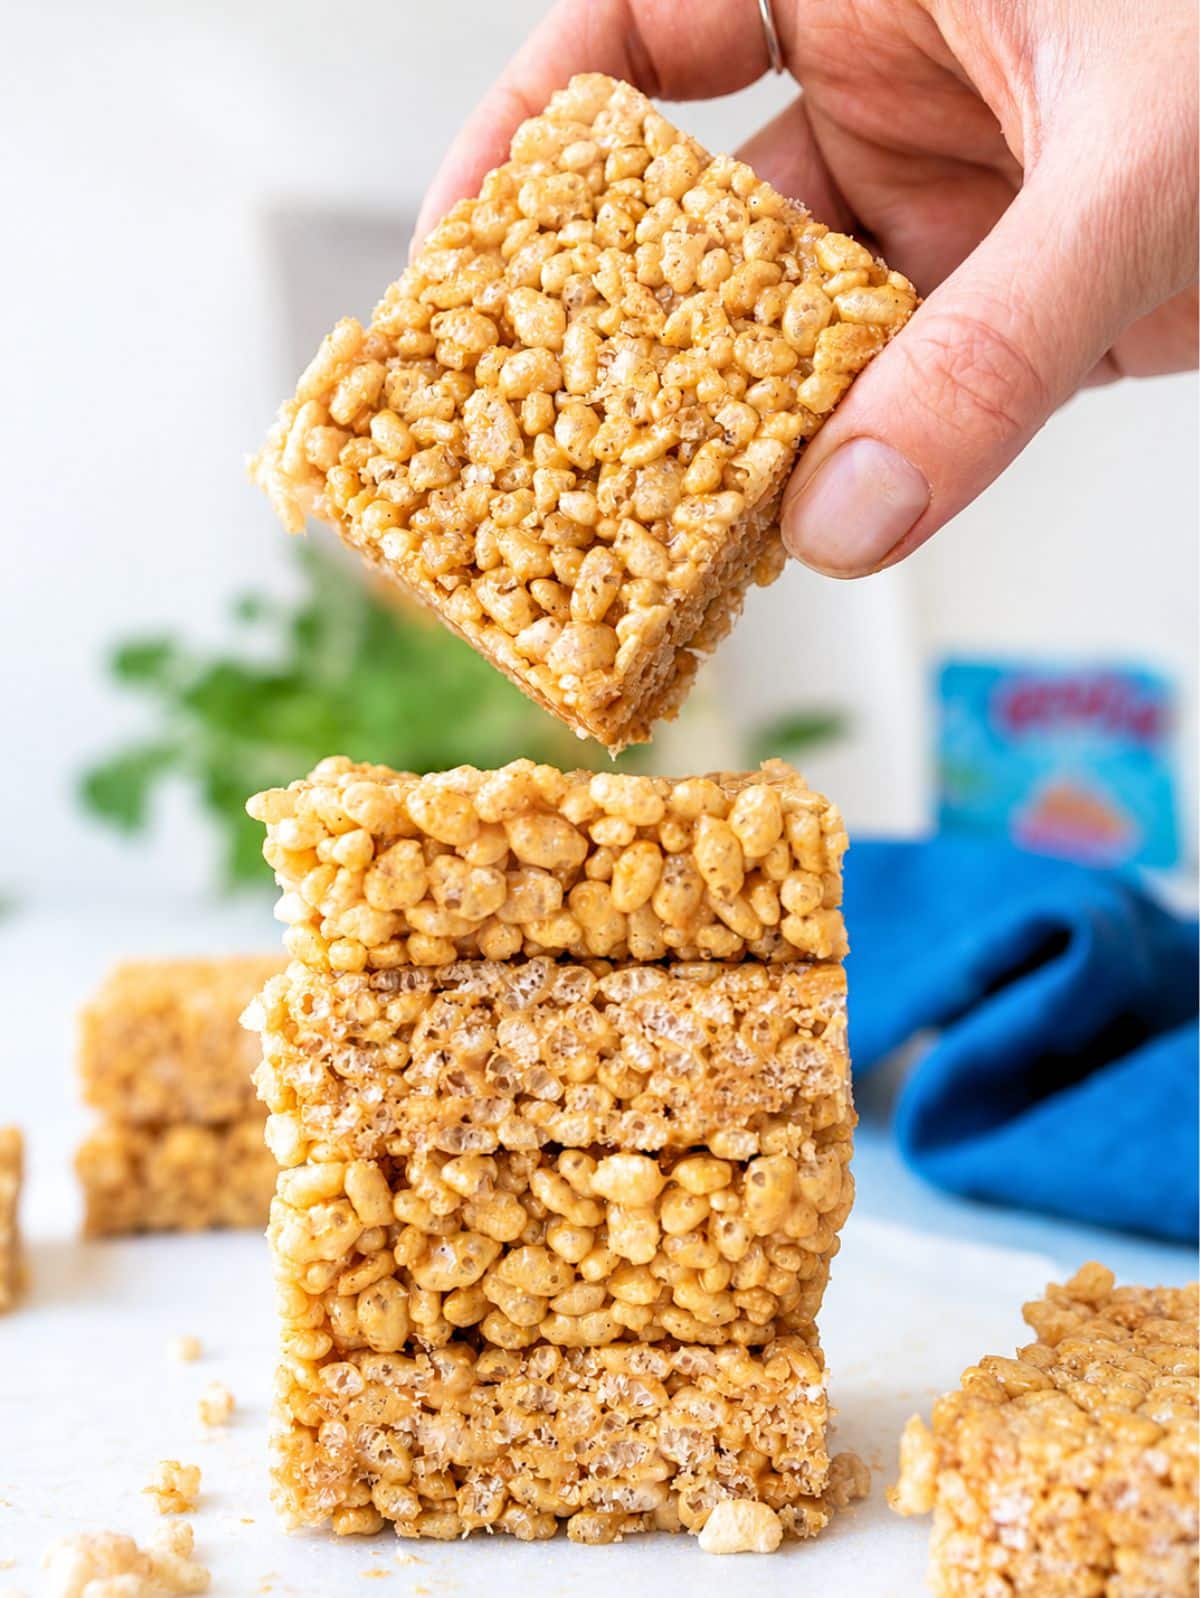
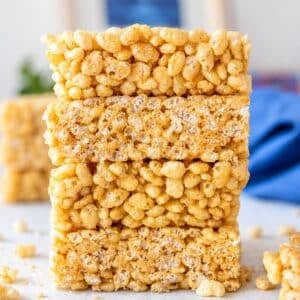
Use the parchment paper overhang to lift the block out of the pan. Place it on a cutting board and slice into 9 or 12 squares (you can make them larger or smaller if you prefer).
These treats are at their crispiest straight from the refrigerator. Store them in the fridge (or freezer for longer storage) and serve them chilled. If you’re packing them for a picnic, lunchbox, or road trip, freezing them first helps them stay firm for longer.
Tips
- Start with a crispy cereal: Before making the recipe, grab a handful and taste it. It should be crisp and crunchy, not soft or airy. Rice Krispies and most crispy brown rice cereals work well, while soft puffed rice cereals won’t produce the same texture.
- Use natural peanut butter: Choose a natural peanut butter made with just peanuts and salt. It creates a smoother binder without the added oils and sugar often found in conventional peanut butter.
- Warm, don’t boil: The peanut butter and honey should be smooth and pourable, not scorching hot. Overheating can make the mixture thicker and harder to coat the cereal evenly.
- Keep stirring: The mixture may look too dry when you first add the Rice Krispies. Keep stirring with a sturdy spoon and scrape the bottom and sides of the bowl—you’ll find just enough binder to coat every piece.
- Don’t add extra binder: Resist the urge to add more peanut butter or honey. A thin, even coating is what keeps these treats light and crispy instead of dense and chewy.
- Compact without crushing: Press the mixture firmly into the pan with the back of a sturdy spoon or measuring cup. Compact it enough to help the bars hold together, but avoid crushing the cereal.
- Chill before slicing: Let the treats firm up completely before cutting. They slice much more cleanly after 30 minutes in the refrigerator (or 15 minutes in the freezer).
- Serve them cold: These treats are crispiest straight from the fridge. On warm days they’ll gradually soften, so keep them refrigerated until you’re ready to enjoy them.
- Freeze for travel: If you’re taking them to a picnic, lunchbox, or road trip, freeze them first so they stay firm for longer.
Frequently Asked Questions
Yes. Replace the honey with pure maple syrup. The treats will still hold together well, although they’ll be slightly softer than the original version.
That’s normal. At first, it may seem like there isn’t enough peanut butter mixture. Keep stirring and scrape the bottom and sides of the bowl until the cereal is evenly coated. Resist the urge to add more binder—this is what keeps these naturally sweetened treats light and crispy instead of dense.
Absolutely. Almond butter, cashew butter, and sunflower seed butter all work well. Just use a natural, drippy variety so it coats the cereal evenly.
Store the treats in an airtight container in the refrigerator for up to 1 week, or freeze them for up to 3 months. They’re at their crispiest when served straight from the fridge. If you’re taking them to a picnic or packing them as kid-friendly snacks, freezing them first helps them stay firm for longer.
Yes. Slice the block into 9 large squares, 12 medium squares, or even smaller bite-sized pieces for snacks or lunchboxes. Just be sure to chill the treats completely before cutting for the cleanest slices.
More Easy Homemade Snacks
- Cookie dough energy balls
- Chunky monkey energy balls
- No-bake oat bars
- Oatmeal raisin energy balls
- Date brownies
- Snickers energy balls
- Lemon energy balls
- Chocolate oatmeal no-bake cookies
If you try this Rice Krispie Treats Recipe please leave a 🌟 star rating and let us know how it turned out in the comments—we love hearing from you.
Rice Krispie Treats (4 Ingredients, No Marshmallows)
Ingredients
- 4 cups Rice Krispies cereal
- ⅓ cup creamy peanut butter natural (made with just peanuts and salt)
- ⅓ cup honey
- 1 teaspoon vanilla extract
Instructions
- Make the binder: Line an 8-inch square baking pan with parchment paper.Add ⅓ cup creamy peanut butter, ⅓ cup honey, and 1 teaspoon vanilla extract to a microwave-safe bowl. Microwave for 30 to 45 seconds, then stir until smooth and pourable, but not too hot.Alternatively, warm everything in a small saucepan over low heat for 1 to 2 minutes, stirring constantly. Do not let it boil.
- Coat the cereal: Add 4 cups Rice Krispies cereal and stir gently until every piece is lightly coated.At first, it may seem like there isn't enough peanut butter mixture. Keep stirring and scrape the bottom and sides of the bowl. After about a minute, the cereal will be evenly coated.
- Press into the pan: Transfer the mixture to the prepared pan.Using the back of a sturdy spoon or measuring cup, press it firmly into an even layer. Compact the mixture without crushing the cereal so the bars hold together.
- Chill and serve: Refrigerate for at least 30 minutes, or freeze for 15 minutes, until firm.Lift the treats out using the parchment paper and slice into 9 or 12 squares.Store them in the refrigerator and serve chilled for the crispiest texture. For longer storage or travel, freeze them first so they stay firm.

Notes
- Crispy rice cereal → Rice Krispies give the lightest, crispiest texture. Crispy brown rice cereal works too. Avoid soft puffed rice cereals.
- Natural peanut butter → Almond butter, cashew butter, or sunflower seed butter all work well. Choose a natural, drippy variety made with just nuts and salt.
- Honey → Pure maple syrup for a vegan option. The treats will be slightly softer.
- Vanilla extract → You can leave it out, but it adds a classic dessert flavor.
- Use crispy cereal: It should taste crisp straight from the box, not soft or airy.
- Choose natural peanut butter: Peanuts and salt only make the smoothest binder.
- Warm, don’t boil: The mixture should be pourable, not scorching hot.
- Keep stirring: Scrape the bowl well; the binder hides at the bottom and sides.
- Don’t add more binder: A thin coating keeps the treats light and crispy.
- Compact, don’t crush: Press firmly enough to hold, but keep the cereal intact.
- Chill before slicing: Cold treats cut cleaner and hold their shape better.
- Store cold: Keep them in the fridge, or freeze first if packing for travel.
Nutrition
Don’t Lose This Recipe

Hi! We are Nico & Louise
We're here to share easy, healthy, and delicious recipes 🌿✨.
Welcome to our blog, we are glad you are here.